Thin Set Mortar Cleanup Playbook: Removing Cured Residue
Master the thin set mortar cleanup playbook. Learn exact chemical and mechanical methods to remove cured residue from tools, tiles, and subfloors.
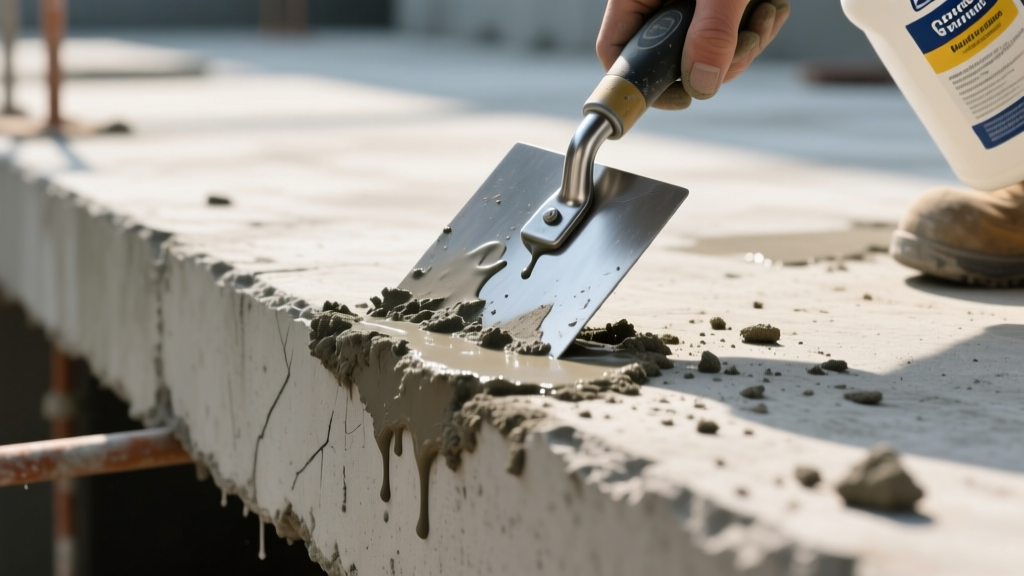
The Hydration Challenge: Why Thin Set Mortar Resists Cleaning
Unlike organic adhesives that dry through evaporation, thin set mortar cures via a chemical hydration process. The Portland cement reacts with water to form calcium silicate hydrate crystals, while the polymer additives cross-link to create a flexible, high-tensile bond. Once this reaction completes—typically within 24 to 48 hours—the mortar achieves a compressive strength exceeding 3,000 PSI. At this stage, it is essentially artificial rock bonded to your substrate.
Cleaning cured thin set mortar requires a strategic playbook that shifts from simple water washing to targeted chemical dissolution or aggressive mechanical abrasion. The correct approach depends entirely on the surface material and the thickness of the cured residue.
Phase 1: Tool and Equipment Maintenance (Wet Stage)
The most cost-effective cleanup happens before hydration finishes. Polymer-modified thin sets are notoriously difficult to remove from mixing paddles and notched trowels once the acrylic or latex polymers cure into a plastic-like film.
Step-by-Step Trowel and Mixer Rescue
- Immediate Scrape: Within 15 minutes of use, scrape the bulk of the wet mortar from the trowel and mixing paddle using a stiff 4-inch putty knife.
- Hydro-Scrub: Submerge tools in a bucket of clean water. Use a stiff nylon bristle brush (never wire, which can leave rust-prone steel filaments embedded in the tool's pores) to agitate the remaining slurry.
- Bucket Management: Never wash thin set slurry down a drain. The heavy particulates will settle in P-traps and cure into a concrete-like blockage. Allow the slurry water to sit for 24 hours so the cement settles, decant the clear water, and dispose of the solid cake in the trash.
- Mixer Drum Care: For large batch mixers, spray the interior with a biodegradable form-release oil or a dedicated mixer cleaner before use. This prevents the polymer-modified mortar from bonding to the steel drum.
Phase 2: Tile Surface Rescue (Haze and Spills)
When thin set mortar smears across the face of a tile during installation, it must be removed before grouting. If left to cure, it creates a stubborn haze that blocks light and ruins the finish. The removal method must be matched to the tile's Mohs hardness and chemical sensitivity.
CRITICAL WARNING: Natural Stone and Acid
Never use acidic cleaners (sulfamic, phosphoric, or muriatic acid) on calcium-based natural stones such as marble, travertine, limestone, or onyx. Acid will instantly etch the surface, leaving permanent dull spots. For natural stone, use only pH-neutral or alkaline cleaners and mechanical scraping with wood or hard plastic scrapers.
Chemical and Mechanical Decision Matrix
| Tile Material | Recommended Chemical Agent | Mechanical Tool | Dwell Time |
|---|---|---|---|
| Porcelain & Ceramic | Sulfamic Acid Crystals (e.g., 1/2 cup per gallon warm water) | White nylon scrub pad or medium-bristle brush | 10-15 minutes |
| Glass Tile | Phosphoric Acid Cleaner (diluted 1:4) | Microfiber cloth (no abrasives to prevent scratching) | 5-10 minutes |
| Polished Natural Stone | Alkaline Heavy-Duty Tile Cleaner | Wooden popsicle stick or plastic scraper | 15-20 minutes |
| Unglazed Quarry Tile | Muriatic Acid (10% solution - last resort) | Stiff nylon brush | 5 minutes max |
For authoritative guidelines on chemical compatibility with specific tile bodies, always consult the National Tile Contractors Association (NTCA) technical resources or the manufacturer's specific data sheets.
Phase 3: Heavy-Duty Subfloor and Demo Removal (Cured Stage)
When renovating a space or correcting a failed installation, you will encounter fully cured thin set mortar bonded to concrete or cement board subfloors. Removing this requires mechanical force, as chemical strippers cannot penetrate the dense, 1/4-inch to 3/8-inch thick mortar bed.
Mechanical Removal Protocols
For large-scale removal (over 50 square feet), manual chipping is economically unviable. Professional contractors rely on rotary grinders equipped with diamond cup wheels. However, this process generates massive amounts of respirable crystalline silica dust.
- Abrasive Selection: Use a 30-grit or 40-grit segmented diamond cup wheel for aggressive stock removal of thick thin set beds. Switch to a 100-grit continuous rim wheel for the final pass to smooth the concrete substrate without gouging it.
- Silica Compliance: Under OSHA's respirable crystalline silica standard (29 CFR 1926.1153), dry grinding concrete and mortar is strictly regulated. You must use a grinder equipped with an integrated water delivery system to suppress dust, or a shroud connected to a HEPA-filtered dust extractor operating at a minimum of 25 cubic feet per minute (CFM) per inch of wheel diameter.
- Subfloor Preservation: Keep the grinder moving in steady, overlapping circular motions. Lingering in one spot will create low spots in the concrete subfloor, which will telegraph through the new tile installation and cause lippage.
Chemical Softening for Stubborn Patches
If mechanical grinding is prohibited (e.g., in occupied residential spaces where dust containment is impossible), you can use specialized chemical mortar softeners. Products like Custom Building Products' specialized removers or equivalent methylene chloride-free polymer breakers can penetrate the porous edges of the mortar. Apply the gel, cover with 6-mil polyethylene sheeting to prevent evaporation, and let it dwell for 24 hours. The mortar will not dissolve, but the polymer matrix will degrade enough to allow removal with a manual floor scraper.
Time and Cost Matrix for Thin Set Removal
Budgeting for demolition and cleanup requires accurate forecasting. The following matrix outlines the expected costs and labor times for removing cured thin set mortar from a concrete subfloor, based on current 2026 contractor rates.
| Removal Method | Equipment Cost | Labor Time (per 100 sq ft) | Best Application |
|---|---|---|---|
| Manual Scraping & Chipping | $25 (Hand tools) | 8 - 12 Hours | Small patches, tight corners, edges |
| Rotary Grinder + HEPA Vac | $150/day (Rental) | 2 - 3 Hours | Large open areas, full bathroom floors |
| Chemical Softener + Scrape | $80 (Chemicals & Poly) | 4 - 5 Hours (plus 24hr dwell) | Dust-sensitive environments, occupied homes |
| Ride-on Floor Scraper (Pro) | $450/day (Rental) | 0.5 - 1 Hour | Commercial spaces, 500+ sq ft areas |
Preventative Maintenance: Avoiding Future Cured Residue
The most efficient cleanup playbook is one that prevents the mess from occurring. Implement these site protocols to minimize thin set mortar residue:
- Use Mortar Guards: When mixing thin set in finished areas, place a heavy-duty mortar mixing tub inside a larger containment tray. This catches splatters from the mixing paddle.
- Wipe as You Go: Keep a bucket of clean water and a large sponge on the job site. Wipe down the face of the tiles immediately after combing the thin set and setting the tile, before the mortar can skin over.
- Control the Consistency: Mix thin set to a 'peanut butter' consistency. If the mix is too wet (soupy), it will squeeze up through the grout joints during tamping, creating massive amounts of surface residue that is incredibly difficult to clean once cured.
By understanding the chemical nature of thin set mortar and matching the removal technique to the specific substrate and tile material, contractors can eliminate the risk of surface damage, ensure proper adhesion for subsequent layers, and maintain strict compliance with job site safety standards.