Smart Ways to Lower the Cost to Build a Detached Two Car Garage
Discover expert strategies to lower the cost to build a detached two car garage. Learn dimensional hacks, material swaps, and phased construction tips.

The Baseline: Understanding 2026 Garage Construction Costs
The baseline cost to build a detached two car garage in 2026 ranges from $38,000 to $62,000 for a standard 24x24 stick-built structure with a finished interior, asphalt roofing, and a stem-wall foundation. However, by applying advanced framing techniques, optimizing dimensions for standard material yields, and selecting high-durability, low-labor exterior claddings, you can reduce the total project cost to the $22,000 to $28,000 range. The secret to drastic cost reduction is not buying cheaper, lower-grade materials; it is eliminating material waste, reducing specialized labor hours, and designing the structure around the modular dimensions of the building products themselves.
Traditional 24x26 Stick-Built (Stem Wall, Asphalt, Vinyl): $48,500
Optimized 24x24 Advanced Framed (Monolithic, Metal, LP Panel): $24,200
Net Savings: $24,300 (50.1% reduction)
Dimensional Optimization: The 24x24 Modular Advantage
The single most effective way to lower the cost to build a detached two car garage is to design the footprint around the standard 4-foot by 8-foot module of engineered wood, drywall, and sheathing. A 24-foot by 24-foot garage requires exactly six 4x8 sheets to cover a wall section, with zero offcuts. If you expand the footprint to 24x26 to gain 'a little extra room,' you force the framing crew to cut 2 feet off every sheet of OSB, drywall, and exterior insulation. This generates 25% material waste on sheet goods and adds significant labor hours for measuring and cutting.
Furthermore, standard roof trusses are priced in 2-foot increments. A 24-foot span truss is a high-volume, commodity-priced item manufactured by the thousands. A 26-foot span requires custom webbing adjustments at many truss plants, adding a 15% to 20% premium per truss. Stick strictly to multiples of 4 and 8 for your exterior dimensions.
Foundation Selection: Monolithic vs. Stem Wall
Excavation and concrete work represent up to 20% of your total budget. Traditional garages use a stem-wall foundation, which requires digging a continuous trench below the frost line, pouring a footer, laying concrete block or forming a poured wall, and then pouring the interior slab. This requires multiple concrete truck rolls and extensive forming labor.
Instead, utilize a monolithic slab (thickened-edge slab). In this design, the footer and the slab are poured in a single, continuous operation. The edges of the slab are thickened to 12x12 inches to act as the footer, while the interior remains 4 inches thick.
| Foundation Type | Avg. Cost (24x24) | Labor Time | Best Application |
|---|---|---|---|
| Stem Wall (Frost Wall) | $7,500 - $9,500 | 4-5 Days | Severe frost lines, sloped lots |
| Monolithic Slab | $4,200 - $5,500 | 2 Days | Flat lots, mild/moderate frost lines |
| Post-Frame (Pole Barn) | $2,800 - $3,500 | 1-2 Days | Agricultural, unfinished storage |
Note: Always install a minimum 6-mil polyethylene vapor barrier beneath the slab, lapped and taped at the seams. The U.S. Department of Energy mandates proper vapor retarders to prevent soil moisture from migrating through the concrete, which can ruin stored goods and cause efflorescence.
Advanced Framing and Envelope Material Swaps
Standard framing calls for 2x4 studs placed 16 inches on-center (O.C.). By switching to 2x6 studs placed 24 inches O.C. (Advanced Framing), you use roughly 15% less lumber. More importantly, the 24-inch O.C. spacing aligns perfectly with the 4-foot width of OSB and drywall, meaning every sheet edge lands on the center of a stud, reducing blocking and labor.
Exterior Cladding Matrix
Exterior siding is where budgets often balloon due to high material costs and slow installation times. Avoid fiber cement (like James Hardie) if your primary goal is cost reduction; while durable, it requires specialized carbide-tipped blades, generates hazardous silica dust, and demands high labor rates for cutting and nailing.
- LP SmartSide Panel Siding (4x8 sheets): Material cost is approximately $2.20 to $2.80 per sq. ft. The 4x8 panels install in a fraction of the time of lap siding, drastically cutting labor. Pre-primed panels can be painted post-install.
- 29-Gauge Corrugated Metal Panels: Material cost is $1.80 to $2.50 per sq. ft. Metal installs incredibly fast over 1x4 purlins or direct-to-sheathing. It requires zero painting, zero caulking, and offers a 40-year lifespan.
- Vinyl Lap Siding: Material cost is $1.50 to $2.00 per sq. ft., but requires extensive trim work, J-channels, and precise cutting around penetrations, negating some of the material savings through higher labor.
Roof Pitch and Truss Economics
The pitch of your roof directly impacts both truss manufacturing costs and the amount of roofing material required. A standard 4/12 pitch (4 inches of vertical rise for every 12 inches of horizontal run) is the sweet spot for detached garages. It sheds snow and water effectively while keeping the overall height of the structure low. Moving to a 6/12 or 8/12 pitch to create attic storage increases the linear footage of the roof slope by 10% to 15%, requiring more sheathing, more underlayment, and more metal or shingles.
For roofing material, bypass architectural asphalt shingles. In 2026, an installed architectural shingle roof costs between $4.50 and $6.50 per square foot. Conversely, a 29-gauge exposed-fastener metal roof costs $3.00 to $4.50 installed, sheds snow instantly, and eliminates the future maintenance of replacing blown-off shingles.
Never compromise on wind-load ratings for your garage doors or roof trusses. According to FEMA building science guidelines, detached structures are highly vulnerable to uplift and lateral wind forces. Ensure your trusses are rated for your specific local wind-speed zone (often 115-130 mph) and use hurricane ties (like Simpson Strong-Tie H2.5A) on every truss-to-wall connection. Saving $150 on hurricane ties is not worth a collapsed roof.
The Phased Construction Strategy
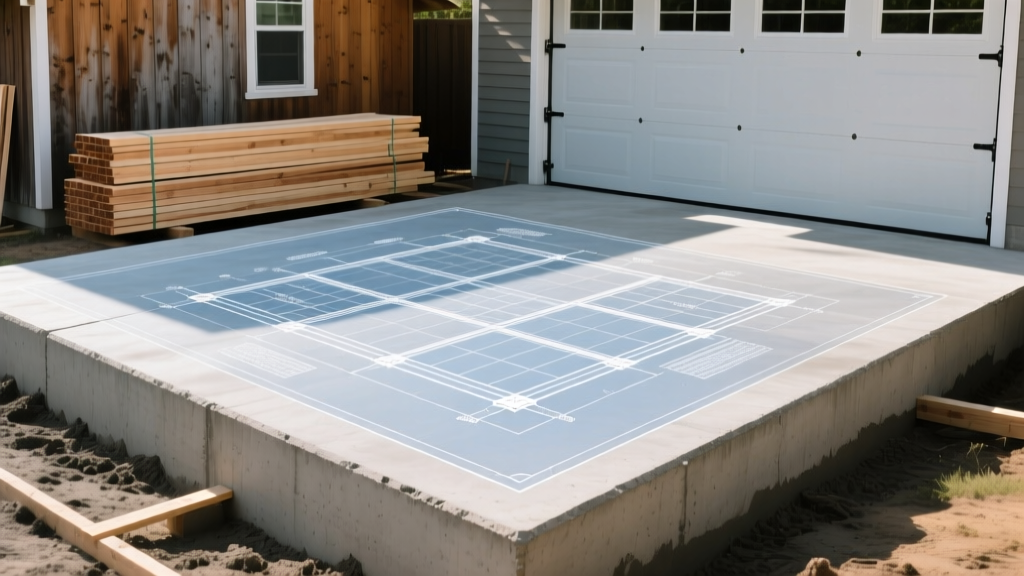
If your budget is strictly capped, the most intelligent way to manage the cost to build a detached two car garage is to separate the project into 'Shell' and 'Finish' phases. Building a weather-tight shell allows you to secure the site, store tools, and protect vehicles immediately, while deferring the expensive interior finishing until your cash flow allows.
- Phase 1: The Shell (Months 1-2): Pour the monolithic slab, frame the walls, set the trusses, install the metal roof, hang the exterior siding, and mount the garage doors. Install a basic 100-amp subpanel with two GFCI outlets and a single exterior light. Total Phase 1 cost: ~$18,000.
- Phase 2: Security & Climate (Months 3-6): Add overhead LED shop lighting, install a mini-split heat pump for climate control, and upgrade the electrical panel to 200 amps if you plan to weld or use heavy compressors.
- Phase 3: Interior Finish (Months 6-12): Hang and finish 5/8-inch Type X fire-rated drywall, tape the seams, paint, and install epoxy floor coatings or interlocking PVC garage tiles.
Electrical and Trenching Hacks
Running power from your main house panel to a detached garage requires trenching. Hiring an excavation crew with a mini-excavator to dig an 18-inch deep trench costs $12 to $18 per linear foot. To save money, rent a walk-behind trencher (like a Ditch Witch) for $150 to $200 a day and dig the trench yourself. Use 2-inch PVC Schedule 40 conduit swept into the slab during the initial pour, and pull 4/3 UF-B or individual THWN-2 conductors through the conduit later. This prevents the need to dig up your concrete apron in the future if you need to upgrade your electrical service.
Final Cost Verification
Before signing any contracts or purchasing materials, verify local zoning setbacks and easement requirements. Building too close to a property line can result in forced demolition, instantly turning your cost-saving strategies into a massive financial loss. Always pull the required structural and electrical permits; unpermitted structures will not be covered by homeowner's insurance in the event of a fire or windstorm.
Written by
Elena RodriguezElena Rodriguez is a civil engineer and technical writer specializing in concrete technology, masonry systems, and ASTM/ACI compliance. She earned her B.S. in Civil Engineering from Texas A&M University and spent a decade at a materials testing laboratory, performing over 2,000 concrete compressive strength tests and masonry prism evaluations. Elena is an ACI-certified Field Testing Technician (Grade I) and a member of ASTM Committee C12 on Natural Building Stone. She currently consults on forensic engineering cases involving concrete failures and moisture intrusion. Based in San Antonio, TX, Elena is a proud member of the Society of Women Engineers (SWE) and coaches her daughter's FIRST Robotics team.
More from Elena Rodriguez
View all
Walls & Panels
Cost Analysis: Light Gauge Steel Framing Advantages and Disadvantages
Evaluate light gauge steel framing advantages and disadvantages through a strict cost analysis lens, comparing material, labor, and lifecycle expenses.
Aug 4, 2026

Walls & Panels
Gypsum Board Types: Exact Specifications, Thickness & Dimensions
Compare standard, Type X, and moisture-resistant gypsum board types. Get exact specifications, thicknesses, dimensions, and ASTM standards for your project.
Aug 4, 2026

Fire Resistance
Best Fire-Resistant Outdoor Decking Materials: 2026 Buyer Guide
Discover the best fire-resistant outdoor decking materials for 2026. Compare Class A PVC, aluminum, and hardwood options for WUI compliance and safety.
Aug 4, 2026