Wood Deck Refinishing Playbook: Step-by-Step Prep and Sealing
Master wood deck refinishing with our technical playbook. Learn exact sanding grits, moisture thresholds, and top sealers for lasting outdoor protection.
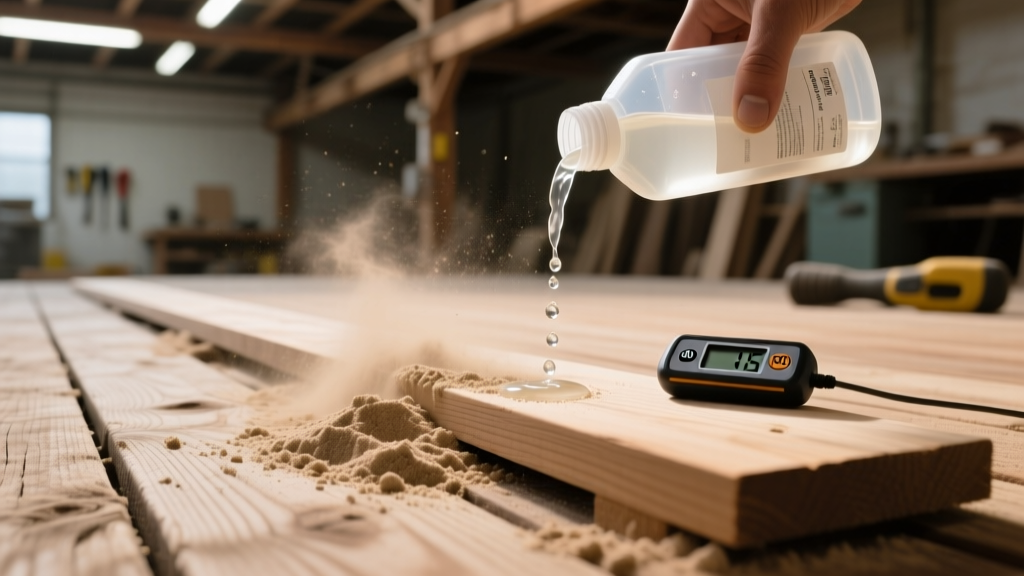
The Science of Wood Porosity and Moisture Thresholds
Successful deck refinishing is not merely about applying a new coat of stain; it is an exercise in managing wood cellular structure and moisture equilibrium. Pressure-treated southern yellow pine, cedar, and redwood all possess unique capillary networks that dictate how deeply a sealer can penetrate. If the wood's internal moisture content is too high, the sealer will be trapped on the surface, leading to premature peeling and delamination.
According to research published in the USDA Forest Products Laboratory Wood Handbook, wood dimensional stability and finish adhesion are directly correlated to the equilibrium moisture content (EMC) of the local environment. Refinishing a deck immediately after a heavy rainstorm or during periods of high ambient humidity (above 70%) guarantees finish failure, regardless of the product's price point.
Phase 1: Chemical Stripping and Deep Cleaning
Power washing alone is insufficient and often destructive. High-pressure water (above 1,500 PSI) gouges the soft springwood of deck boards, creating a fuzzy, raised-grain surface that requires aggressive sanding to fix. The correct approach relies on chemical softening followed by low-pressure rinsing.
Sodium Percarbonate vs. Chlorine Bleach
Never use chlorine bleach (sodium hypochlorite) to clean a wood deck. Chlorine bleach destroys lignin—the natural polymer that binds wood fibers together—leaving the surface structurally compromised and prone to rapid UV degradation. Instead, use an oxygen-based cleaner formulated with sodium percarbonate.
- Sodium Percarbonate (Oxygen Bleach): When mixed with water, it breaks down into sodium carbonate and hydrogen peroxide. The peroxide lifts organic stains, mildew, and gray oxidized wood fibers without damaging the lignin matrix. Products like DEFY Wood Cleaner or generic OxiClean powder (used at 1 cup per gallon of warm water) are highly effective.
- Oxalic Acid (Wood Brightener): After rinsing the alkaline percarbonate cleaner, the wood's pH must be neutralized. Applying an oxalic acid brightener (such as Woodrich Brightener or Citralic) drops the pH back to a slightly acidic 4.5–5.5, opens the wood pores, and dissolves stubborn tannin stains and rust marks from metal furniture.
Apply the percarbonate solution, allow it to dwell for 15 to 20 minutes (keeping it wet by misting), scrub with a stiff synthetic bristle brush, and rinse with a garden hose or a pressure washer equipped with a 40-degree white tip, keeping the nozzle at least 12 inches from the surface. Follow immediately with the oxalic acid brightener, dwell for 10 minutes, and rinse thoroughly.
Phase 2: Mechanical Preparation (Sanding Matrix)
Once the deck has dried for 48 to 72 hours (verify with your moisture meter), mechanical sanding removes mill glaze, old failing finishes, and raised grain. Avoid belt sanders on deck boards; they aggressively cut across the board seams, creating permanent cross-grain dips. Use a heavy-duty random orbital sander (like the Festool Rotex or Makita BO5041) or a floor buffer equipped with a sanding screen for large areas.
| Grit Progression | Application Scenario | Resulting Surface Profile |
|---|---|---|
| 36 to 40 Grit | Removing thick, peeling solid-color stains or severe weathering. | Aggressive cut; exposes raw wood but leaves deep scratches. |
| 60 Grit | Standard preparation for semi-transparent stains and penetrating oils. | Smooths 40-grit scratches; opens pores optimally for sealer absorption. |
| 80 Grit (Maximum) | Final pass for high-end hardwoods (Ipe, Tigerwood) or light refreshes. | Very smooth. Do not use on softwoods if applying penetrating oils. |
Phase 3: Sealer Selection and Application Protocols
The market is flooded with deck finishes, but they fundamentally fall into two chemical categories: penetrating oils and film-forming finishes. Understanding the failure modes of each is crucial for long-term maintenance.
Penetrating Oils vs. Film-Forming Acrylics
Penetrating oils (alkyd-oil blends like Armstrong Clark or TWP 100 Series) soak deep into the wood fibers, lubricating them from the inside out. They do not form a surface film, meaning they will never peel or flake. When it is time to refinish, you simply clean the deck and apply a maintenance coat—no sanding required. The trade-off is that they typically require reapplication every 12 to 24 months and offer slightly less UV pigment protection than solid stains.
Film-forming finishes (water-based acrylics and solid-color stains) build a physical shell over the wood. While they offer superior UV blocking and can last 3 to 5 years, they trap moisture inside the wood if the deck is not perfectly sealed on all six sides. When the finish inevitably fails, it cracks and peels, requiring a complete chemical strip and aggressive sanding to remove.
The 'Flooding' Application Technique
For penetrating oils, use the flooding technique. Apply the sealer heavily using a pump sprayer or an airless sprayer, working in sections of no more than three boards at a time. Immediately back-brush the wet sealer using a high-quality synthetic block brush. Back-brushing forces the liquid deep into the open pores created by your 60-grit sanding. Allow the wood to absorb the oil for 15 to 30 minutes. If puddles remain on the surface after this window, wipe them away with clean, lint-free rags. Leaving excess oil on the surface will result in a glossy, sticky finish that attracts dirt and pollen.
Cost Breakdown: DIY vs. Professional Refinishing
Budgeting for a deck refinish requires calculating material consumption rates and labor intensity. A standard 400-square-foot deck serves as the baseline for this analysis.
| Cost Category | DIY Execution (400 sq ft) | Professional Contractor (400 sq ft) |
|---|---|---|
| Chemicals (Cleaner/Brightener) | $60 - $90 | $40 - $70 (Bulk pricing) |
| Sanding Consumables (Discs/Pads) | $40 - $80 | Included in labor rate |
| High-End Penetrating Sealer | $180 - $250 (2 gallons) | $150 - $200 (Contractor bulk) |
| Equipment Rental (Sander/Washer) | $75 - $120 | Included in labor rate |
| Labor (16-24 hours DIY / 2 days Pro) | $0 (Your time) | $800 - $1,600 |
| Total Estimated Cost | $355 - $540 | $1,200 - $2,200 |
| Cost Per Square Foot | $0.88 - $1.35 | $3.00 - $5.50 |
Troubleshooting Common Refinishing Failures
Even with meticulous preparation, environmental variables can cause finish anomalies. Here is how to diagnose and rectify the most frequent issues encountered during deck refinishing, as documented by industry experts at The Family Handyman.
- Symptom: Sealer beads up and refuses to absorb.
Cause: The wood was sanded too smoothly (over 80 grit), or the moisture content is above 18%.
Fix: Wait for a dry spell to lower the moisture content. If the wood is dry but still repelling sealer, you must re-sand the affected areas with 60-grit paper to reopen the pores. - Symptom: Dark, blotchy patches after sealing.
Cause: Uneven application, failing to back-brush, or applying sealer in direct, hot sunlight which causes the carrier solvents to flash off before the oil can penetrate evenly.
Fix: Wipe the blotchy areas with a rag dampened in mineral spirits (for oil-based products) while the sealer is still tacky to redistribute the pigment. Always apply sealers in the early morning or late afternoon when the deck surface is cool to the touch. - Symptom: Mildew returning within months.
Cause: The sealer used contains linseed oil or natural vegetable oils without adequate mildewcides, which actually feed fungal growth.
Fix: Strip the failing sealer and switch to a synthetic alkyd-oil blend or a water-based acrylic formulated with zinc-based mildewcides, such as the TWP 1500 series or DEFY Extreme.
For further technical guidelines on exterior wood coating performance and environmental safety during application, refer to the best practices outlined by Bob Vila's expert home improvement guides. Proper deck refinishing is a systematic process; skipping the chemical brightening step or ignoring moisture thresholds will inevitably compromise the longevity of your investment.