Installing Frost Fence Parts: A Step-by-Step Guide to Prevent Heave
Learn how to properly install frost fence parts to prevent winter heave. Discover frost-proof post bases, gravel drainage, and depth requirements.
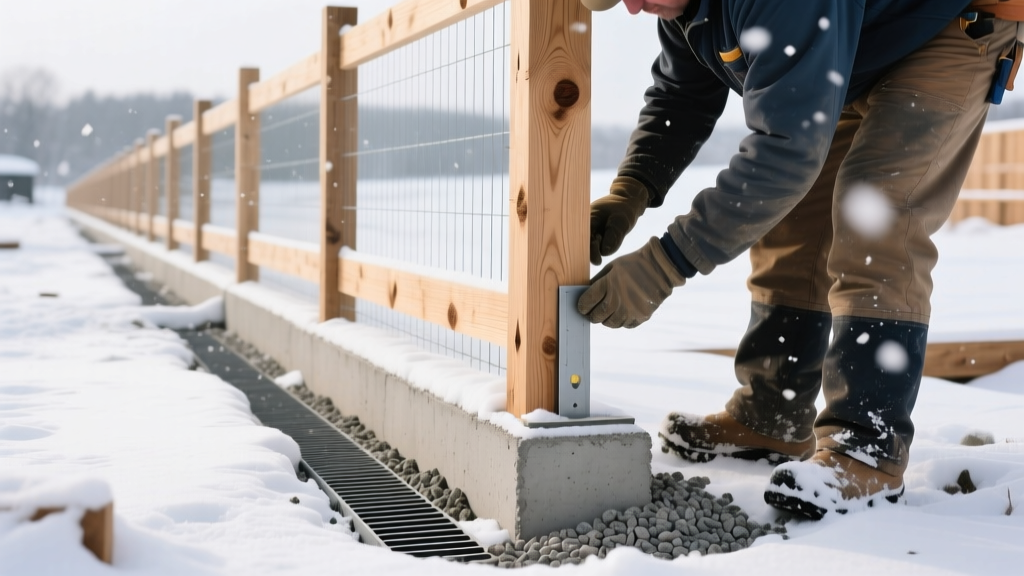
The Mechanics of Frost Heave in Fencing
Frost heave is the primary cause of structural failure for fences in northern climates. When the moisture content in the soil freezes, it expands by approximately 9%. If a fence post is embedded in cohesive soil (like clay or silt) and lacks proper drainage or depth, this expanding ice lens grips the post and pushes it upward. When the soil thaws in spring, the post rarely settles back to its original plumb position, resulting in a wavy, structurally compromised fence line. Selecting and installing the correct frost fence parts is not just about digging deeper; it requires a systematic approach to moisture management and load transfer.
Industry Insight: According to the International Code Council (ICC), structural footings must extend below the local frost line to prevent heave. While primarily written for building foundations, this principle is the foundational rule for permanent fencing in freeze-thaw regions.
Essential Frost Fence Parts for Cold Climates
Standard pressure-treated 4x4 posts set directly in concrete are highly susceptible to frost jacking. The concrete acts as an anchor, but if the sides of the concrete footing are not perfectly smooth or if a 'bell' shape is not formed at the base, the freezing soil will grip the concrete and lift the entire assembly. Modern frost fence parts bypass this issue by isolating the post from the soil or utilizing deep earth anchors.
Comparison of Frost-Proof Post Anchoring Systems
| System Type | Best Application | Installation Depth | Avg. Cost per Post (2026) | Pros & Cons |
|---|---|---|---|---|
| Surface-Mount Frost-Free Base (e.g., Oz-Post T4) | Standard privacy fences, 6x6 or 4x4 wood | 24 to 30 inches (above frost line) | $45 - $65 | Requires specific gravel backfill; eliminates concrete entirely. |
| Helical Piers (e.g., Diamond Pier) | Heavy gates, masonry fences, extreme frost zones | 48 to 72+ inches (driven to refusal) | $120 - $180 | Zero excavation needed; highest uplift resistance; expensive. |
| Sonotube with Bell Footing | Commercial fencing, brick pillar bases | 6 inches below local frost line | $25 - $40 (materials) | Labor-intensive; requires precise concrete pouring and forming. |
| PVC Post Sleeves over Steel | Vinyl and composite fencing | 36 to 48 inches | $55 - $85 | Prevents wood rot and frost grip; steel core provides rigidity. |
Step-by-Step Installation Procedure for Frost-Free Bases
For standard residential wood or composite fences in USDA Hardiness Zones 4 through 7, surface-mount frost-free bases (often utilizing a perforated steel or heavy-duty composite cup) are the most efficient choice. These systems rely on angular gravel to dissipate the upward force of freezing water. Follow this procedure to ensure maximum stability.
- Locate the Local Frost Line: Check your local building department or reference the IRC Table R301.2. In Zone 5, the frost line is typically 32 to 36 inches; in Zone 6, it is 42 to 48 inches. Even when using frost-free bases, you must understand the soil profile.
- Excavate the Post Hole: Dig a hole 12 inches in diameter. For a frost-free base like the Oz-Post T4-850, the hole only needs to be 24 to 30 inches deep, well above the actual frost line. The wide diameter is critical for gravel drainage volume.
- Prepare the Sub-Base: Add 4 inches of 3/4-inch crushed angular stone (ASTM D448) to the bottom of the hole. Never use pea gravel or round river rock, as round stones do not interlock and will shift under the dynamic loads of wind and frost. Compact the angular stone using a manual hand tamper.
- Set the Frost Fence Part: Insert the frost-free post base into the hole. Ensure the base is perfectly level. The base features holes that allow water to drain through the bottom and sides.
- Backfill with Crushed Stone: Fill the annular space around the base with the 3/4-inch crushed stone in 6-inch lifts (layers). Tamp each layer aggressively. The angular stone creates a porous matrix that prevents water from pooling around the metal base, eliminating the ice lens formation that causes heave.
- Install the Wood Post: Slide your pressure-treated or cedar 4x4 post into the metal base. Secure it using the provided 1/2-inch galvanized or stainless steel through-bolts. Do not use standard zinc-plated lag screws, as they will corrode rapidly in the damp, subterranean environment.
A common error among DIYers is pouring a 'concrete collar' at the top of the hole to prevent the post from wobbling. This creates a bowl that traps surface water, directing it straight down into the gravel bed and overwhelming the drainage capacity. If you must seal the top of the hole, use a sloped mounding of native clay or a specialized polyurethane foam sealant designed for post setting, ensuring the surface slopes away from the post at a minimum 5% grade.
Advanced Drainage and Backfill Techniques
Even the best frost fence parts will fail if the surrounding soil is completely saturated. In heavy clay soils, the percolation rate is too slow for gravel backfill to drain effectively. In these scenarios, you must integrate a localized French drain system.
Run a 4-inch perforated PVC pipe (ASTM D2729) at a depth of 30 inches, sloping it at 1/8 inch per foot toward a daylight exit or a dry well. Wrap the pipe in non-woven geotextile fabric to prevent clay siltation. When backfilling your fence post holes, tie the gravel column directly into this perforated pipe trench. This ensures that any hydrostatic pressure building up around the frost fence parts is immediately relieved. Research published by Penn State Extension emphasizes that managing the water table and soil capillary action is just as critical as the physical depth of the footing.
Concrete Specifications for Traditional Footings
If your project requires traditional concrete footings (such as for heavy wrought iron or brick column fences), standard bagged concrete is insufficient for freeze-thaw cycles. You must order a custom mix from a local batch plant with the following specifications:
- Compressive Strength: Minimum 4,000 PSI.
- Air Entrainment: 5% to 7% microscopic air bubbles. This provides internal expansion chambers for freezing water, preventing the concrete itself from spalling and cracking.
- Slump: 4 to 5 inches for easy pouring without adding excess water on-site.
- Aggregate Size: 3/4-inch maximum to ensure proper flow around heavy rebar cages.
Retrofitting Existing Heaved Fences
If you are maintaining an existing fence line that has already suffered from frost heave, full extraction and replacement is often cost-prohibitive. Instead, utilize a retrofitting technique using helical pile adapters.
Cut the heaved wooden post off flush with the ground line. Treat the exposed end grain with a copper naphthenate wood preservative. Next, drive a galvanized helical pier into the ground immediately adjacent to the stump, stopping when the torque rating indicates sufficient load-bearing capacity (typically 2,000 ft-lbs of torque for a standard 6-foot privacy fence). Bolt a heavy-duty steel post bracket to the helical pier, and attach a new section of 4x4 post to the bracket, splicing it to the existing fence panels. This method transfers the structural load to the deep, unfrozen soil strata while leaving the heaved, non-structural stump in place, saving up to 60% on labor and excavation costs.
Frequently Asked Questions
Can I use expanding polyurethane foam instead of gravel or concrete?
While two-part expanding post foams are popular for quick installations, they are generally not recommended as a primary defense against frost heave in zones with deep frost lines. The foam creates a watertight seal, which can trap moisture against the wood post, accelerating rot. Furthermore, the foam itself can be gripped by freezing clay soils. For true frost-proof installations, mechanical frost fence parts combined with angular gravel remain the industry standard.
How do I protect steel fence posts from frost heave?
Steel posts (like those used for chain link or modern horizontal slat fences) are highly susceptible to frost jacking because the smooth surface of the steel allows freezing soil to grip it tightly. To prevent this, wrap the subterranean portion of the steel post in a high-density polyethylene (HDPE) sleeve or apply a specialized slick-coat bituminous paint. This reduces the friction coefficient between the soil and the post, allowing the freezing soil to slide upward without pulling the post with it.