How to Install a Woven Wire Fence: Bracing and Tensioning Steps
Learn how to install a woven wire fence with proper H-brace assemblies, line post spacing, and tensioning techniques to prevent mesh distortion.
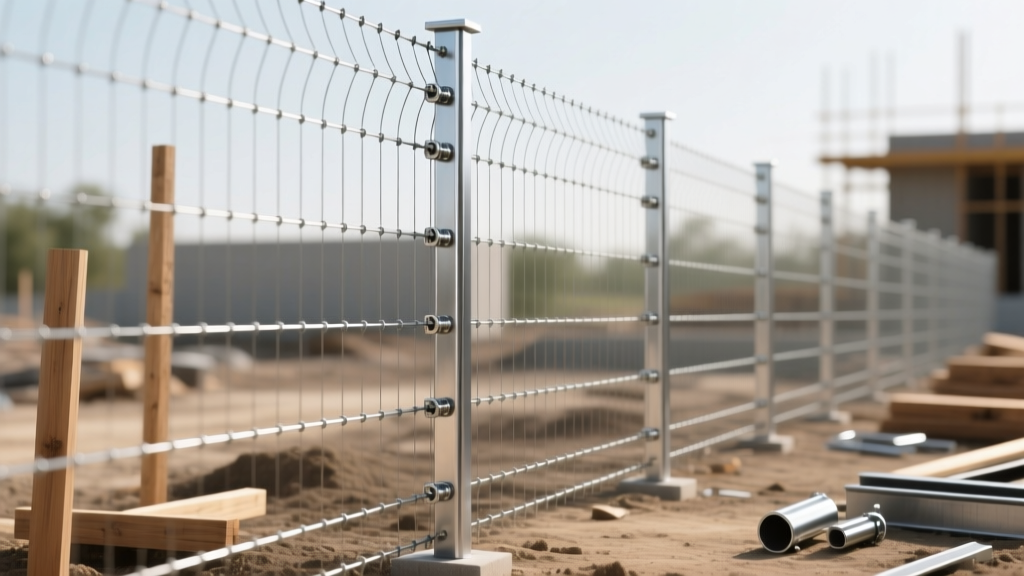
The Anatomy of a Failure-Proof Wire Fence
Installing a woven wire fence (often referred to as field fence) requires a fundamentally different approach than installing high-tensile smooth wire or chain link. The primary enemy of a woven wire fence is horizontal tension. While high-tensile wire relies on extreme tension (150–200 lbs) to remain upright, woven wire relies on its geometric mesh structure. Over-tensioning woven wire stretches the vertical stay wires, distorts the squares into diamonds, and causes the tension knots to slip, permanently ruining the fabric.
According to the USDA NRCS Conservation Practice Standards, a properly engineered agricultural fence must transfer horizontal loads directly into the soil via braced corner assemblies, not through the line posts. This guide details the exact material specifications, H-brace construction, and tensioning protocols required to install a woven wire fence that will remain plumb and taut for decades.
Material Sizing and Post Spacing Matrix
Before breaking ground, select your materials based on the terrain and the intended load. For modern installations, always specify Class 3 galvanized coating (zinc-aluminum) for the wire fabric, which provides up to three times the corrosion resistance of standard Class 1 coatings.
| Terrain / Application | Line Post Spacing | Line Post Type (T-Post) | Corner Post Diameter | Brace Post Spacing |
|---|---|---|---|---|
| Flat / Uniform Pasture | 12 to 14 feet | 1.33 lb/ft (Heavy Duty) | 5 to 6 inches | 8 feet from corner |
| Rolling / Uneven Ground | 8 to 10 feet | 1.33 lb/ft (Heavy Duty) | 6 to 8 inches | 6 feet from corner |
| High-Pressure (Deer/Bear) | 10 to 12 feet | 1.33 lb/ft + 1 Wood Post per 50ft | 6 to 8 inches | 8 feet from corner |
Phase 1: Constructing the Corner H-Brace Assembly
Ninety percent of fence failures occur at corners and gate ends. The H-brace assembly absorbs the cumulative horizontal pull of the fence fabric and redirects it downward into the earth.
- Set the Corner Post: Dig a hole 3.5 to 4 feet deep (below the local frost line). Use a pressure-treated wooden post with a minimum 5-inch diameter. Backfill with tamped soil or a dry-pack concrete mix. Allow 48 hours for curing if using concrete.
- Set the Brace Post: Measure exactly 8 feet from the inside edge of the corner post along the fence line. Set a second treated wood post (minimum 4-inch diameter) at the same depth as the corner post.
- Install the Horizontal Rail: Notch both posts to accept a horizontal rail (usually a 4-inch diameter post cut to 9 feet). The rail should sit roughly 36 inches from the ground for a standard 48-inch to 60-inch fence. Secure with 60d galvanized common nails or structural timber screws.
- Wrap the Diagonal Brace Wire: Use 9-gauge galvanized brace wire. Loop it around the base of the corner post and the top of the brace post. Pull it tight and secure it with a twist stick (a short piece of rebar or hardwood dowel) to apply mechanical leverage until the wire is drum-tight.
Phase 2: Setting Line Posts and Unrolling
Drive your steel T-posts using a manual or pneumatic post driver. Ensure the anchor plate at the bottom is fully submerged in the soil. The T-post studs (the bumps that hold the clips) must face the inside of the enclosure. This ensures that when livestock or wildlife push against the fence, they push against the steel post, not just the wire clips.
Unroll the woven wire fabric on the inside of the fence line (the same side as the T-post studs). This prevents animals from rubbing against the exposed T-post clips and popping the wire off the posts.
Phase 3: The Tensioning Protocol (Avoiding Mesh Distortion)
This is the most critical phase of the installation. As noted by Red Brand Woven Wire Specifications, woven wire must only be pulled until the mesh is taut and the bottom wire rests firmly against the ground.
Never attach a come-along or fence puller directly to the top wire of a woven fence. The concentrated force will rip the top wire out of the knots. Instead, weave a steel tension bar (or a heavy piece of rebar) vertically through the mesh at the end of the roll. Attach your come-along to the center of the tension bar. This distributes the pulling force evenly across the entire height of the fabric.
- Attach the come-along to the tension bar and to a temporary pulling post or vehicle hitch.
- Pump the come-along slowly. Watch the vertical stay wires. If they begin to angle or stretch, stop immediately.
- The target tension is achieved when the bottom wire touches the soil uniformly and the mesh squares remain perfectly square.
Phase 4: Fastening and Final Securing
Once tensioned, secure the fabric to the posts. The fastening method depends on your post material.
Fastening to Wood Posts
Use 1.5-inch or 2-inch galvanized fence staples (U-nails). Drive them into the wood, but do not drive them flush. Leave a 1/8-inch gap between the crown of the staple and the wire. Woven wire expands and contracts significantly with seasonal temperature changes. A flush-driven staple will pinch the wire, causing it to snap or buckle when the temperature drops.
Fastening to Steel T-Posts
Use heavy-duty galvanized T-post clips. Position the clip over the wire and twist the ends tightly using fencing pliers. Place a clip at the top and bottom of every T-post, and one in the middle for fences taller than 48 inches. Ensure the twisted ends of the clip face the inside of the enclosure to prevent injury to passing animals.
Troubleshooting Common Installation Failures
Even with careful planning, installation errors can manifest once the fence is under load. Use this diagnostic guide to correct issues before they become permanent failures.
- Symptom: The mesh looks like a diamond pattern instead of squares.
Cause: Over-tensioning. The come-along was pulled too far, stretching the vertical wires.
Fix: Release the tension on the come-along immediately. The mesh should relax back into a square geometry. Re-tension gently using the pull bar method. - Symptom: The corner post is leaning inward toward the fence line.
Cause: The diagonal brace wire was not tightened sufficiently, or the corner post was not set below the frost line, allowing frost heave to lift and tilt it.
Fix: Insert a twist stick into the diagonal brace wire and twist until the wire is taut and the post is pulled back to plumb. If the post is heaving, it must be dug out and reset deeper. - Symptom: The bottom of the fence lifts off the ground between line posts.
Cause: Line post spacing is too wide for the terrain, or the ground is uneven.
Fix: Add intermediate T-posts in the low spots. For severe dips, use a single strand of 12.5-gauge barbed wire or smooth wire staked directly to the ground to close the gap.