Mastering Carpet Tape: Installation Steps for Rugs and Seams
Learn how to properly apply carpet tape for area rugs and carpet seams. Includes surface prep, tape selection, and residue-free removal techniques.
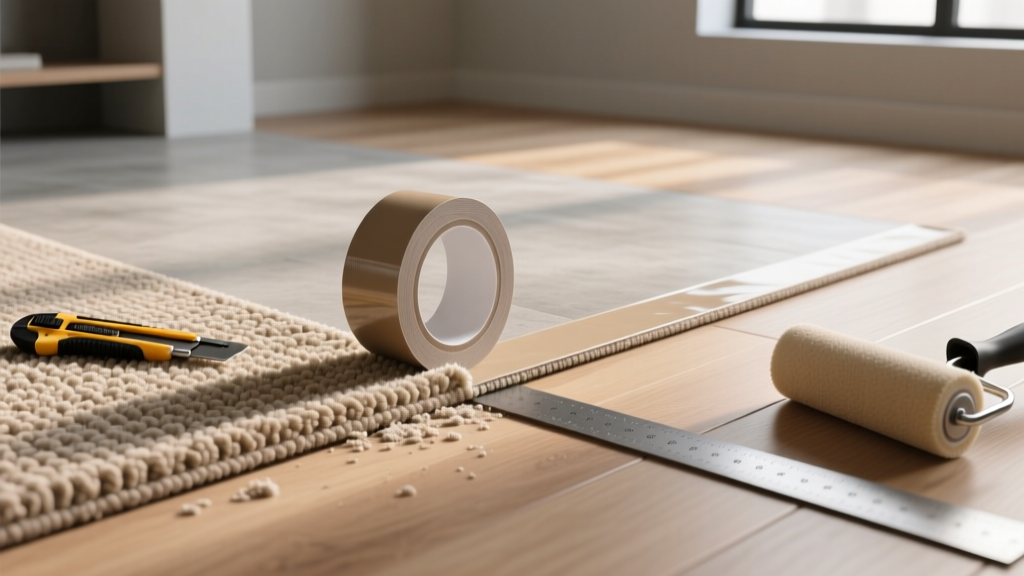
The Mechanics of Pressure-Sensitive Carpet Adhesives
Carpet tape relies on pressure-sensitive adhesive (PSA) technology, which differs fundamentally from liquid adhesives or curing epoxies. PSAs do not require a chemical reaction, solvent evaporation, or heat activation to achieve a bond. Instead, they utilize a viscoelastic balance: the adhesive must be soft enough to flow into the microscopic pores of the subfloor (wet-out) upon the application of pressure, yet possess enough internal cohesion to resist shear forces when the carpet is subjected to foot traffic.
The effectiveness of this bond is dictated by two primary metrics: quick tack (the immediate grabbing power when the carpet first contacts the tape) and shear resistance (the ability to hold the carpet in place against lateral sliding forces over time). Rubber-based hot-melt tapes offer aggressive quick tack, making them ideal for heavy traffic areas, while acrylic-based tapes provide superior long-term shear resistance and UV stability, though they require a firmer initial burnishing to achieve full wet-out.
Never apply standard rubber-based carpet tape directly to site-finished polyurethane or moisture-cured urethane hardwood floors. The plasticizers and tackifying resins in the adhesive can chemically bond with the floor finish, leading to catastrophic delamination of the wood finish upon removal. For finished hardwood, exclusively use acrylic-based tapes explicitly labeled as "residue-free" or "hardwood safe," and always test a 2x2 inch area for 48 hours before full application.
Selecting the Correct Tape Formulation
Choosing the wrong adhesive chemistry is the leading cause of installation failure and subfloor damage. The table below outlines the three primary formulations available in the professional market.
| Formulation | Best Application | Tack Level | Residue Risk | Subfloor Compatibility |
|---|---|---|---|---|
| Hot-Melt Rubber | High-traffic commercial, concrete, temporary event flooring | Very High | High | Concrete, VCT, sealed tile |
| Acrylic Emulsion | Residential area rugs, finished hardwood, laminate | Medium | Very Low | Hardwood, laminate, luxury vinyl |
| Silicone-Coated Fiberglass | Radiant heat subfloors, extreme temperature fluctuations | Low-Medium | None | Radiant heated concrete, tile |
Subfloor Preparation and Environmental Limits
Adhesive failure is rarely a defect in the tape itself; it is almost always a failure of surface preparation. The subfloor must be structurally sound, flat to within 3/16-inch over a 10-foot radius, and chemically compatible with the PSA.
Concrete Subfloors
Concrete acts as a sponge for moisture vapor. Before applying any carpet tape to a below-grade or on-grade concrete slab, you must verify the Moisture Vapor Emission Rate (MVER). According to ASTM F1869 standards, the MVER must not exceed 3 lbs per 1,000 square feet per 24 hours. Additionally, test the alkalinity of the concrete; a pH level above 9 will saponify the adhesive, turning it into a soapy, non-tacky substance. If the pH is high, apply a penetrating concrete sealer and allow it to cure fully before taping.
Wood and Laminate Subfloors
Dust, wax, and oil-based soaps act as a release agent, preventing the PSA from wetting out. Clean the surface using a pH-neutral hardwood floor cleaner. Avoid products containing acrylic polishes or rejuvenators, as these leave a microscopic sacrificial layer that the tape will bond to instead of the actual floor finish. The National Wood Flooring Association (NWFA) strongly advises against using oil soaps or steam mops prior to any adhesive application.
Step-by-Step Perimeter and Grid Application
For area rugs, a full-coverage tape application is unnecessary and makes future removal a nightmare. Instead, utilize a strategic perimeter-and-grid layout to anchor the rug while allowing the subfloor to breathe.
- Map the Perimeter: Measure 3 inches inward from the edge of the rug. Apply a continuous strip of 2-inch or 3-inch double-sided carpet tape along this inner perimeter line. Do not place tape directly under the bound edge of the rug, as the thickness variance will create a visible ridge.
- Establish the Interior Grid: For rugs larger than 5x7 feet, perimeter taping is insufficient to prevent center-buckling. Apply parallel strips of tape across the center of the rug footprint, spaced exactly 24 inches apart. For an 8x10 rug, this typically requires two parallel interior strips.
- Expose and Align: Peel back the release liner from the tape. Carefully align the rug over the taped footprint, starting from one corner and rolling it outward to prevent trapping air pockets.
- The Burnish Phase (Critical): PSA requires pressure to activate. Walk the entire perimeter and grid lines. For commercial installations, use a 75-pound segmented floor roller or a heavy carpet knee-kicker to apply uniform downward pressure, forcing the adhesive into the subfloor's micro-texture.
Executing Carpet Seams with Cold Tape
When joining two pieces of wall-to-wall carpet without a hot-melt seaming iron, cold seam tape is the standard. Align the two carpet edges so the backing sits flush against the tape, leaving a precise 1/16-inch gap between the carpet faces. This gap allows the adhesive to slightly ooze up and grip the primary backing, preventing edge curl. Press the seam down and roll it with a specialized 100-pound steel seam roller—never use a standard paint roller, as it lacks the concentrated point-load pressure required to seat the carpet backing into the adhesive.
Troubleshooting Adhesion Failures
Even with meticulous preparation, environmental factors can compromise the bond. Use this diagnostic framework to address common failure modes:
- Symptom: Tape releases from the subfloor, but remains stuck to the carpet backing.
Cause: Subfloor contamination (dust, sealers, or high concrete pH) or low application temperature. PSAs become brittle and lose tack below 50°F (10°C).
Fix: Clean the subfloor with denatured alcohol, ensure ambient room temperature is above 65°F, and reapply. - Symptom: Tape releases from the carpet backing, but remains stuck to the floor.
Cause: The carpet backing is heavily treated with stain-resistant fluoropolymers (like Teflon) or latex degradation has occurred on older carpets.
Fix: Lightly scuff the carpet backing with 60-grit sandpaper to create a mechanical tooth for the adhesive, or switch to a high-tack rubber-based tape. - Symptom: Rug edges curl upward despite taping.
Cause: Tape was placed too close to the edge, or the rug has inherent memory from being tightly rolled during shipping.
Fix: Reverse-roll the rug for 24 hours prior to installation to neutralize the memory, and ensure tape is placed at least 3 inches inside the perimeter.
Safe Removal and Residue Mitigation
When it is time to remove the carpet, the goal is to break the adhesive bond without damaging the underlying floor. Never pull the carpet straight up at a 90-degree angle; this maximizes shear stress and can tear paper-faced floor finishes or delaminate luxury vinyl planks. Instead, peel the carpet back slowly at a 45-degree angle, keeping the pull as close to parallel to the floor as possible.
If residual adhesive remains on the subfloor, avoid harsh solvents like acetone or lacquer thinner, which will permanently cloud polyurethane finishes and melt vinyl wear layers. According to the EPA guidelines on indoor VOCs, utilizing low-VOC, citrus-based solvents (d-Limonene) is both safer for indoor air quality and highly effective at breaking down rubber-based tackifiers. Apply the citrus solvent, allow a 5-minute dwell time to soften the adhesive matrix, and scrape gently with a plastic putty knife. For acrylic tape residue on hardwood, a mixture of warm water and a few drops of dish soap, agitated with a white nylon scrub pad, is usually sufficient to lift the water-soluble acrylic polymers without harming the floor finish. Always consult the Carpet and Rug Institute (CRI) maintenance guidelines for specific post-removal floor care protocols.