Heated Floor Options: A Room-by-Room Guide for 2026
Compare the best heated floor options for bathrooms, kitchens, and living spaces. Includes 2026 costs, electric vs hydronic specs, and installation tips.

Electric vs. Hydronic: The Baseline Matrix
Before selecting heated floor options for individual rooms, you must establish whether electric resistance cables or hydronic (water-based) tubing fits your structural constraints. According to the U.S. Department of Energy, hydronic systems are generally more cost-effective for whole-house new construction, while electric systems dominate single-room retrofits due to minimal floor buildup and lower upfront labor.
| Feature | Electric Radiant Mats/Cables | Hydronic Radiant Tubing |
|---|---|---|
| Heat Source | Electrical resistance wire (12W/15W per sq ft) | Hot water circulated via PEX tubing |
| Floor Buildup | 1/8" to 1/4" (embedded in thin-set or self-leveler) | 1/2" to 1.5" (requires sleeper systems or thick gypcrete) |
| Best Application | Bathrooms, kitchens, localized tile areas | Whole-house new builds, basement slabs |
| 2026 Install Cost | $12 - $18 per sq. ft. | $18 - $28 per sq. ft. (retrofit) |
Bathrooms: Wet Areas and Tile Coupling
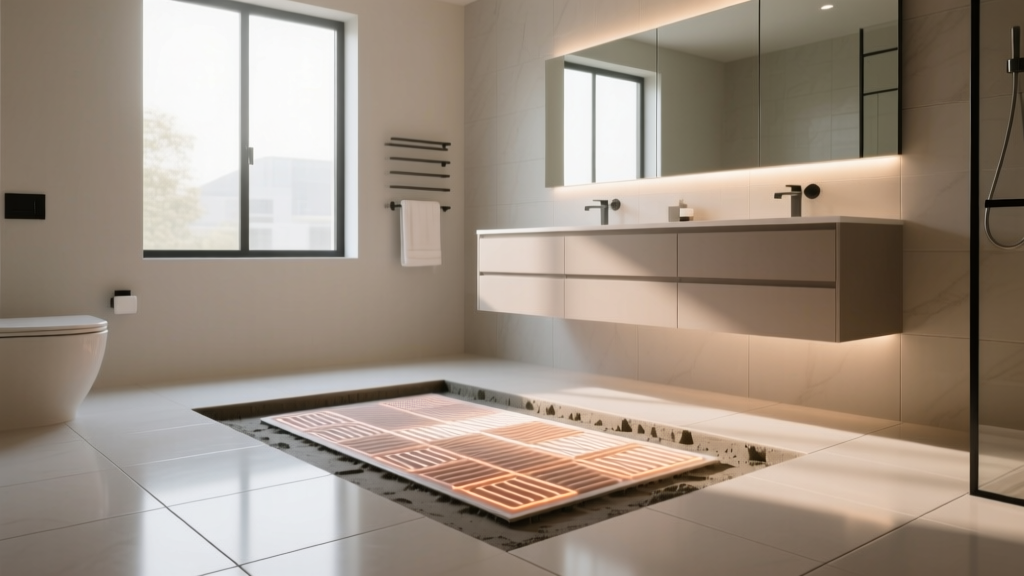
Bathrooms are the most common entry point for radiant heat. The primary challenge here is managing moisture, substrate movement, and the high thermal conductivity of porcelain or ceramic tile. The industry standard for this environment is an uncoupling membrane with integrated heating channels.
The Schluter DITRA-HEAT System
Rather than embedding cables in a standard self-leveling compound, the Schluter DITRA-HEAT membrane allows you to snap heating cables directly into the fleece-backed plastic studs. This provides three simultaneous functions: waterproofing (when paired with KERDI-BAND), uncoupling to prevent tile cracking, and radiant heating.
Sensor Placement in Wet Zones
A frequent failure mode in bathroom installations is improper floor sensor placement. The sensor must be woven between two heating loops, at least 12 inches away from the toilet flange and vanity kickplates. If placed too close to the heating wire, the thermostat will read artificially high temperatures and short-cycle the system, leaving the shower area cold.
Kitchens: Load-Bearing and Cabinet Clearances
Kitchens introduce heavy point loads from islands, refrigerators, and custom cabinetry. When mapping out heated floor options for kitchens, the golden rule is to never install heating elements under permanent cabinetry or heavy appliances.
Thermal Trapping and Wire Burnout
If electric heating cables are covered by a kitchen island, the heat has nowhere to dissipate. This 'thermal trapping' causes the wire's internal resistance to spike, eventually melting the outer Teflon or PVC jacket and causing a ground fault. Always map your cabinet footprint first, and run the heating mats only in the walkways and exposed floor areas.
Managing Floor Height Transitions
Kitchens frequently transition into living rooms with hardwood or luxury vinyl plank (LVP). If you use a 1/4" cement backer board plus 1/4" tile and thin-set, you will create a 1/2" height discrepancy at the doorway. To mitigate this, use ultra-thin decoupling membranes (like DITRA at 1/8") or grind down the existing plywood subfloor slightly to maintain a flush transition with adjacent rooms.
Living Areas and Bedrooms: Hardwood and Carpet Constraints
Extending heated floor options into living spaces requires navigating strict material limitations. Solid hardwood is highly susceptible to dimensional changes when exposed to localized heat, leading to cupping and gapping.
Hardwood: The NWFA Guidelines
The National Wood Flooring Association (NWFA) and the Tile Council of North America (TCNA) provide strict parameters for radiant heat under wood:
- Maximum Surface Temperature: Never exceed 80°F to 85°F at the floor surface.
- Wood Species: Avoid hickory and maple, which are dimensionally unstable under heat. Opt for quarter-sawn white oak or engineered wood with a plywood core.
- Installation Method: Floating engineered floors require specialized low-profile electric systems like the WarmlyYours Environ Flex Roll, which sits directly over the pad without thin-set mortar.
Carpet and the R-Value Barrier
Radiant heat struggles to penetrate insulating materials. If you plan to install carpet over a hydronic or electric subfloor system, the combined R-value of the carpet and the underlying pad must not exceed 1.0. Most standard plush carpets with thick rebond pads sit at R-2.0 or higher, effectively blocking the heat from reaching the room. You must source specialized low-R synthetic pads designed explicitly for radiant applications.
Basements: Concrete Slabs and Thermal Breaks
Basements present a massive heat sink. If you embed electric cables or hydronic tubing directly into an uninsulated concrete slab, up to 40% of the thermal energy will bleed downward into the earth rather than heating the room above.
For basement retrofits where floor height is constrained by low ceilings and existing HVAC ductwork, electric radiant mats embedded in a 1/2" layer of self-leveling compound over a 1/4" insulated cork underlayment offer the best compromise between thermal efficiency and headroom preservation.
2026 Cost Breakdown by Room
Below is a realistic cost matrix for electric radiant heating retrofits in 2026, assuming a professional installation with premium Wi-Fi-enabled thermostats.
| Room Type | Avg. Heated Sq. Ft. | Materials (Mats + Thermostat) | Labor & Prep | Total Estimated Cost |
|---|---|---|---|---|
| Master Bathroom | 40 sq. ft. | $550 - $700 | $600 - $800 | $1,150 - $1,500 |
| Kitchen Walkways | 80 sq. ft. | $900 - $1,100 | $1,000 - $1,400 | $1,900 - $2,500 |
| Living Room (Engineered Wood) | 150 sq. ft. | $1,400 - $1,800 | $800 - $1,200 | $2,200 - $3,000 |
Voltage Limits and Breaker Sizing
When designing layouts for large open-concept rooms, electricians must account for amperage limits. Most residential electric radiant systems operate at 12W per square foot.
The 120V vs. 240V Threshold
- 120V Systems: Capped at 15 Amps for continuous load (80% of a 20A breaker). This yields a maximum of 1,800 Watts, covering roughly 150 square feet.
- 240V Systems: Capped at 20 Amps continuous, yielding 3,840 Watts, covering up to 320 square feet on a single thermostat.
If your living room exceeds 150 square feet, you must either upgrade to a 240V system (requiring a double-pole breaker) or install multiple 120V thermostats. Running a 120V mat that draws 18 Amps on a standard 15 Amp lighting circuit will trip the breaker immediately upon startup.
Common Installation Failures to Avoid
- Air Pockets in Self-Leveler: When pouring self-leveling compound over electric cables, failing to use a spiked roller or a needle vent tool traps air bubbles around the wires. These air pockets act as insulators, causing the wire to overheat locally and burn out within the first winter season.
- Cutting the Cold Lead: The 'cold lead' is the unheated wire connecting the mat to the thermostat. Cutting it alters the electrical resistance of the entire circuit, voiding the manufacturer warranty and potentially causing the thermostat to misread the floor temperature.
- Skipping the Megger Test: Before pouring any mortar or leveling compound, installers must use a megohmmeter (Megger) to test the wire's insulation integrity. If a wire was nicked during the unrolling process, the Megger will detect the fault. Tiling over a nicked wire guarantees a total teardown once the system is energized.
Written by
Sarah WhitfieldSarah Whitfield is a chartered quantity surveyor (MRICS) and construction cost analyst with 15 years of experience in material pricing, procurement strategy, and project budgeting. She earned her degree in Construction Management from the University of Reading (UK) and has worked on projects ranging from $2M custom homes to $180M mixed-use developments across North America and Europe. Sarah currently leads cost estimating for BuildMat Insight, maintaining a proprietary database of 4,000+ material price points updated quarterly. She is a frequent contributor to RSMeans cost data panels and has presented at the International Cost Engineering Council (ICEC) congress. Based in Denver, CO, Sarah is an avid trail runner and volunteer mentor for Women in Construction.
More from Sarah Whitfield
View all
Wood & Lumber
What Are the Different Types of Wood? A Builder's Guide
Compare structural softwoods, finish hardwoods, and engineered lumber. Analyze Janka ratings, MOE values, and 2026 pricing for construction.
Aug 4, 2026

Walls & Panels
Steel Framing vs Wood Framing: Corrosion and Moisture Defense
Compare steel framing vs wood framing for moisture resistance. Learn about galvanized coatings, condensation risks, and corrosion protection strategies.
Jul 21, 2026

Stone & Masonry
How to Cut Stone Veneer: Wet Saw vs Grinder Comparison
Compare the best tools for cutting stone veneer. We review wet saws, angle grinders, and chop saws to help you achieve clean, chip-free cuts.
Jul 21, 2026