Selection Framework for Cheap Basement Flooring Options
Discover a practical selection framework for cheap basement flooring options. Compare costs, moisture resistance, and installation for concrete slabs.

The Basement Flooring Paradox: Budget vs. Moisture
Basements present a unique architectural challenge: they are essentially concrete boxes buried in damp soil. When evaluating cheap basement flooring options, the initial material cost is only a fraction of the true expense. A budget-friendly material that fails against hydrostatic pressure or vapor transmission will result in mold remediation, subfloor replacement, and total material loss—wiping out any initial savings. According to the EPA's guidelines on moisture and mold, controlling indoor moisture is the only viable strategy for preventing biological growth in below-grade environments.
This selection framework moves beyond generic 'top 10' lists. It provides a systematic, four-phase approach to matching your specific slab conditions and usage requirements with the most cost-effective, durable flooring materials available in 2026.
Many manufacturers label budget vinyl and laminate as '100% waterproof.' This only means the material itself will not degrade when wet. It does not mean water cannot seep through the seams, become trapped against the concrete, and breed mold underneath. Always pair waterproof flooring with a proper vapor mitigation strategy.
Phase 1: The Mandatory Subfloor Assessment
Before purchasing any cheap basement flooring options, you must quantify your slab's moisture emission rate and flatness. Skipping this step is the leading cause of below-grade flooring failure.
The Plastic Sheet Moisture Test (ASTM D4263)
The industry standard for qualitative moisture testing is ASTM D4263. Tape a 16x16 inch square of 6-mil clear polyethylene sheeting tightly to the concrete in multiple areas of the basement. Wait 48 hours. If you observe condensation on the underside of the plastic or darkening of the concrete, your slab is emitting excessive moisture vapor. In this scenario, adhesive-backed flooring and traditional laminate are immediately disqualified.
Checking for Slab Flatness
Budget rigid-core flooring requires a relatively flat surface to prevent the click-lock joints from snapping under foot traffic. Use a 6-foot straightedge to check for gaps. If you find deviations greater than 3/16 of an inch over a 10-foot span, you will need to apply a self-leveling compound (SLC) before installation, which impacts your overall budget.
Phase 2: Material Selection Matrix
The following matrix categorizes the most viable cheap basement flooring options based on current market pricing, moisture tolerance, and required subfloor preparation.
| Material Type | Avg. Cost (per sq. ft.) | Moisture Tolerance | Subfloor Prep Needed | Best Application |
|---|---|---|---|---|
| Epoxy / Concrete Stain | $1.50 - $3.50 | High (if vapor barrier primer used) | Acid etching / Diamond grinding | Workshops, utility areas |
| Sheet Vinyl (Fiberglass Back) | $1.00 - $2.50 | Medium (Seams are vulnerable) | Extensive leveling required | Laundry rooms, low-traffic |
| Click-Lock SPC LVP | $2.50 - $4.50 | Very High (Floating floor) | Moderate leveling | Living spaces, home theaters |
| Interlocking EVA / PVC Tiles | $1.50 - $3.00 | High (Can be lifted to dry) | Minimal (forgiving) | Home gyms, playrooms |
| Carpet Tiles (Peel-and-Stick) | $1.00 - $2.50 | Low (Traps moisture/mold) | Clean, dry slab required | Dry, finished storage areas |
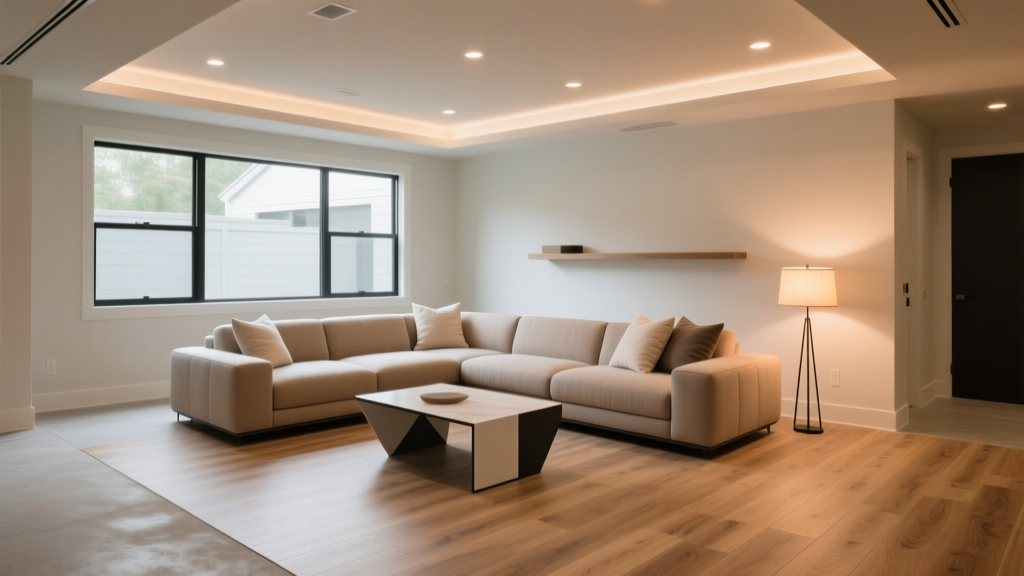
Phase 3: Deep Dive into Top Budget Contenders
1. Click-Lock Stone Plastic Composite (SPC) LVP
For finished living spaces, SPC Luxury Vinyl Plank is the undisputed champion of budget-friendly basement flooring. Unlike older WPC (Wood Plastic Composite) or flexible PVC planks, SPC features a rigid limestone-dust core that resists denting and bridges minor subfloor imperfections. When shopping, filter for products with a minimum 20-mil wear layer and an attached IXPE or cork underlayment. The attached pad saves $0.50 to $0.80 per square foot in secondary material costs and provides a crucial thermal break against the cold concrete.
2. Epoxy and Acid Stains
If your basement serves as a workshop, gym, or utility space, leveraging the existing concrete slab is the most economical route. A 100% solids, two-part epoxy kit costs roughly $1.50 per square foot. However, the Department of Energy notes that below-grade concrete is inherently cold and can transmit moisture. To prevent epoxy delamination (peeling), you must use a moisture-mitigating epoxy primer specifically rated for high MVER (Moisture Vapor Emission Rate) slabs before applying the decorative topcoat.
3. Interlocking PVC or EVA Foam Tiles
For home gyms or children's play areas, interlocking tiles offer unmatched utility. EVA foam tiles (around $1.50/sq. ft.) provide excellent shock absorption but can be punctured by heavy equipment. For weight rooms, upgrade to rigid interlocking PVC tiles (around $2.80/sq. ft.). Because they float and are not adhered to the slab, you can easily pull them up, dry the concrete, and snap them back together if a minor plumbing leak or seepage event occurs.
Phase 4: Hidden Costs That Destroy 'Cheap' Budgets
When calculating your final budget, amateur installers often overlook the ancillary materials required to make cheap basement flooring options actually perform. Factor these into your spreadsheet:
- Self-Leveling Compound (SLC): If your slab fails the flatness test, SLC costs approximately $35 to $45 per 50 lb bag. One bag covers roughly 50 square feet at a 1/8-inch depth. A 500 sq. ft. basement with severe undulations can easily require $300+ in SLC and primer.
- Vapor Barriers: If your LVP does not have an attached pad, or if you are using sheet vinyl, a 6-mil cross-linked polyethylene vapor barrier is mandatory. Budget $0.15 per square foot.
- Perimeter Expansion Gap Trim: Floating floors require a 1/4-inch expansion gap around all walls and pipes. You will need to purchase matching T-moldings, reducers, and quarter-round trim, which typically adds $1.50 to $2.50 per linear foot to the project.
No cheap basement flooring option can survive a chronically wet environment. Maintain a continuous-duty, Energy Star-rated dehumidifier (minimum 50-pint capacity for a 1,000 sq. ft. space) set to 45-50% relative humidity. This protects both your flooring investment and your indoor air quality.
Expert Verdict: The Decision Tree
Use this rapid logic flow to finalize your material selection based on your specific basement profile:
Step 1: What is the primary use of the space?
- Utility / Workshop / Storage: ➔ Go to Step 2A.
- Living Space / Home Theater / Bedroom: ➔ Go to Step 2B.
- Home Gym / Playroom: ➔ Go to Step 2C.
Step 2A (Utility): Did the slab pass the ASTM D4263 plastic sheet test?
- Yes (Dry): ➔ Acid stain and seal the concrete ($1.00/sq. ft.).
- No (Damp): ➔ Apply a moisture-mitigating epoxy primer + 100% solids epoxy ($3.00/sq. ft.).
Step 2B (Living Space): Is the slab relatively flat (less than 3/16' deviation over 10 ft)?
- Yes: ➔ Install Click-Lock SPC LVP with an attached IXPE pad ($2.50 - $3.50/sq. ft.).
- No: ➔ Budget for SLC prep, then install Click-Lock SPC LVP.
Step 2C (Gym/Play): Will heavy weights be dropped, or is it light aerobic/play use?
- Heavy Weights: ➔ Interlocking rigid PVC tiles or vulcanized rubber mats ($2.80 - $3.50/sq. ft.).
- Light/Play: ➔ Interlocking EVA foam tiles ($1.50/sq. ft.).
By treating your basement slab as a dynamic, moisture-emitting system rather than a standard subfloor, you can confidently select cheap basement flooring options that deliver long-term durability without requiring a massive capital outlay. Always prioritize the integrity of the moisture barrier over the aesthetic thickness of the wear layer.
Written by
James ThorntonJames Thornton is a construction industry veteran with 25 years of hands-on experience in wood framing, lumber grading, and residential building codes. He started as a framing carpenter in rural Oregon, earned his ICC Residential Building Inspector certification, and eventually became a senior plan reviewer for the City of Portland Bureau of Development Services. James holds a B.S. in Wood Science & Technology from Oregon State University and is a certified lumber grader through the West Coast Lumber Inspection Bureau (WCLIB). He has inspected over 3,000 residential construction sites and authored the city's internal guide on advanced framing techniques (2x6 at 24" O.C.). James lives in Bend, OR, where he builds custom timber-frame cabins and competes in lumberjack sports.
More from James Thornton
View all
Insulation
Best Home Insulation Materials: Complete 2026 Guide
Compare top home insulation materials for 2026. Find R-values, installed costs per square foot, and best uses for fiberglass, spray foam, and mineral wool.
Aug 4, 2026

Sustainable Building
Certify Your Green Building Material for LEED and WELL
Step-by-step guide to certifying a green building material for LEED v5 and WELL v2. Master EPDs, HPDs, and VOC limits for 2026 project specifications.
Aug 4, 2026

Stone & Masonry
Veneer Stacked Stone Panels: Interior Design & Style Showcase
Discover how veneer stacked stone panels transform interiors. Explore modern design profiles, material pairings, and technical installation specs.
Aug 4, 2026