How Epoxy Floor Color Options Affect Installation Techniques
Discover how different epoxy floor color options affect installation techniques, from primer tinting and flake broadcasting to hiding substrate flaws.

The Chemistry of Color: How Pigments Alter Epoxy Viscosity
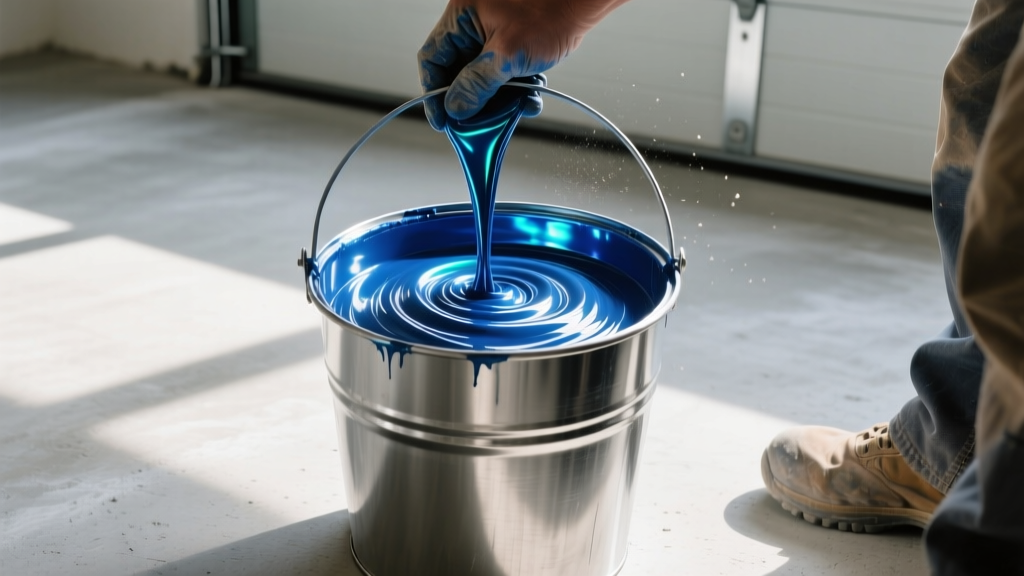
When evaluating epoxy floor color options, most contractors and homeowners focus purely on aesthetics. However, from an installation standpoint, the type of pigment you introduce into a 100% solids epoxy system fundamentally alters its rheology, pot life, and leveling characteristics. Standard liquid colorants (typically universal epoxy tints) have minimal impact on viscosity. Conversely, metallic mica powders and high-load quartz colorants act as particulate fillers, significantly increasing the viscosity of the Part A resin before it is even mixed with the Part B hardener.
For benchmark products like Sikafloor-264, the manufacturer specifies strict limits on additive volumes. When installing heavily pigmented metallic colors, the thickened resin requires a notched squeegee (typically 1/8-inch or 3mm) to achieve the proper mil thickness, followed by aggressive back-rolling with a 1/4-inch nap mohair roller to break surface tension and eliminate trowel marks. Failure to adjust your application tools to match the viscosity of your chosen color results in uneven mil thickness and visible lap marks.
Never exceed a 10% colorant-to-resin ratio by volume when using liquid tints. Over-tinting disrupts the stoichiometric balance of the epoxide and amine groups, preventing complete cross-linking. This results in a permanently tacky surface, reduced chemical resistance, and a drastic drop in compressive strength.
Primer Tinting Strategies for Dark vs. Light Topcoats
The base color of your topcoat dictates your primer strategy. Untinted epoxy primers dry to a translucent amber or light gray. If your selected epoxy floor color options include high-gloss whites, light grays, or pale yellows, applying them over an untinted primer will result in a muddy, uneven final appearance due to the concrete substrate bleeding through.
To prevent this, installers must tint the primer coat to match or closely approximate the topcoat. This often requires a two-coat primer system for ultra-light colors to ensure complete opacity before the flood coat is applied.
| Topcoat Color Selection | Required Primer Tint | Application Technique |
|---|---|---|
| Arctic White / Light Gray | White or Light Gray Tint | Two coats required; sand lightly between coats to ensure topcoat adhesion. |
| Mid-Tone Blues / Greens | Neutral Gray Tint | Single coat usually sufficient; broadcast silica sand for mechanical grip. |
| Black / Dark Charcoal | Dark Gray or Black Tint | Single coat; dark primers can mask minor concrete staining and oil spots. |
Metallic Epoxies: Manipulating Color Depth During Installation
Metallic pigments represent the most technically demanding category among epoxy floor color options. Unlike solid colors that level out uniformly, metallic epoxies contain reflective mica particles that remain mobile long after the resin is poured. The installation technique directly dictates the final visual pattern.
Solvent Popping and Cellular Manipulation
To create the signature "cellular" or "marbled" look, installers use a technique called solvent popping. After the metallic epoxy is back-rolled, the installer lightly mists the surface with denatured alcohol or a specialized epoxy solvent from a distance of 18 to 24 inches. The solvent reduces the surface tension of the epoxy locally, causing the metallic particles to rush away from the impact zone, creating crater-like cells.
- Timing is critical: Solvent spraying must occur within 15 to 25 minutes of the pour. Spraying too early causes the solvent to evaporate before the cells can set; spraying too late (after the exothermic reaction has peaked) results in a hazy, blushed surface.
- Airflow management: Turn off all HVAC systems and close windows. Cross-breezes will push the metallic particles in one direction, ruining the randomized cellular effect and creating visible streaks.
Flake Broadcasting: Density and Color Contrast Matrices
When incorporating vinyl or quartz flakes into your design, the base coat color determines the required broadcast density. A common installation error is applying a partial flake broadcast over a contrasting base coat, which highlights every missed spot and uneven cluster.
Pro Tip: If utilizing a high-contrast flake blend (e.g., multicolored chips over a solid black base coat), you must increase the broadcast rate to a minimum of 15 lbs per 100 square feet to ensure the base color doesn't visually dominate the floor. For full-flake systems, expect to use 100+ lbs per 100 square feet, requiring aggressive scraping and two clear topcoats to encapsulate the rough texture.
UV Stability and Yellowing: Locking in Your Color Choice
The chemical backbone of your chosen epoxy dictates its long-term color stability. Standard aromatic epoxies are highly susceptible to UV degradation, which manifests as ambering or yellowing. While this yellowing is barely perceptible over dark brown or black floors, it will completely ruin the aesthetic of white, light gray, or pastel epoxy floor color options within six months of sun exposure.
For light-colored installations in areas with natural light (showrooms, residential garages with glass doors, or sunrooms), the installation protocol must include an aliphatic topcoat. Aliphatic polyurethanes or polyaspartic topcoats contain UV stabilizers that block the photodegradation of the underlying epoxy. While polyaspartics cure in as little as 4 hours and offer superior UV resistance, they require a faster application pace and specialized roller covers to prevent bubbling.
Hiding Substrate Imperfections Through Strategic Color Selection
Concrete surface preparation is governed by industry safety and performance guidelines, but even perfectly prepped concrete has flaws. The Concrete Surface Profile (CSP) achieved during diamond grinding directly interacts with your color choice. A CSP-2 profile (light etching) is relatively smooth, while a CSP-3 profile (aggressive grinding) leaves visible swirl marks and exposes larger aggregate.
- Solid Light Colors: Require a flawless CSP-1 or CSP-2 substrate. Any grinding marks, bug holes, or patching compounds will telegraph through a solid white or light gray flood coat. Installers must apply a dedicated skim coat of epoxy mortar before the color coat.
- Dark Solid Colors: Forgiving of CSP-3 profiles. Dark pigments absorb light, effectively hiding minor grinding swirls and substrate discoloration without the need for an intermediate skim coat.
- Heavy Metallic and Flake Systems: The ultimate camouflage. The chaotic light refraction of metallic powders or the dense texture of a full-flake broadcast completely masks substrate imperfections, crack repairs, and varying concrete porosity.
Ultimately, selecting from the available epoxy floor color options is not merely a design exercise; it is a technical decision that dictates your primer strategy, application tools, environmental controls, and topcoat chemistry. Aligning your color choice with the appropriate installation technique ensures a durable, defect-free finish that meets both aesthetic and structural demands.
Written by
Elena RodriguezElena Rodriguez is a civil engineer and technical writer specializing in concrete technology, masonry systems, and ASTM/ACI compliance. She earned her B.S. in Civil Engineering from Texas A&M University and spent a decade at a materials testing laboratory, performing over 2,000 concrete compressive strength tests and masonry prism evaluations. Elena is an ACI-certified Field Testing Technician (Grade I) and a member of ASTM Committee C12 on Natural Building Stone. She currently consults on forensic engineering cases involving concrete failures and moisture intrusion. Based in San Antonio, TX, Elena is a proud member of the Society of Women Engineers (SWE) and coaches her daughter's FIRST Robotics team.
More from Elena Rodriguez
View all
Walls & Panels
Cost Analysis: Light Gauge Steel Framing Advantages and Disadvantages
Evaluate light gauge steel framing advantages and disadvantages through a strict cost analysis lens, comparing material, labor, and lifecycle expenses.
Aug 4, 2026

Walls & Panels
Gypsum Board Types: Exact Specifications, Thickness & Dimensions
Compare standard, Type X, and moisture-resistant gypsum board types. Get exact specifications, thicknesses, dimensions, and ASTM standards for your project.
Aug 4, 2026

Fire Resistance
Best Fire-Resistant Outdoor Decking Materials: 2026 Buyer Guide
Discover the best fire-resistant outdoor decking materials for 2026. Compare Class A PVC, aluminum, and hardwood options for WUI compliance and safety.
Aug 4, 2026