Evaluating Basement Floor Coating Options for Concrete Slabs
Compare the best basement floor coating options for damp concrete. Learn MVER limits, polyurea vs epoxy costs, and moisture mitigation strategies.

The Subgrade Challenge: Hydrostatic Pressure and MVER
Basement concrete slabs are in constant contact with the surrounding soil, making them highly susceptible to moisture vapor transmission. Unlike above-grade floors, basement slabs experience upward hydrostatic pressure that can easily push moisture through the concrete capillaries. When standard decorative coatings are applied without accounting for this, the trapped moisture creates osmotic pressure, leading to blistering, delamination, and catastrophic coating failure.
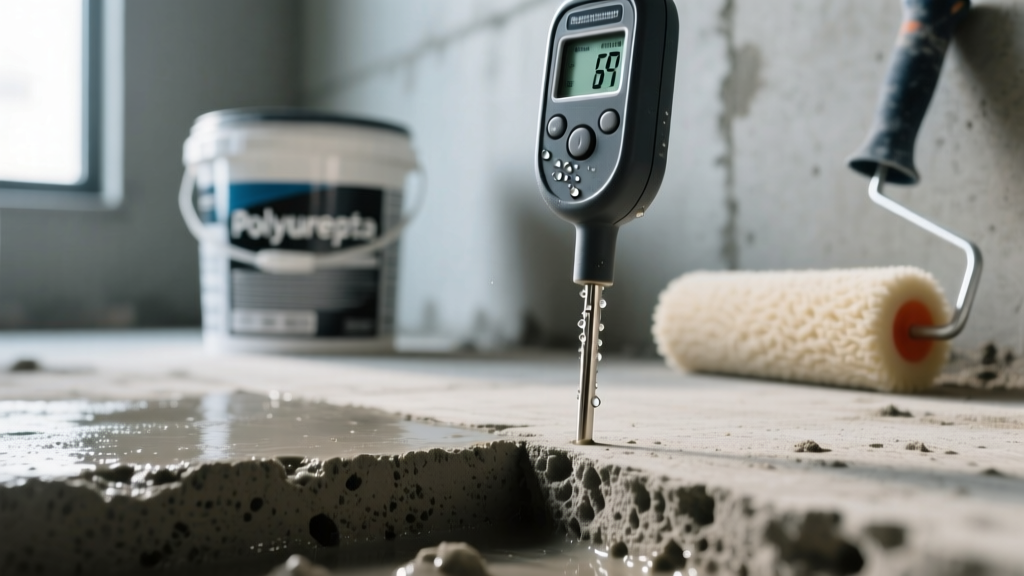
To select the correct basement floor coating options, you must first quantify the Moisture Vapor Emission Rate (MVER). According to the ASTM F2170 standard, relative humidity (RH) testing using in-situ probes is the most accurate method for below-grade slabs, surpassing the outdated surface-level calcium chloride tests. Standard epoxies typically fail if the MVER exceeds 3 to 5 lbs per 1,000 square feet per 24 hours. High-performance moisture-mitigating systems, however, can tolerate MVER rates up to 15 lbs or more.
Critical Testing Requirement: Never apply a basement coating without conducting a quantitative moisture test. The EPA guidelines on moisture control emphasize that sealing a damp basement floor without proper vapor barriers or breathable coatings can trap moisture in the walls, exacerbating mold growth and structural decay. Always test at 20% and 40% depth of the slab using RH probes.
Matrix: Comparing Premium Basement Floor Coating Options
Not all polymers react to subgrade moisture equally. The following matrix breaks down the chemical properties, moisture tolerances, and ideal use cases for the top coating systems available for basement environments.
| Coating System | Max MVER Tolerance | Cure Time (Walkable) | Flexibility & Crack Bridging | Best Use Case |
|---|---|---|---|---|
| 100% Solids Epoxy | 3 - 5 lbs | 12 - 24 hours | Low (Rigid) | Dry basements, heavy storage areas |
| Aliphatic Polyurea | 8 - 12 lbs (with primer) | 4 - 8 hours | High (Elastomeric) | Finished living spaces, micro-cracked slabs |
| Polyaspartic Topcoat | N/A (Topcoat only) | 1 - 2 hours | Medium | UV-stable walkout basements, fast turnarounds |
| Moisture-Mitigating Urethane | 15+ lbs | 8 - 12 hours | Medium-High | High-moisture slabs, laundry rooms, wet bars |
| Penetrating Silane/Siloxane | Breathable (No limit) | 2 - 4 hours | N/A (Does not form film) | Unfinished utility basements, dust-proofing |
Deep Dive: Polyurea and Polyaspartic Systems
For finished basement living spaces, polyurea and polyaspartic coatings have largely replaced traditional epoxies as the industry standard. Polyurea acts as a moisture-vapor barrier while retaining elastomeric properties, meaning it can bridge hairline cracks (up to 1/16th of an inch) that naturally occur in settling basement slabs.
When selecting polyurea, the distinction between aromatic and aliphatic formulations is critical. Aromatic polyureas are less expensive but will yellow and chalk when exposed to UV light. If your basement features walkout doors or large egress windows, you must specify an aliphatic polyurea or a polyaspartic topcoat to maintain color stability and gloss retention over time.
Step-by-Step: Substrate Preparation for Below-Grade Slabs
The Department of Energy basement guidelines highlight that proper air sealing and moisture management are foundational to basement finishing. In flooring, this translates to mechanical preparation. Acid etching is entirely insufficient for basement slabs due to the presence of laitance and efflorescence.
- Diamond Grinding: Use a planetary diamond grinder with 30- to 40-grit metal-bonded diamonds to open the pores and achieve a Concrete Surface Profile (CSP) of 2 to 3.
- HEPA Vacuuming: Extract all silica dust. Residual dust acts as a bond-breaker, guaranteeing delamination.
- Moisture-Mitigating Primer: If MVER is above 5 lbs, apply a dedicated 2-part moisture-mitigating epoxy primer (e.g., Mapei Primer SN or similar high-build vapor barriers) at a rate of 100 to 150 sq ft per gallon.
- Base Coat Application: Apply the pigmented polyurea base coat, broadcasting 100% coverage with 1/4-inch quartz sand or decorative vinyl flakes for texture and slip resistance.
- Topcoat: Seal with an aliphatic polyaspartic topcoat for chemical resistance against household cleaners and de-icing salts tracked in from the garage.
Budget Breakdown: Cost Per Square Foot by System
Pricing for basement floor coatings varies significantly based on the required moisture mitigation steps and the complexity of the flake broadcast. The following 2026 cost estimates assume a standard 800-square-foot basement slab in good structural condition.
| System Type | Material Cost (DIY) | Professional Installation (Labor + Materials) | Expected Lifespan |
|---|---|---|---|
| Water-Based Epoxy (Big Box Store) | $1.50 - $2.50 / sq ft | $4.00 - $6.00 / sq ft | 1 - 3 years |
| 100% Solids Epoxy (2-Coat) | $3.00 - $4.50 / sq ft | $6.50 - $9.00 / sq ft | 5 - 10 years |
| Polyurea/Polyaspartic Flake System | $5.00 - $7.00 / sq ft | $8.50 - $13.00 / sq ft | 15 - 20+ years |
| Penetrating Siloxane Sealer | $0.50 - $1.00 / sq ft | $2.00 - $3.50 / sq ft | 5 - 7 years |
Troubleshooting Common Coating Failures in Basements
When basement floor coatings fail, the root cause is almost always related to moisture dynamics or inadequate surface profiling. Understanding these failure modes is essential for both prevention and remediation.
- Osmotic Blistering: Bubbles or blisters form under the coating. Cause: Water vapor pushes through the concrete, dissolving soluble salts at the concrete-coating interface. The resulting osmotic cell draws more water in, creating pressure that lifts the coating. Fix: Scrape the blisters, diamond grind the area, apply a high-build moisture-mitigating primer, and re-topcoat.
- Amine Blush: A waxy, greasy, or cloudy film appears on the surface of an epoxy coating. Cause: The amine hardener in the epoxy reacts with ambient humidity and carbon dioxide in the basement air, a common issue in unconditioned, damp basements. Fix: Wash the surface with warm water and a Scotch-Brite pad, dry completely, and lightly sand before applying the next coat.
- Sheet Delamination: Large sheets of the coating peel away, revealing bare concrete. Cause: Failure to remove laitance (the weak, dusty layer of cement on the surface) via mechanical grinding, or applying the coating over a damp slab without a vapor-blocking primer. Fix: Complete removal via shot blasting or aggressive grinding; restart the system with proper CSP profiling.
Final Selection Framework
Choosing the right coating requires matching the product to your specific basement conditions. Use this decision framework to finalize your selection:
- If your basement is unfinished and used strictly for storage/utilities: Save your budget. Apply a penetrating silane/siloxane sealer. It will dust-proof the concrete and repel liquid spills without trapping moisture vapor.
- If your slab is dry (MVER < 3 lbs) and you want a high-gloss finished look: A 100% solids epoxy system with a urethane topcoat provides excellent chemical resistance and durability at a mid-range price point.
- If your basement is a finished living space, home gym, or has a history of minor dampness: Invest in a polyurea base coat with a polyaspartic topcoat. The elastomeric nature of polyurea accommodates seasonal slab movement, while the rapid cure time minimizes disruption to your home.
Written by
David NakamuraDavid Nakamura is a licensed architect (AIA) and construction technology writer focused on sustainable building methods, mass timber engineering, and high-performance building envelopes. He holds a Master of Architecture from the University of Washington and is a certified Passive House Consultant (CPHC). David spent eight years at the Seattle firm Mithun, where he led the design of three LEED Platinum projects, before founding his own practice specializing in net-zero residential design. He serves on the editorial advisory board of GreenBuilder Magazine and has authored peer-reviewed papers on cross-laminated timber (CLT) connections for the Journal of Structural Engineering. In his spare time, David teaches woodworking at Pratt Fine Arts Center and kayaks the Puget Sound.
More from David Nakamura
View all
Construction Cost
Labor Cost to Build a Deck Per Sq Ft: 2026 Installation Guide
Discover the exact labor cost to build a deck per sq ft in 2026. This installation guide breaks down contractor rates, complexity factors, and hidden fees.
Aug 4, 2026

Construction Cost
How Much Does It Cost to Build a 3 Bedroom House? Financing Guide
Learn exactly how much it costs to build a 3 bedroom house and explore 2026 financing options, construction loan types, and budget frameworks for your build.
Aug 4, 2026

Construction Cost
Cost to Build a Tennis Court: 2026 Guide
How much does it cost to build a tennis court in 2026? Breakdowns for asphalt, concrete, and synthetic surfaces plus fencing and lighting.
Jul 30, 2026