Best Paint Systems for a Durable Painted Tile Floor
Compare top paint systems for a painted tile floor. Deep dive into Rust-Oleum, INSL-X, and Sherwin-Williams kits, prep steps, and costs.
The Adhesion Science of Glazed Tile
Painting a tile floor requires overcoming the non-porous, highly polished surface of ceramic or porcelain. Standard latex wall paints will peel within weeks under foot traffic because they rely on mechanical grip and moisture absorption to cure. According to ASTM C373, porcelain tile has a water absorption rate of less than 0.5%, while glazed ceramic sits between 0.5% and 3.0%. This extreme density rejects moisture and standard paint binders.
To achieve a durable painted tile floor, you must use specialized bonding primers with high surface tension penetration, paired with high-crosslink density topcoats like urethanes, epoxies, or acrylic-alkyd hybrids. The goal is to create a chemical bond rather than a purely mechanical one, ensuring the coating withstands the sheer forces of foot traffic, rolling loads, and frequent wet-mopping.
Top Product Lines for Floor Tile Painting
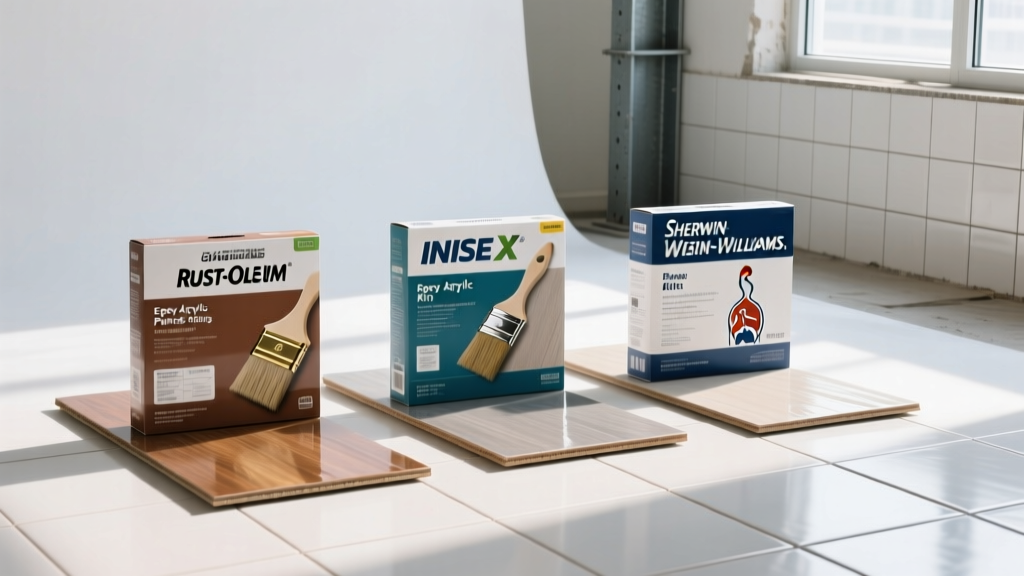
Not all floor paints are formulated for glazed surfaces. Below is a comparison of the three most reliable product systems used by professional painters and advanced DIYers for tile refinishing.
| Product System | Chemistry | Primer Required? | Walk-On Time | Full Cure | Approx. Cost/Gal |
|---|---|---|---|---|---|
| Rust-Oleum HOME | Acrylic-Alkyd Hybrid + Poly Topcoat | No (on glazed tile) | 24 Hours | 14 Days | $50 (Base) / $45 (Top) |
| INSL-X Stix + BM Floor & Patio | Polyurethane-Acrylic Primer + 100% Acrylic | Yes (Stix Primer) | 24 Hours | 30 Days | $55 (Primer) / $75 (Top) |
| Sherwin-Williams Extreme Bond + Porch & Floor | Polyurethane-Acrylic Primer + Urethane Enamel | Yes (Extreme Bond) | 24 Hours | 21 Days | $52 (Primer) / $68 (Top) |
1. Rust-Oleum HOME Floor Coating System
The Rust-Oleum HOME line is specifically engineered for interior hard surfaces, including tile, without requiring a separate primer. The base coat is an acrylic-alkyd hybrid that provides the durability of oil-based paint with the easy cleanup of water-based formulas. It must be top-coated with their specific water-based polyurethane topcoat (available in matte or satin) to resist scuffs and UV yellowing. This system is ideal for DIYers because it eliminates the primer step and has a low VOC profile (under 50 g/L), making it safe for interior bathrooms and kitchens.
2. INSL-X Stix Bonding Primer + Benjamin Moore Floor & Patio
For high-traffic areas like mudrooms or entryways, the INSL-X Stix system is the industry gold standard. INSL-X Stix is a polyurethane-acrylic hybrid primer designed to grip "unpaintable" surfaces like glossy tile, glass, and glazed brick. Once the primer cures (usually 3-4 hours), it is top-coated with Benjamin Moore’s Floor & Patio Enamel. This 100% acrylic enamel is highly flexible, preventing the micro-cracking that often occurs when rigid epoxy paints are subjected to subfloor deflection.
3. Sherwin-Williams Extreme Bond + Porch & Floor Enamel
Sherwin-Williams offers a robust commercial-grade alternative. Their Extreme Bond Interior/Exterior Primer utilizes a polyurethane-acrylic resin that penetrates microscopic pores in the tile glaze. When paired with their Water-Based Porch & Floor Enamel, the result is a highly chemical-resistant surface that stands up to harsh cleaning agents. This system is frequently specified by contractors for commercial restrooms and residential laundry rooms where moisture and chemical exposure are constant.
The 5-Step Prep Protocol for Maximum Adhesion
Even the most expensive urethane enamel will fail if the tile is not prepped correctly. Glazed tile is often coated with invisible manufacturing release agents, silicone-based sealers, and years of household grease. Follow this exact protocol:
- Heavy-Duty Degreasing: Mix 1/2 cup of TSP (Trisodium Phosphate) substitute per gallon of hot water. Scrub the floor with a stiff-bristled nylon brush, paying special attention to grout lines where wax and oils accumulate. Rinse thoroughly with clean water.
- Moisture Verification: Grout is highly porous and traps water. Use a non-destructive moisture meter (like a Tramex Moisture Encounter) to test the grout lines. Readings must be below 4% before painting. If the floor was just washed, wait a minimum of 48 hours with fans running.
- Mechanical Scuffing: Use a pole sander with 120-grit aluminum oxide sandpaper. Do not use silicon carbide paper, as it can leave a waxy residue. The goal is not to remove the glaze, but to break the surface tension and create a micro-scratch pattern (a "profile") for the primer to bite into.
- Solvent Wipe: Vacuum the floor with a HEPA-filter shop vac, then wipe the entire surface with denatured alcohol on clean, lint-free microfiber cloths. This removes the final layer of silica dust.
- Grout Line Repair: Inspect for cracked or missing grout. Standard cementitious grout takes 28 days to cure. For immediate painting, fill voids with a two-part epoxy grout filler or a high-quality, paintable silicone-acrylic caulk for expansion joints at the perimeter.
Common Failure Modes and How to Avoid Them
If your tile has deep, recessed grout lines (greater than 1/8-inch below the tile surface), liquid paint will pool in the crevices. This creates a thick film that dries slowly on the surface while remaining soft underneath, leading to permanent tackiness and eventual cracking. Fix: Use a high-quality angled sash brush to "cut in" and brush paint out of the grout lines before rolling the flat surfaces, or pre-fill deep grout lines with a leveling compound.
Many DIYers opt for cheap, two-part aromatic epoxy kits from big-box stores. While incredibly hard, aromatic epoxies are not UV stable. Within 6 to 12 months of exposure to sunlight from a nearby window, white or light-gray painted tile floors will turn a distinct, ugly yellow. Fix: Always use aliphatic polyurethanes or the acrylic-alkyd hybrids listed above for areas receiving direct or indirect sunlight.
Cost Analysis: DIY Kits vs. Professional Refinishing
Understanding the financial breakdown helps determine whether a DIY painted tile floor makes sense for your budget and timeline.
- DIY Material Costs: For a standard 100-square-foot bathroom, you will need one gallon of primer ($55), one gallon of topcoat ($70), and roughly $40 in prep supplies (TSP, 120-grit sandpaper, high-density foam rollers, and painter's tape). Total DIY cost: $165 to $220, or roughly $1.65 to $2.20 per square foot.
- Professional Refinishing Costs: Hiring a professional painting contractor to prep, prime, and coat a tile floor typically ranges from $4.50 to $8.00 per square foot. For a 100-square-foot space, expect quotes between $450 and $800. Professionals bring commercial-grade HVLP sprayers that eliminate roller stipple, resulting in a factory-finish look that is difficult to achieve with a brush and roller.
Expert Insight on Curing Times:
"A common mistake homeowners make is washing their newly painted tile floor too soon. While the paint may feel dry to the touch in 2 hours and can handle foot traffic in 24 hours, the chemical crosslinking process (full cure) takes 14 to 30 days depending on humidity. Mopping with ammonia-based cleaners or heavy scrubbing during this window will permanently dull the sheen and compromise the topcoat's structural integrity."
For further reading on surface preparation techniques and the importance of proper ventilation when using urethane-acrylic primers, consult the comprehensive guides available at Bob Vila's painting archives. Ultimately, the longevity of a painted tile floor is dictated 90% by the meticulousness of the preparation and 10% by the quality of the topcoat. Choose your chemistry wisely, respect the curing timelines, and your refinished floor will withstand years of daily wear.