The Ultimate Floor Polisher Playbook for Hardwood and Tile Care
Master your floor polisher technique. Learn exact RPM settings, pad selection, and maintenance playbooks for restoring hardwood and tile finishes.
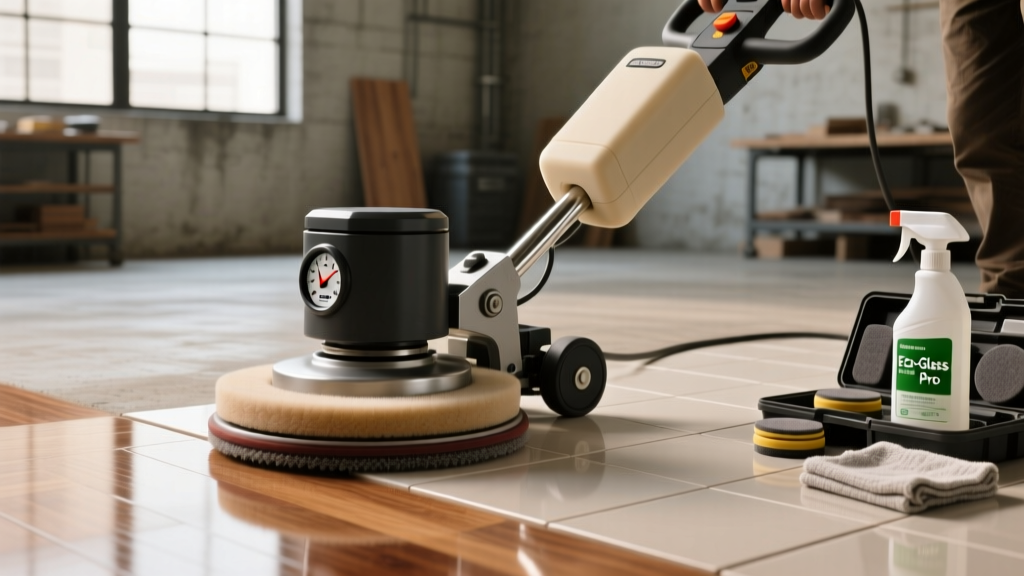
The Mechanics of Swing Machines: RPMs, Weight, and Physics
Operating a floor polisher—specifically a standard 175 RPM swing machine—requires an understanding of gyroscopic physics and weight distribution. Unlike rotary scrubbers that rely on heavy downward pressure, a swing machine floats on the floor. The standard 175 RPM model weighs between 75 and 95 pounds, which is precisely the amount of friction needed to engage the pad without stalling the motor.
The machine's direction is controlled entirely by the handle height relative to the motor's center of gravity. Lowering the handle slightly causes the machine to pull to the left. Raising the handle causes it to pull to the right. To hold the machine perfectly stationary while buffing a specific spot, lock the handle exactly at your waist height. Fighting the machine by gripping tightly will result in uneven swirl marks and operator fatigue.
High-speed burnishers (1,500 to 3,000 RPM) are a different category. Weighing 120 to 150+ pounds, these are designed strictly for hard surfaces like VCT (Vinyl Composition Tile) or polished concrete to create a wet-look shine. They should never be used on residential polyurethane-finished hardwood, as the extreme friction will melt the finish and cause permanent burn marks.
Decoding the Pad Color System
The floor care industry relies on a universal color-coded pad system, pioneered by 3M. Using the wrong pad is the most common cause of floor damage. According to the National Wood Flooring Association (NWFA), aggressive pads will instantly destroy modern factory-cured UV finishes.
| Pad Color | Aggressiveness | Primary Application | Safe for Hardwood? |
|---|---|---|---|
| Black | Extreme (Stripping) | Removing old wax, heavy glue residue | No |
| Brown | Heavy (Scrubbing) | Heavy soil removal on concrete/VCT | No |
| Green | Medium (Scrubbing) | Daily scrubbing of tile grout lines | No |
| Blue | Light (Cleaning) | Light scrubbing, spray buffing | No |
| Red | Very Light (Buffing) | Daily buffing of commercial VCT | Caution |
| White | Minimal (Polishing) | High-speed polishing, applying finishes | Yes |
| Natural Hog Hair | Ultra-Fine (Dusting) | Final high-gloss buffing on wood | Yes |
Hardwood Floor Polishing Playbook
Modern hardwood floors are typically sealed with aluminum oxide or polyurethane. These finishes do not require traditional paste waxes. The goal of polishing is to micro-abrade the surface to level out minor scratches and apply a sacrificial acrylic or polyurethane refresher coat.
Step 1: Surface Preparation
Vacuum the floor using a canister vacuum with a hard-floor brush attachment. Follow this with a microfiber dust mop. Any residual grit left on the floor will act like sandpaper under the polisher, grinding deep scratches into the wood grain.
Step 2: Chemical Application
Apply a pH-neutral hardwood floor polish (such as Bona Hardwood Floor Polish or Basic Coatings). Never use alkaline cleaners (pH above 8.0) on wood, as they will degrade the polyurethane bonds over time. Apply the polish in a 3x3 foot grid using a flat mop, allowing it to level out for 3 to 5 minutes until tacky.
Step 3: The Buffing Technique
Attach a 3M 5100 White pad or a natural hog hair pad to the 175 RPM machine. Turn the machine on and let it reach full speed before lowering it to the floor. Move in straight lines with a 30% overlap on each pass. Do not use a circular motion; the machine's rotation handles the micro-abrasion. Keep the machine moving constantly to prevent friction heat buildup.
Tile and Natural Stone Polishing Matrix
Polishing tile and stone requires a completely different approach, heavily dictated by the Mohs hardness scale of the material. The Tile Council of North America (TCNA) emphasizes that natural stone is highly porous and reactive to acidic chemicals, requiring specialized diamond-impregnated pads rather than standard synthetic fibers.
- Ceramic and Porcelain Tile: These materials are too hard to be polished by traditional fiber pads. A floor polisher is only used here for deep-cleaning the grout lines. Use a Green pad with an alkaline grout cleaner (pH 9.0-10.0) to agitate the grout, followed by wet extraction.
- Polished Marble and Travertine: Natural stone requires a multi-step diamond pad system. Start with a 400-grit diamond-impregnated pad to remove etching, progress to 800-grit, and finish with a 3,000-grit pad under a weighted 175 RPM machine to achieve a mirror finish. Use only strictly neutral (pH 7.0) stone soap.
- Slate and Tumbled Stone: Do not polish. These stones are meant to have a matte, textured finish. Use a Red pad for light cleaning only.
Never use vinegar, lemon-based cleaners, or acidic tile cleaners on marble, limestone, or travertine before polishing. Acid will eat the calcium carbonate in the stone, creating dull, rough spots (etching) that a standard floor polisher cannot remove without professional re-honing.
Troubleshooting Common Polishing Failures
Even experienced technicians encounter finish failures. Use this diagnostic matrix to identify and correct issues on the fly.
| Symptom | Root Cause | Corrective Action |
|---|---|---|
| Circular swirl marks in finish | Dirty pad or moving machine too fast | Replace pad; slow down pass speed to 1 foot per second. |
| Hazy, cloudy finish | Polish applied too thickly or high humidity | Strip with a Blue pad and neutral stripper; reapply thin coat. |
| Burn marks on hardwood | Machine held stationary; wrong pad used | Sand affected area to bare wood; reapply polyurethane. |
| Powdery white residue on tile | Alkaline cleaner not fully rinsed from grout | Rinse with clean water and wet-vacuum immediately. |
| Machine chattering or vibrating | Pad is off-center or clutch plate is dirty | Center the pad precisely; clean the driver plate with a wire brush. |
Machine Maintenance and Storage Protocols
A floor polisher is a high-torque machine that requires strict maintenance to prevent motor burnout and electrical hazards.
- Cord Inspection: The power cord takes immense abuse. Inspect the first three feet of the cord for fraying before every use. Replace the cord immediately if the outer jacket is compromised to prevent short circuits.
- Pad Driver Cleaning: The clutch plate (the disc that holds the pad) accumulates dust, wax, and grit. After every job, remove the pad and scrub the clutch plate with a stiff nylon brush. Debris left on the plate will cause the next pad to sit unevenly, resulting in aggressive gouging.
- Motor Brush Replacement: The carbon brushes inside the universal motor wear down over time. If the machine begins to spark excessively from the motor housing or loses torque under load, replace the carbon brushes (typically a $15 part).
- Proper Storage: Never store the machine with the pad attached. Leaving a damp or chemical-soaked pad on the driver plate will warp the pad and corrode the metal clutch mechanism. Store the machine upright in a dry, climate-controlled environment.
Mastering the floor polisher transforms a tedious chore into a precise restorative process. By respecting the physics of the swing machine, adhering strictly to the pad color system, and matching your chemical pH to the specific floor material, you will extend the lifespan of hardwood and tile installations by decades. For further certification and advanced technique training, consult the Institute of Inspection, Cleaning and Restoration Certification (IICRC) guidelines on commercial floor care.