Vinyl Floor Adhesive Selection: Matching Glue to Subfloor Scenarios
Match the right vinyl floor adhesive to your specific subfloor and environment. Expert guide on pressure-sensitive, hard-set, and moisture-mitigating glues.
The Core Divide: Pressure-Sensitive vs. Hard-Set Adhesives
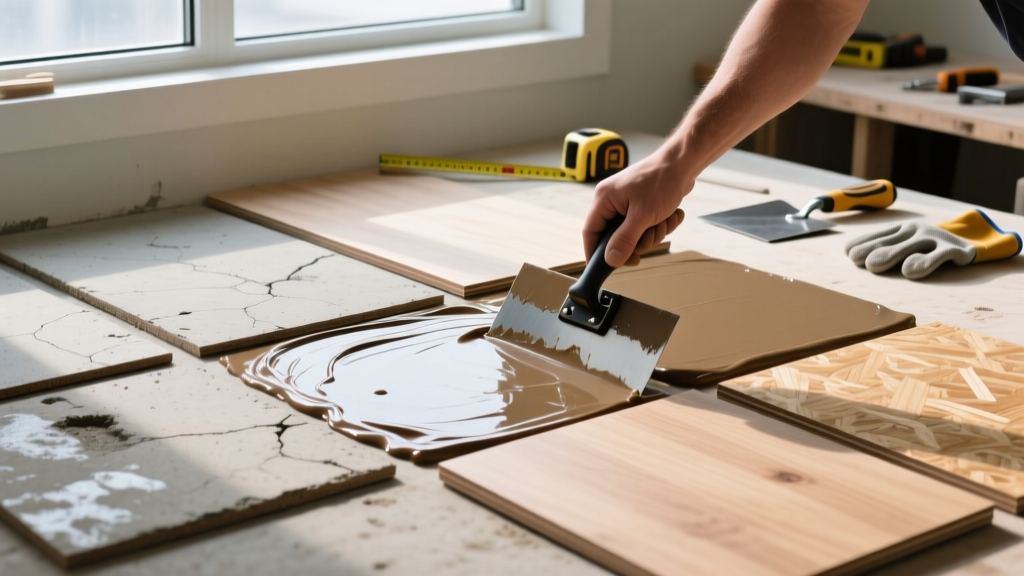
Selecting the correct vinyl floor adhesive is not a one-size-fits-all decision. The fundamental fork in the road for any installer or DIYer is choosing between pressure-sensitive adhesives (PSA) and hard-set (wet-set) adhesives. Misidentifying the required bond type for your specific traffic and subfloor scenario is the leading cause of vinyl plank shifting, edge curling, and adhesive re-emulsification.
| Feature | Pressure-Sensitive (PSA) | Hard-Set (Wet-Set) |
|---|---|---|
| Chemical Behavior | Remains permanently tacky; cures to a firm gel | Dries to a hard, rigid, non-tacky film |
| Repositionability | High (allows plank adjustment during open time) | None (locks in place once initial grab occurs) |
| Shear Strength | Moderate (resists lateral movement) | Very High (resists heavy rolling loads) |
| Best Application | Residential LVP/LVT, light commercial, DIY | Commercial VCT, hospitals, heavy rolling carts |
| Trowel Notch (Standard) | 1/16' x 1/16' x 1/16' square | 1/16' x 1/16' x 1/16' square or U-notch |
For residential Luxury Vinyl Plank (LVP) and Luxury Vinyl Tile (LVT), a high-quality acrylic PSA like Roberts 2310 or Henry 235 AcrylPro is the industry standard. It provides enough lateral grab to prevent joint separation while allowing the installer to tap planks into place without the adhesive instantly locking. Conversely, if you are installing homogeneous sheet vinyl or Vinyl Composition Tile (VCT) in a hospital corridor where heavy gurneys and supply carts exert extreme point-loads, a hard-set adhesive like Mapei Ultrabond ECO 550 is mandatory to prevent the flooring from stretching or indenting.
Scenario Matching: Subfloor-Specific Adhesive Selection
The subfloor dictates the chemical and physical requirements of the adhesive. Applying a standard acrylic adhesive to an unprepared or incompatible subfloor will result in catastrophic bond failure.
High-Moisture Concrete Slabs (The Moisture Trap)
Concrete is inherently porous and wicks moisture from the ground. Water-based acrylic vinyl floor adhesives are highly susceptible to re-emulsification—a process where alkaline moisture from the slab breaks down the adhesive, turning it back into a liquid and causing the vinyl to bubble or detach.
Before applying any adhesive to concrete, perform an ASTM F2170 Relative Humidity (RH) test using in-situ probes. If the RH reading exceeds 75% to 80% (check your specific flooring manufacturer's warranty limits), standard acrylic adhesives will fail. You must first apply a two-part epoxy moisture mitigation system, such as Mapei Primer ET, to seal the slab before spreading your vinyl floor adhesive.
For slabs that test within acceptable moisture limits but are highly porous or 'burnished' (smooth and dense), you must apply an acrylic primer to ensure the adhesive has a mechanical profile to grip. Without a primer, the adhesive may bond to the dust layer rather than the concrete matrix.
Wood Subfloors and Deflection Risks
Plywood and OSB subfloors expand, contract, and deflect under weight. The adhesive used here must possess high elasticity. Solvent-based adhesives should never be used over wood subfloors due to fire hazards and the potential for solvents to degrade the wood resins. Stick to premium acrylic PSAs that remain flexible. Furthermore, ensure the wood subfloor meets an L/360 deflection rating; if the floor bounces, even the most elastic vinyl floor adhesive will eventually fracture under the stress of the vinyl planks pulling apart at the seams.
Installing Over Existing Tile or Terrazzo
Installing vinyl directly over existing ceramic tile or terrazzo introduces the risk of 'telegraphing,' where the grout lines or imperfections show through the flexible vinyl surface over time. While some high-build adhesives claim to bridge minor gaps, the professional standard is to use an embossing leveler (like Henry 547) to flatten the grout lines first. If you must rely on the adhesive to bridge minor recesses, use a larger trowel notch (e.g., 1/8' x 1/8' x 1/8') to lay down a thicker bed of adhesive, but be aware this increases open time and the risk of adhesive oozing into the plank locking mechanisms.
Environmental and Air Quality Considerations
Modern vinyl floor adhesives are predominantly water-based acrylics, which have vastly improved indoor air quality compared to the solvent-based cutback adhesives of the mid-20th century. According to the U.S. Environmental Protection Agency, selecting low-VOC adhesives is critical for maintaining healthy indoor environments, particularly in tightly sealed, energy-efficient homes. Look for adhesives that carry the FloorScore or GREENGUARD Gold certification, which ensures the product emits minimal volatile organic compounds after curing.
If you are removing old vinyl flooring (especially 9x9 inch tiles installed before 1980) and encounter black adhesive (cutback mastic), do not sand or dry-scrape it. This material frequently contains asbestos. Encapsulate it by leaving it in place and applying a specialized primer and self-leveling underlayment over it before applying your new vinyl floor adhesive.
Cost Breakdown and Coverage Rates
Budgeting for adhesive requires understanding both the unit cost and the realistic coverage rate, which is heavily dependent on the porosity of the subfloor and the trowel notch used. The Resilient Floor Covering Institute (RFCI) emphasizes that over-spreading adhesive to 'ensure a good bond' actually leads to longer cure times, trapped solvents, and adhesive bleed-through at the seams.
| Product Model | Adhesive Type | Est. Price (per Gallon) | Real-World Coverage | Recommended Trowel |
|---|---|---|---|---|
| Roberts 2310 | Pressure-Sensitive | $45 - $52 | 180 - 200 sq. ft. | 1/16' x 1/16' x 1/16' Sq. |
| Henry 235 AcrylPro | Pressure-Sensitive | $38 - $45 | 200 - 220 sq. ft. | 1/16' x 1/16' x 1/16' Sq. |
| Mapei Ultrabond ECO 550 | Hard-Set (Wet) | $55 - $65 | 160 - 180 sq. ft. | 1/16' x 1/16' x 1/16' U |
| Bostik DuraGrip | Urethane (Modified) | $70 - $85 | 140 - 160 sq. ft. | 1/8' x 1/8' x 1/8' Sq. |
Note: Pricing reflects average retail and pro-desk costs. Urethane-modified adhesives like Bostik DuraGrip are typically reserved for extreme environments, such as sunrooms with massive temperature fluctuations or interiors of RVs, where standard acrylics would suffer from thermal expansion failure.
Troubleshooting Common Application Failures
Even with the correct adhesive selected for the scenario, poor installation technique will compromise the floor. Use this diagnostic framework to avoid the most frequent failures:
- Trowel Ridges Telegraphing Through Vinyl: Cause: Using a trowel notch that is too large, or failing to 'knock down' the adhesive ridges with the flat side of the trowel before laying the plank. Fix: Strictly adhere to the manufacturer's trowel size; never assume a larger notch equals a better bond.
- Planks Sliding or Shifting After Installation: Cause: The adhesive was allowed to dry past its 'open time' (usually 30-60 minutes for PSAs), collecting dust and losing its tack, OR the floor was subjected to rolling loads before the 24-hour cure time elapsed. Fix: Monitor open time closely; work in small 4x4 foot sections.
- Adhesive Ooze at Seams: Cause: Applying too much adhesive near the edges, or tapping the planks together with excessive force after the adhesive has begun to set. Fix: Keep adhesive at least 1/2 inch away from the perimeter walls and plank edges during spreading.
- Edge Curling on Sheet Vinyl: Cause: Insufficient perimeter adhesion or failure to use a specialized seam sealer. Fix: For sheet goods, ensure the perimeter receives a continuous, unbroken bead of adhesive and use a 100-lb roller immediately after placement to force the material into the adhesive bed.
Matching the exact chemical properties of your vinyl floor adhesive to the physical realities of your subfloor and the environmental demands of the room is the only way to guarantee a permanent, warranty-compliant installation. Always defer to the specific flooring manufacturer's approved adhesive list to ensure your material warranty remains intact.