Hoover Carpet Shampooer Playbook: Deep Cleaning & Machine Care
Master your Hoover carpet shampooer with our expert playbook. Learn fiber-specific deep cleaning techniques, solution ratios, and machine maintenance.
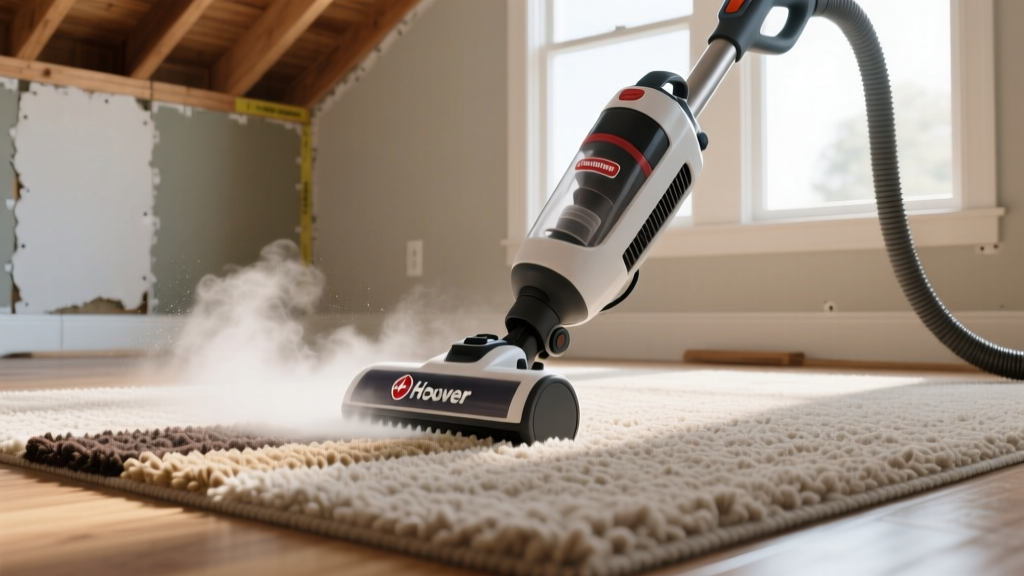
The Anatomy of a Hoover Deep Clean: Machine Selection & Setup
Owning a Hoover carpet shampooer is only the first step toward maintaining pristine flooring. The true difference between a superficial rinse and a professional-grade extraction lies in your technique, solution chemistry, and machine maintenance. Modern Hoover units, particularly the SmartWash Automatic (FH52000 series) and PowerDash Pet Compact (FH50700 series), utilize dual-tank isolation and SpinScrub brush technology to agitate and lift embedded particulates. However, improper operation can lead to overwetting, residue buildup, and premature carpet degradation.
Before introducing moisture to your floors, you must identify your carpet fiber. According to standards outlined by the Carpet and Rug Institute (CRI), synthetic fibers like nylon and PET polyester are highly resilient and respond exceptionally well to hot water extraction and alkaline cleaning agents. Natural fibers, however, require a drastically different approach.
Critical Fiber Compatibility Warning
Wool and Blends: Never use standard Hoover CleanSlate or Oxy formulas on wool carpets. Wool is highly sensitive to alkalinity (pH above 8.0) and high heat. Using a Hoover shampooer on wool with standard synthetic solutions will strip the natural lanolin, cause severe fiber shrinkage, and result in permanent 'cellulosic browning' as the jute backing wicks tannins to the surface. For wool, use a pH-neutral, WoolSafe-approved detergent and disable the machine's HeatForce function if applicable.
The 4-Step Extraction Playbook for High-Traffic Zones
To achieve IICRC S100 standard results for residential carpet cleaning, follow this exact operational sequence. This framework prevents the most common DIY failure: wicking and rapid resoiling.
Step 1: Aggressive Dry Soil Removal
A carpet shampooer is an extraction tool, not a vacuum. Up to 80% of carpet soil is dry particulate (sand, silica, skin cells). If you wet this soil, it turns into mud and is driven deeper into the carpet backing. Vacuum the target area slowly in a crisscross pattern using a beater-bar vacuum. Do not proceed until the vacuum canister or bag is empty and no visible debris remains on the surface.
Step 2: Targeted Pretreatment
For high-traffic lanes or pet zones, apply a dedicated pretreatment spray (such as Hoover Oxy Pretreat) 10 minutes before washing. This dwell time allows the surfactants to break the electrostatic bonds between the soil and the carpet fiber. Do not let the pretreatment dry; it must remain damp for the shampooer to extract it effectively.
Step 3: The 1-Inch-Per-Second Wash Pass
Fill the clean water tank with hot tap water (up to 140°F for synthetics) and the exact ratio of Hoover cleaning solution specified on the bottle—typically 2.5 oz of solution per gallon of water. Overdosing the solution is the primary cause of sticky, fast-resoiling carpets. Push the machine forward at a deliberate pace of 1 inch per second to allow the SpinScrub brushes to agitate, then pull back at the same speed to maximize vacuum suction.
Step 4: The Crucial Dry Extraction Pass
This is where most users fail. Once the carpet is washed, you must perform a 'dry pass.' On the SmartWash+ model, release the solution trigger and slowly pull the machine backward over the damp carpet. This engages pure suction, pulling excess moisture and suspended alkaline residue out of the pad. Repeat this dry pass until the recovery tank stops drawing significant water.
Hoover Model Comparison: SmartWash+ vs. PowerDash Pet
Choosing the right operational workflow depends heavily on your specific Hoover model. Below is a technical comparison of the two most prevalent residential units to help you optimize your cleaning strategy.
| Feature / Specification | SmartWash Automatic (FH52000) | PowerDash Pet Compact (FH50700) |
|---|---|---|
| Tank System | Dual isolated tanks (1 Gallon capacity) | Dual isolated tanks (0.5 Gallon capacity) |
| Brush Roll Design | FlexForce PowerBrushes (removable) | PowerBrush (single row, compact) |
| Drying Technology | HeatForce (applies hot air for faster drying) | Standard suction only |
| Best Use Case | Whole-home deep cleans, large area rugs | Spot cleaning, stairs, apartments, pet accidents |
| Weight & Maneuverability | 18.9 lbs (requires two hands for stairs) | 12.5 lbs (ideal for vertical stair cleaning) |
Troubleshooting Common Extraction Failures
Even with premium equipment, variables in water hardness, carpet age, and pad thickness can cause issues. Use this diagnostic framework to correct problems mid-clean.
- Symptom: Carpet feels sticky and gets dirty again within a week.
Diagnosis: Alkaline residue left behind. You either used too much cleaning solution or skipped the dry extraction passes.
Fix: Refill the clean tank with pure hot water only (no soap) and perform two full wet/dry passes to rinse the fibers. - Symptom: Yellow or brown spots appear after the carpet dries.
Diagnosis: Overwetting. The moisture penetrated the carpet pad or jute backing, dissolving tannins and wicking them to the surface as it evaporates.
Fix: Increase air circulation with floor fans immediately. For future cleans, reduce the forward speed to dispense less water and perform three dry suction passes. - Symptom: Machine leaves visible streaks or 'lanes' in the carpet pile.
Diagnosis: Clogged suction nozzle or uneven brush roll wear.
Fix: Turn off the machine, unplug it, and inspect the clear front nozzle. Remove accumulated pet hair or lint blocking the vacuum channel. Check the brush rolls for debris wrapped around the axles. - Symptom: Sour or mildew odor develops 24 hours post-clean.
Diagnosis: Microbial growth due to extended dampness (drying took longer than 12 hours).
Fix: Run the AC or dehumidifier to drop ambient humidity below 50%. Lightly mist the carpet with a fabric-safe sanitizing spray to halt bacterial growth.
Post-Clean Machine Maintenance (Crucial for Longevity)
A Hoover carpet shampooer operates in a highly contaminated environment. Failing to clean the machine after use guarantees the growth of anaerobic bacteria inside the recovery pathways, which will transfer foul odors back onto your carpets during the next use.
The 5-Minute Post-Clean Protocol
- Flush the Recovery Tank: Empty the dirty water tank immediately. Rinse it with hot water and a splash of white vinegar to neutralize odors and break down biofilm. Leave the lid off to air dry.
- Purge the Internal Lines: Fill the clean water tank with hot tap water. Run the machine over a clean towel or a utility sink for 30 seconds to flush residual soap from the internal hoses and spray jets.
- Clean the Nozzle Cover: On the SmartWash+ and PowerDash models, the clear plastic front nozzle is removable (usually via quick-release tabs or two Phillips screws). Pop this off and rinse the internal suction channel where pet hair and sludge accumulate.
- Clear the SpinScrub Brushes: Pull the brush rolls out of their housings. Use a seam ripper or scissors to cut away hair and string wrapped around the bristles and axles. Rinse the brushes and stand them upright to dry completely before reinserting them.
By treating your Hoover carpet shampooer as a precision extraction tool rather than a simple mop, you extend the lifespan of your carpet fibers, maintain indoor air quality, and ensure your machine operates at peak suction for years. Consistent adherence to this playbook bridges the gap between amateur DIY cleaning and professional restoration standards.