How to Install Carpet for Maximum Durability and Extended Lifespan
Learn how to install carpet to maximize its lifespan. This durability guide covers subfloor prep, padding density, power stretching, and seam sealing.
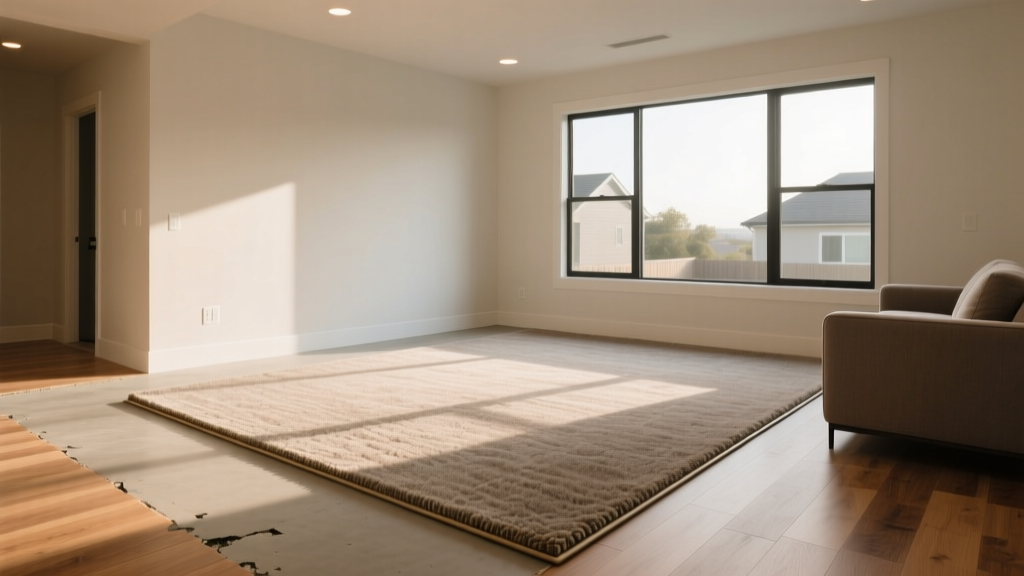
The average lifespan of a mid-grade nylon carpet is 8 to 12 years. However, industry data reveals that improper installation can cut this lifespan in half, leading to premature rippling, seam delamination, and fiber crushing. When homeowners and contractors research how to install carpet, they often focus on aesthetics and basic layout. From a durability perspective, the physical mechanics of the installation—specifically subfloor moisture management, pad density selection, and tension stretching—dictate how long the flooring will survive heavy foot traffic.
This guide bypasses basic DIY tutorials and focuses on the technical installation protocols required to maximize carpet longevity, adhering to the Carpet and Rug Institute (CRI) 104 Standard for commercial and residential installation.
The Lifespan Matrix: How Installation Errors Destroy Carpet Longevity
Before picking up a knee kicker, understand the mechanical failures that prematurely end a carpet's life. The table below quantifies how specific installation shortcuts degrade the material over time.
| Installation Error | Physical Symptom | Estimated Lifespan Reduction |
|---|---|---|
| Insufficient Stretching | Rippling, buckling, and localized fiber wear | 40% - 50% (Fails in 3-5 years) |
| Incorrect Pad Density | "Bottoming out," backing delamination, fiber crush | 30% (Fails in 5-7 years) |
| Unsealed Cut Seams | Edge fraying, tuft loss, and seam splitting | 20% (Seam failure in 2-4 years) |
| Ignored Subfloor Moisture | Mildew growth, adhesive degradation, odor | 100% (Total loss in <1 year) |
Phase 1: Subfloor Preparation for Long-Term Stability
Carpet and padding will mask minor subfloor imperfections, but they will not protect against moisture or structural deflection. A compromised subfloor destroys carpet backing from the bottom up.
Concrete Slabs: Moisture and Alkalinity Testing
Concrete continuously emits moisture vapor. Before installing carpet over a slab, you must verify the moisture emission rate. According to EPA guidelines on indoor moisture management, trapped moisture leads to microbial growth beneath the pad. Perform a Calcium Chloride test (ASTM F1869) or use an in-situ Relative Humidity (RH) probe (ASTM F2170). The moisture emission rate must not exceed 3 lbs per 1,000 square feet per 24 hours. Additionally, test the concrete pH; levels above 9 will degrade standard carpet adhesives and backing materials over time.
Wood Subfloors: Deflection and Fastening
For plywood or OSB subfloors, check for deflection. Any movement in the subfloor transfers directly to the carpet, causing the backing to fatigue and split. Secure all loose panels using 2-inch ring-shank subfloor nails or structural screws, spaced every 6 inches along the joists. Fill any gaps larger than 1/8 inch with a Portland cement-based floor patch to prevent the carpet from dipping and wearing prematurely in those specific zones.
Phase 2: Selecting the Right Padding (The Hidden Lifespan Multiplier)
The carpet pad absorbs the compressive forces of foot traffic, preventing the carpet backing from grinding against the subfloor. Choosing the wrong pad is the most common reason high-end carpets fail prematurely. The CRI mandates that residential padding must not exceed 7/16 of an inch in thickness, regardless of the material. Thicker pads cause the carpet to flex too deeply, breaking the fiberglass or synthetic backing.
- 8 lb. Rebond (Polyurethane): The industry baseline. Offers a 5-to-8-year functional lifespan. Suitable for low-to-medium traffic areas.
- 10 lb. Frothed Polyurethane: (e.g., Leggett & Platt premium lines). The densest option available for residential use. It resists bottoming out under heavy furniture and extends carpet life by 3 to 5 years compared to standard rebond.
- Synthetic Rubber (Waffle or Slab): Highly resistant to moisture and compression set. Ideal for basements or over radiant heating systems where polyurethane might off-gas or degrade.
Phase 3: The Power Stretching Protocol
The most critical step in learning how to install carpet for durability is mastering tension. Carpet must be stretched to 1% to 2% beyond its cut dimensions to remain taut for a decade. Relying solely on a knee kicker guarantees future rippling.
- Anchor the Perimeter: Hook the carpet onto the tackless strips along the starting wall (usually the longest, straightest wall) using a knee kicker strictly for positioning, not stretching.
- Deploy the Power Stretcher: Assemble the power stretcher tubes to bridge the room from the anchored wall to the opposite wall. The base of the stretcher must grip the carpet firmly near the center of the room.
- Apply Leverage: Engage the lever on the power stretcher. This multiplies your physical force, pulling the carpet taut and driving the backing deep into the tackless pins.
- Sequence the Stretch: Stretch in a V-pattern. Push the stretcher slightly to the left, stretch, and hook. Then move to the right, stretch, and hook. This prevents diagonal distortion of the carpet weave.
The Floor Covering Installation Contractors Association (FCICA) explicitly warns against using knee kickers for primary stretching. A knee kicker generates roughly 50 to 100 pounds of tension. A power stretcher generates up to 1,000 pounds. Without a power stretcher, the carpet will relax and buckle within the first 12 to 18 months of normal foot traffic, requiring an expensive re-stretching service.
Phase 4: Seam Construction and Edge Binding
Seams are the structural weak points of any carpet installation. If a seam fails, the entire floor is compromised. Durability at the seams requires both mechanical bonding and chemical sealing.
Cutting and Sealing
Always double-cut seams using a sharp carpet knife and a straight edge to ensure the two pieces mate perfectly without overlapping or gapping. Before applying hot melt seam tape, apply a continuous bead of latex or hot melt seam sealer to the cut edges of the carpet backing. This locks the tufts into the primary backing, preventing the edges from unraveling (fraying) over years of vacuuming and foot traffic.
Thermal Bonding
Use hot melt seam tape with a minimum width of 2.5 inches for standard residential carpet, and 3 inches for heavy commercial or thick plush carpets. Heat the seam iron to exactly 350°F to 400°F. If the iron is too cool, the thermoplastic adhesive will not penetrate the secondary backing. If it is too hot, you will scorch the carpet fibers and melt the synthetic backing. Press the two edges together immediately after removing the iron, applying firm downward pressure with a seam roller until the adhesive crystallizes (usually 30 to 45 seconds).
Post-Installation Break-In and Maintenance Timeline
How you treat the carpet in the first 72 hours impacts its long-term structural integrity.
- Hour 0-24: Keep heavy furniture off the floor. The hot melt seam adhesive and any stretch tension need time to fully set and acclimate to the room's ambient temperature.
- Hour 24-48: Perform a thorough vacuuming using a CRI-certified vacuum cleaner (one with a beater bar/rotating brush for cut-pile, or suction-only for loop-pile/Berber). This removes loose manufacturing fibers and seating dirt before it is ground into the base.
- Month 12-18: Schedule the first professional hot water extraction cleaning. Do not wait until the carpet "looks dirty." By the time soil is visible, the abrasive particles have already begun micro-scratching the nylon or polyester fibers, permanently dulling the material.
By treating carpet installation as a structural engineering task rather than a simple cosmetic upgrade, you ensure the flooring withstands a decade or more of daily wear. Precision in subfloor prep, uncompromising pad density, and rigorous power stretching are the non-negotiable pillars of carpet longevity.