Maintaining Top Floor Options for Kitchen Durability
Learn expert maintenance routines, specific cleaner pH levels, and troubleshooting tips to protect your floor options for kitchen durability and shine.
The Reality of Kitchen Floor Wear and Tear
Kitchens are high-traffic, high-moisture, and high-impact zones. Dropped cast iron pans, acidic tomato sauce spills, and constant foot traffic demand rigorous, material-specific maintenance. According to the National Kitchen & Bath Association (NKBA), flooring remains one of the top three investments in a kitchen remodel, making protective maintenance critical for long-term ROI. When evaluating floor options for kitchen installations, homeowners often focus on aesthetics and initial cost, but the true cost of ownership lies in the daily and annual upkeep required to prevent premature failure.
This guide bypasses generic cleaning advice and provides exact chemical profiles, product specifications, and failure-mode troubleshooting for the three most popular kitchen flooring materials: porcelain tile, luxury vinyl plank (LVP), and engineered hardwood.
Porcelain and Ceramic Tile: Grout is the Real Battlefield
Porcelain tile itself is nearly indestructible, boasting a Mohs hardness rating of 7 to 9. The primary vulnerability in this flooring system lies in the grout lines. The Tile Council of North America (TCNA) mandates specific performance standards for tile, but grout maintenance is often misunderstood, leading to structural degradation of the joints.
Daily and Weekly Protocol
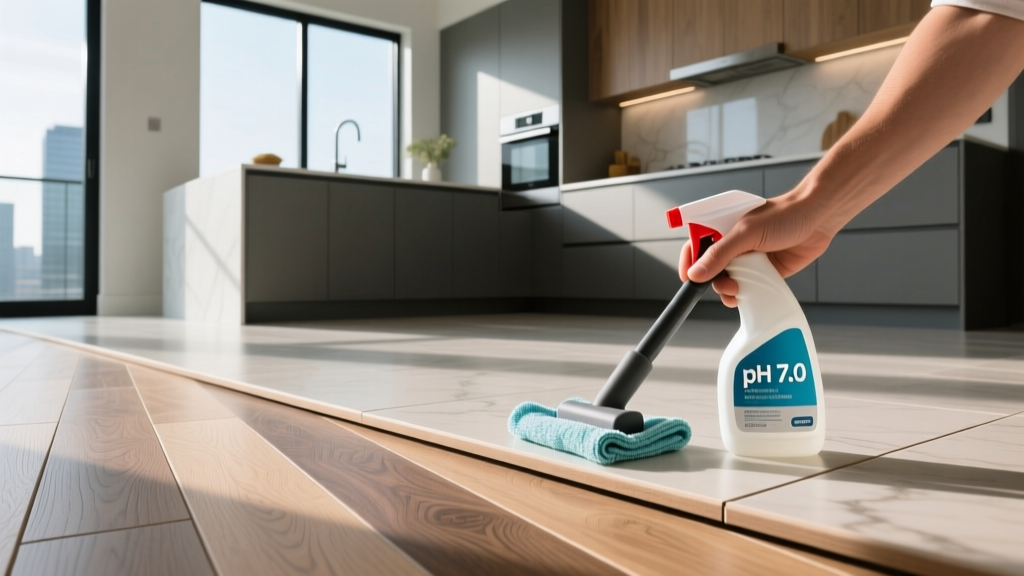
Sweep or vacuum daily using a hard-floor setting (beater bar disengaged) to remove abrasive silica dust. Damp mop weekly using a pH-neutral cleaner (pH 7.0 to 8.0). Avoid traditional string mops, which push dirty water into the grout lines; instead, use a flat microfiber mop with a dual-bucket wringing system to ensure you are applying clean solution to the floor.
Deep Cleaning and Grout Rescue
Cementitious grout is highly porous. A common and destructive myth is that white vinegar is a safe natural cleaner. Vinegar has a pH of roughly 2.5; repeated use will literally dissolve the Portland cement binder in your grout, causing pitting, crumbling, and eventual water intrusion beneath the tile.
- Routine Deep Clean: Use an alkaline heavy-duty cleaner like Zep Heavy-Duty Tile & Grout Cleaner (pH ~12) to saponify kitchen grease and lift organic stains.
- Epoxy Grout Exception: If you installed premium epoxy grout (such as LATICRETE SpectraLOCK), it is non-porous and stain-proof. However, it requires specific epoxy haze removers during installation and only mild dish soap for weekly maintenance.
- Sealing: For standard cementitious grout, apply a penetrating siloxane-based sealer (e.g., Aqua Mix Sealer's Choice Gold) annually. Siloxane penetrates deeper than water-based acrylic sealers, providing superior hydrophobic protection against kitchen spills.
Luxury Vinyl Plank (LVP): Protecting the Urethane Wear Layer
LVP dominates modern kitchen remodels due to its 100% waterproof Stone Plastic Composite (SPC) or Wood Plastic Composite (WPC) cores. However, the clear urethane wear layer—typically 12 to 22 mils thick in residential grades—is highly susceptible to chemical degradation and thermal damage.
The Steam Mop and Swiffer WetJet Trap
Steam mops emit vapor at 212°F (100°C). While SPC cores can withstand high heat, the urethane wear layer and UV-cured topcoats can soften, cloud, or delaminate at temperatures exceeding 140°F. Furthermore, proprietary wet-mop solutions often contain alcohols and mild solvents that strip the factory-applied aluminum oxide or ceramic bead finish, leaving a dull, streaky haze that attracts more dirt.
Approved Chemical Profiles
Stick to dedicated LVP cleaners formulated without wax, polish, or harsh solvents. Products like Bona Hard-Surface Floor Cleaner or Rejuvenate Luxury Vinyl Floor Cleaner are engineered to evaporate quickly without leaving a residue that compromises the slip resistance of the floor.
| Maintenance Action | Approved Tools/Chemicals | Strictly Prohibited |
|---|---|---|
| Daily Sweeping | Soft-bristle broom, hard-floor vacuum | Stiff bristles, beater-bar vacuums |
| Weekly Mopping | Bona Hard-Surface, microfiber pad | Swiffer WetJet, ammonia, bleach |
| Stain Removal | Isopropyl alcohol (diluted 10%) | Acetone, paint thinner, magic erasers |
| Sanitization | pH-neutral vinyl sanitizers | Steam mops, boiling water |
Engineered Hardwood: Moisture Management in High-Splatter Zones
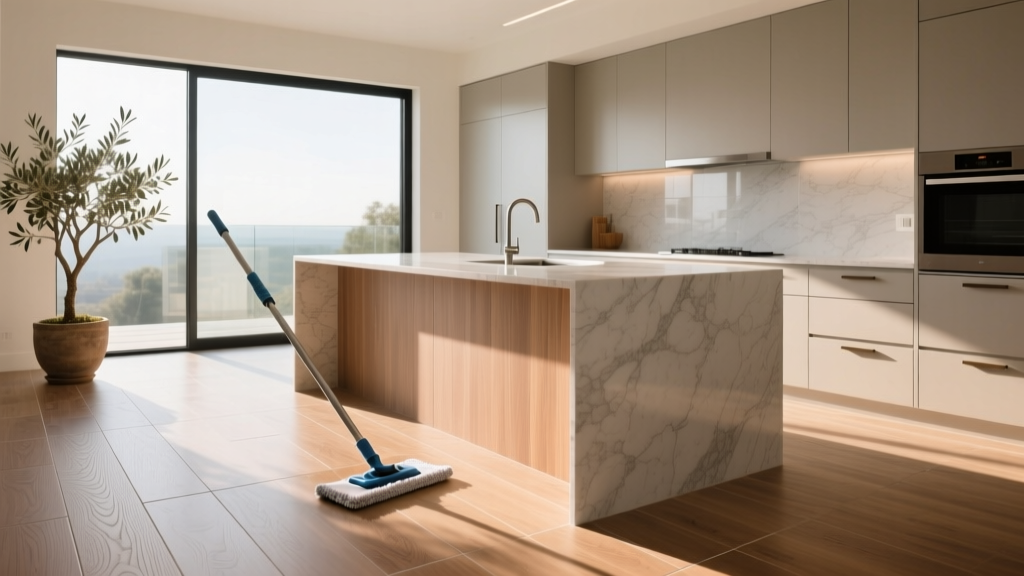
While solid hardwood is generally discouraged in wet areas, engineered hardwood with a 3mm to 6mm sawn veneer offers excellent dimensional stability. The World Floor Covering Association (WFCA) notes that engineered wood's cross-ply construction resists the expansion and contraction caused by kitchen humidity fluctuations.
Spill Response Timeframes and Finish Types
Water left on hardwood for more than 4 hours can penetrate the micro-bevels and cause edge-cupping. For kitchens, specify engineered hardwood with a wire-brushed or distressed texture and a commercial-grade UV-cured polyurethane finish. These textures hide the inevitable dents from dropped utensils, while the UV-cured finish provides a harder, more water-resistant shell than traditional oil-based polyurethanes.
Troubleshooting Matrix: Stains, Haze, and Micro-Scratches
Even with meticulous care, kitchen floors encounter severe edge cases. Use this diagnostic matrix to identify and resolve specific flooring failures without resorting to premature replacement.
| Symptom | Material | Root Cause | Exact Fix |
|---|---|---|---|
| White hazy film | LVP | Wax-based cleaners or solvent residue | Strip with TSP substitute, rinse, apply Rejuvenate Vinyl Restorer |
| Pitting in grout lines | Tile | Acidic vinegar cleaning degradation | Rake out 1/8 inch, re-grout with polymer-modified sanded grout |
| Black stains near dishwasher | Hardwood | Micro-leaks causing tannin bleed/mold | Pull appliance, treat subfloor with Concrobium, replace planks |
| Cloudy dull spots | LVP | Thermal damage from steam mopping | Irreversible; requires plank replacement or commercial urethane recoat |
Summary Checklist for Kitchen Floor Longevity
Maintaining your floor options for kitchen environments requires abandoning generic cleaning habits in favor of material-specific chemistry. Keep pH-neutral cleaners on hand for weekly maintenance, reserve alkaline degreasers for annual tile grout deep-cleans, and strictly ban steam mops from your LVP care routine. By aligning your maintenance protocol with the physical and chemical properties of your specific flooring, you will extend the lifespan of your kitchen floor by decades, protecting both your investment and the aesthetic core of your home.
Written by
Priya KapoorPriya Kapoor is a real estate market analyst and construction economics researcher with expertise in housing affordability, development feasibility, and infrastructure investment. She holds a Master of Regional Planning from Cornell University and previously worked as a senior analyst at CBRE's Investment Properties group, where she modeled returns for $4B in mixed-use development pipelines. Priya now runs an independent research practice advising developers, municipalities, and REITs on construction cost forecasting and market timing. She publishes the quarterly "BuildMat Market Pulse" report tracking material price indices across 12 commodity categories. Based in Austin, TX, Priya serves on the board of Habitat for Humanity Austin and is a marathon runner.
More from Priya Kapoor
View all
Construction Cost
Cost to Build a 1600 Sq Ft Home in 2026: Full Breakdown
Accurate 2026 cost to build a 1600 sq ft home—material, labor, and regional pricing breakdowns included. Plan your budget with real-time estimates.
Aug 11, 2026
Wood & Lumber
Name the Types of Wood for Pressure Treatment and Preservation
Learn how to name the types of wood best suited for pressure treatment. Compare species treatability, chemical retention levels, and 2026 preservation costs.
Aug 4, 2026
Stone & Masonry
Stone Veneer Suppliers Lindenhurst: 2026 Cost Analysis
Analyze 2026 stone veneer costs in Lindenhurst, NY. Compare local supplier pricing, delivery fees, and Suffolk County installation labor rates.
Aug 4, 2026