Polyaspartic Floor Coating Installation: Pro Application Guide
Master polyaspartic floor coating installation with this pro guide. Learn concrete prep, pot life management, and step-by-step application techniques.
The Chemistry of Speed: Why Polyaspartic Demands Precision
Polyaspartic floor coatings represent a significant evolution in aliphatic polyurea technology. Unlike traditional epoxies that require 12 to 24 hours between coats, pure polyaspartics cure in 1 to 4 hours, enabling a complete, multi-coat flake system installation in a single day. However, this rapid cross-linking reaction leaves virtually zero margin for application errors. The working window—often referred to as "pot life"—can shrink from 45 minutes to under 15 minutes depending on ambient temperature and humidity. Successful polyaspartic floor coating installation relies 80% on meticulous substrate preparation and 20% on rapid, coordinated application.
Substrate Profiling: Achieving the Correct CSP
Polyaspartic coatings are high-build, high-solids systems that require a specific mechanical profile to achieve adequate tensile adhesion. The International Concrete Repair Institute (ICRI) mandates a Concrete Surface Profile (CSP) of 2 or 3 for most polyurea and polyaspartic systems, as detailed in their ICRI Concrete Surface Profile guidelines. A CSP 2 resembles fine sandpaper, while a CSP 3 feels like coarse grit.
Diamond Grinding vs. Shot Blasting
For residential garages and commercial spaces under 2,000 square feet, planetary diamond grinding is the preferred method. Use 30-grit to 40-grit metal-bond diamond tooling. This removes laitance, opens the concrete pores, and levels minor surface imperfections. For large-scale commercial or industrial footprints exceeding 5,000 square feet, shot blasting with S-280 or S-330 steel shot is more time-efficient and naturally yields a CSP 3 profile.
Environmental Controls and Pot Life Management
Temperature dictates the chemical reaction speed of polyaspartic resins. Unlike epoxy, where heat generally accelerates cure linearly, polyaspartic pot life drops exponentially as temperatures rise. Installers must calculate their batch sizes based on the specific ambient and slab temperatures.
| Slab Temperature | Ambient Temperature | Estimated Pot Life (Standard Formula) | Recommended Batch Size (per person) |
|---|---|---|---|
| 55°F - 65°F | 60°F - 70°F | 40 - 50 minutes | 3 - 5 gallons |
| 66°F - 75°F | 70°F - 80°F | 25 - 35 minutes | 2 - 3 gallons |
| 76°F - 85°F | 80°F - 90°F | 15 - 20 minutes | 1 - 1.5 gallons |
| 86°F+ | 90°F+ | Under 12 minutes | Application not recommended without retarders |
Note: Always consult the specific manufacturer's Technical Data Sheet (TDS), such as the VersaFlex polyaspartic technical specifications, as proprietary catalyst blends will alter these baselines.
The 4-Hour Application Sequence
A standard full-flake polyaspartic system consists of a primer/base coat, a decorative vinyl flake broadcast, and a clear aliphatic polyaspartic topcoat. The entire sequence must be executed with military precision.
-
Step 1: Base Coat Application and Broadcast
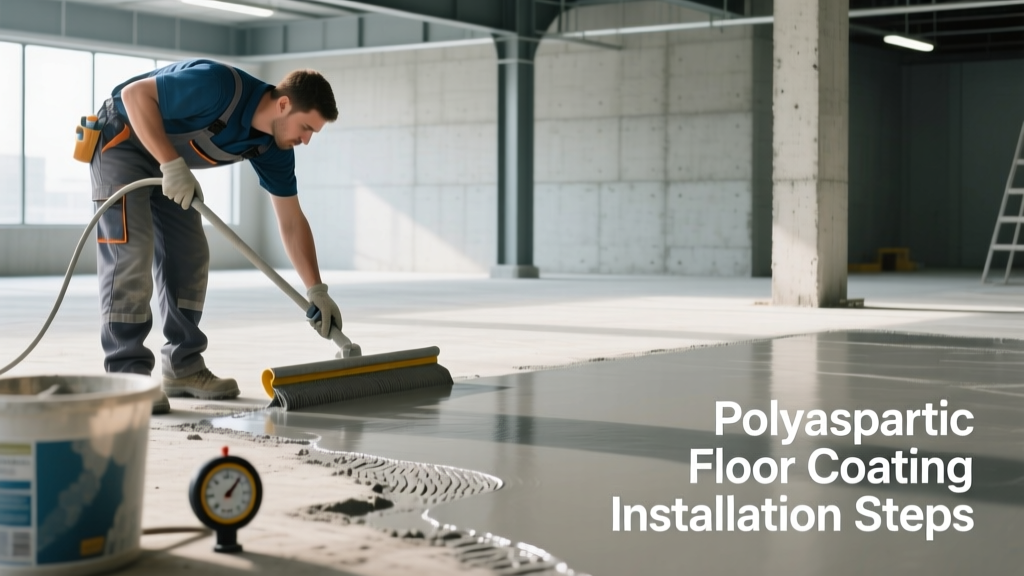
Mix the pigmented polyaspartic base coat using a low-speed drill (under 400 RPM) to avoid whipping air into the high-solids resin. Pour the mixture in continuous ribbons across the floor. Using a notched squeegee set to a 20-mil gap, spread the material evenly, then immediately backroll with a 1/4-inch nap mohair or microfiber roller to ensure a uniform wet film thickness (WFT) of 8 to 10 mils. While the base coat is still wet, broadcast the decorative vinyl flakes by hand or with a flake blower to the desired density (typically 0.15 lbs/sq. ft. for a light scatter, or up to 1.0 lbs/sq. ft. for full refusal).
-
Step 2: Curing, Scraping, and Vacuuming
Allow the base coat to cure for 1 to 2 hours. Once it is hard to the touch, use a stiff-bristle push broom and a floor scraper equipped with a razor blade to knock down any vertically standing flakes ("barnacles"). This step is non-negotiable; standing flakes will pierce the topcoat and create a rough, hazardous surface. Follow up with a HEPA-filter shop vacuum to remove all loose debris.
-
Step 3: The Clear Polyaspartic Topcoat
The clear topcoat provides UV stability, chemical resistance, and the final gloss or satin sheen. Mix the aliphatic polyaspartic topcoat in small, manageable batches. Apply at a WFT of 10 to 12 mils using a fresh 1/4-inch nap roller. Maintain a "wet edge" at all times. Because polyaspartic flashes off solvents rapidly, overlapping a drying edge will result in visible roller marks and lap lines. Two installers should work in tandem: one cutting in the edges with a brush, and the other rolling the field immediately behind them.
Common Failure Modes and Troubleshooting
Even experienced epoxy installers frequently encounter issues when transitioning to polyaspartics due to the material's unique rheology and cure kinetics.
- Outgassing (Pinholes): If the concrete slab was not properly primed, trapped air in the pores will expand as the slab warms during the day, pushing through the curing polyaspartic and leaving microscopic pinholes. Fix: Always use a penetrating primer on highly porous concrete, and apply coatings during the cooling cycle of the slab (late afternoon/evening) rather than when the slab is heating up.
- Delamination at Control Joints: Polyaspartic has high tensile strength but low elongation compared to pure polyurea. If coated directly over active expansion joints, the coating will tear when the concrete shifts. Fix: Saw-cut and clean joints, then fill with a flexible polyurea joint filler before applying the coating system.
- Solvent Entrapment: Applying the topcoat too thickly (exceeding 14 mils WFT in a single pass) traps the carrier solvents beneath the surface skin, resulting in a soft, tacky finish that never fully hardens. Fix: Strictly adhere to the manufacturer's maximum WFT limits and apply two thinner coats if high build is required.
Expert Insight: Never add solvent (like acetone or xylene) to a polyaspartic topcoat to "extend" the pot life or thin the material for easier rolling. This breaks the chemical cross-linking ratio, permanently compromising the coating's chemical resistance and hardness. If the material is too viscous, the slab is too hot; cool the environment or use a manufacturer-approved "slow" hardener variant.
2026 Cost Breakdown: Professional vs. DIY Installation
The market for polyaspartic materials has stabilized following the supply chain fluctuations of the early 2020s, but labor costs for certified installers continue to rise. Below is the current cost matrix for a standard 500-square-foot residential garage.
| Cost Category | DIY Kit (Material Only) | Professional Installation (Labor + Material) |
|---|---|---|
| Surface Preparation (Grinding/Shot Blasting) | $150 - $250 (Equipment Rental) | Included in total price |
| Primer / Base Coat Materials | $350 - $500 | Included in total price |
| Decorative Vinyl Flakes (Full Broadcast) | $120 - $180 | Included in total price |
| Clear Polyaspartic Topcoat | $400 - $600 | Included in total price |
| Total Estimated Cost (500 sq. ft.) | $1,020 - $1,530 ($2.04 - $3.06 / sq. ft.) | $4,000 - $6,000 ($8.00 - $12.00 / sq. ft.) |
While DIY kits offer significant upfront savings, the cost of a professional install reflects the high liability and specialized equipment required to manage the rapid cure times. A professional crew of three can prep, coat, and clear a 500-square-foot space in under 8 hours, whereas a DIY attempt carries a high risk of material waste due to premature curing in the bucket or roller lap marks.
Post-Application Curing and Traffic Limits
One of the primary advantages of polyaspartic floor coating is the rapid return-to-service timeline. Foot traffic is generally permitted in 2 to 4 hours. Light vehicular traffic can resume in 12 to 24 hours, and full chemical cure (allowing for heavy loads, jack stands, and harsh chemical spills) is typically achieved within 72 hours. Ensure the space is well-ventilated during the initial 4-hour cure window to allow solvent off-gassing, which prevents the formation of surface haze.