Professional Shaw Carpet Installation: Stretch-In Methods & Seaming
Master Shaw carpet installation with our expert stretch-in guide. Learn tack strip spacing, power stretching techniques, and hot melt seaming for flawless results.
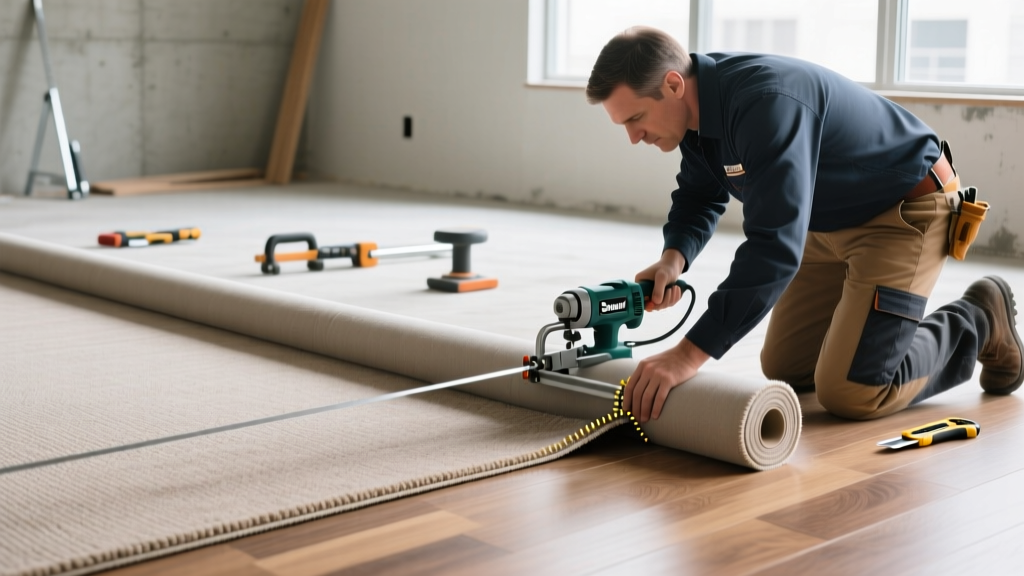
Pre-Installation Acclimation and Subfloor Preparation
Installing premium textile flooring like Shaw Bellera or Shaw ClearTouch collections requires strict adherence to subfloor tolerances and environmental conditioning. Before unrolling any carpet, the installation environment must be stabilized. Maintain an indoor temperature between 65°F and 85°F with a relative humidity (RH) level of 30% to 60% for at least 48 hours prior to installation. This acclimation period prevents post-installation dimensional instability and backing delamination.
Subfloor moisture is the leading cause of adhesive failure, mold growth, and secondary backing degradation. For concrete subfloors, you must perform quantitative moisture testing. The Carpet and Rug Institute (CRI) 104 Standard mandates that concrete moisture emission rates must not exceed 4.5 lbs per 1,000 square feet per 24 hours when tested via the Calcium Chloride method (ASTM F1869), or 75% RH when tested via in-situ probes (ASTM F2170). Wood subfloors must be structurally sound, with all nail pops driven flush and squeaks resolved by screwing the subfloor directly into the floor joists.
Tack Strip Layout and Padding Selection
Tackless strips (gripper rods) dictate the perimeter tension of the carpet. Install strips around the entire perimeter of the room, maintaining a precise gap of 1/4-inch to 3/8-inch from the wall. This gap allows the carpet edge to be tucked neatly without creating a visible ridge. In high-traffic commercial zones or on staircases, install a double row of tack strips to prevent the carpet from pulling loose under heavy dynamic loads.
Shaw Floors warranties are heavily dependent on using the correct cushion. Using an overly thick or low-density pad will void the warranty and cause premature pile crushing. Below is a breakdown of approved Shaw padding specifications for residential applications:
| Pad Type | Max Thickness | Min Density (lbs/ft³) | Best Application |
|---|---|---|---|
| Prime Urethane | 7/16 inch | 2.5 | Standard residential bedrooms |
| Rebond (Polyurethane) | 7/16 inch | 6.0 | High-traffic areas, hallways, stairs |
| Memory Foam | 7/16 inch | 8.0 | Shaw Bellera collections, luxury feel |
| Felt (Hair/Jute) | 3/8 inch | 8.0 | Wilton/Axminster carpets, stretch-in |
The Stretch-In Process: Power Stretcher Calibration
While a knee kicker is useful for positioning the carpet and securing the initial edges, it cannot generate the uniform tension required to prevent long-term buckling. The Shaw Floors Installation Guidelines explicitly require the use of a power stretcher for the primary tensioning phase. The goal is to achieve a lateral stretch of 1% to 2% of the carpet's total dimensions.
The 6-Point Power Stretching Sequence
- Anchor the Head: Place the power stretcher head against the wall opposite the direction of the stretch, using protective wall guards to prevent drywall punctures. Engage the pins into the carpet backing at a 45-degree angle.
- Set the Tube Angle: Angle the stretcher tubes approximately 15 to 20 degrees off perpendicular to the wall. This diagonal vector prevents the carpet from shifting laterally during tensioning.
- Initial Tensioning: Pump the lever smoothly until the carpet is taut. Hook the leading edge onto the tack strip using a stair tool.
- Reposition and Repeat: Move the stretcher head down the wall in 18-inch increments, repeating the tensioning and hooking process until the entire wall is secured.
- Cross-Room Stretching: Rotate the stretcher 90 degrees to stretch the carpet toward the side walls, ensuring the pile direction remains perfectly straight and free of bowing.
- Final Perimeter Tuck: Use a wall kicker for the final 12 inches near corners where the power stretcher cannot reach, followed by a stair tool to tuck the selvedge into the 1/4-inch gap.
Seaming Shaw Carpets: Hot Melt Techniques
Invisible seams are the hallmark of a master installer. When joining two rolls of Shaw carpet, always ensure the pile direction and manufacturing dye lot match perfectly. Cross-seaming (joining the end of one roll to the side of another) is strictly prohibited as it guarantees visible seam lines and pile shading issues.
Step-by-Step Hot Melt Seaming
- Trimming: Use a cushion-back cutter or a row finder to trim the factory edges. Cut exactly between the stitch rows on the back of the carpet to avoid severing the face yarns, which causes 'zippering' or edge raveling.
- Seam Sealer Application: Apply a continuous 1/8-inch bead of latex-based seam sealer to the primary backing along the cut edge of both pieces. This locks the tufts in place and prevents the seam from fraying under foot traffic.
- Tape Placement: Center a 3-inch wide thermoplastic hot melt seam tape beneath the joint, adhesive side up.
- Iron Temperature: Heat the seaming iron to exactly 350°F - 380°F. Temperatures exceeding 400°F will scorch the Shaw carpet backing and melt synthetic face fibers.
- Activation and Compression: Slowly pull the iron along the tape to melt the adhesive. Immediately follow the iron with a carpet roller or a wooden seam roller, applying firm downward pressure to fuse the two backing edges into the molten adhesive. Do not pull the carpet apart to check the bond; allow it to cool undisturbed for at least 15 minutes.
Common Installation Failures and Troubleshooting
Even with premium materials, improper technique leads to callbacks. Refer to this diagnostic matrix to identify and correct common Shaw carpet installation failures:
| Symptom | Root Cause | Corrective Action |
|---|---|---|
| Carpet Buckling / Rippling | Insufficient power stretching; high ambient humidity; incorrect pad thickness. | Re-stretch using a power stretcher; verify pad is max 7/16' thick; control HVAC humidity. |
| Seam Peaking (Visible Ridge) | Iron temperature too low; tape placed off-center; stretching across the seam. | Cut the seam, re-tape with centered hot melt, ensure iron is >350°F, and stretch parallel to the seam. |
| Edge Raveling (Zippering) | Cutting through face yarns during trimming; failure to use seam sealer. | Re-trim using a row finder between stitches; apply latex seam sealer to the primary backing. |
| Pile Shading at Walls | Pile direction reversed during layout; aggressive knee-kicker use crushing the yarn. | Ensure all pieces run in the same direction; use power stretcher instead of knee kicker for main tension. |
Final Grooming and Handoff
Once all stretching, seaming, and tucking are complete, the carpet must be groomed. Use a pile lifter or a stiff bristle broom to brush the face yarns upright, particularly over the seams and tack strip lines. This process removes loose manufacturing fibers, blends the seams, and restores the carpet's visual texture. Finally, vacuum the entire installation with a CRI-approved vacuum cleaner to remove any trimming debris before the client walks on the floor. Proper installation not only ensures the aesthetic superiority of Shaw's textiles but also preserves the structural integrity of the warranty for years to come.