Matching Subway Tile for Backsplash in Kitchen to Your Needs
Discover how to select the perfect subway tile for backsplash in kitchen environments based on cooking habits, budget, and design scenarios.
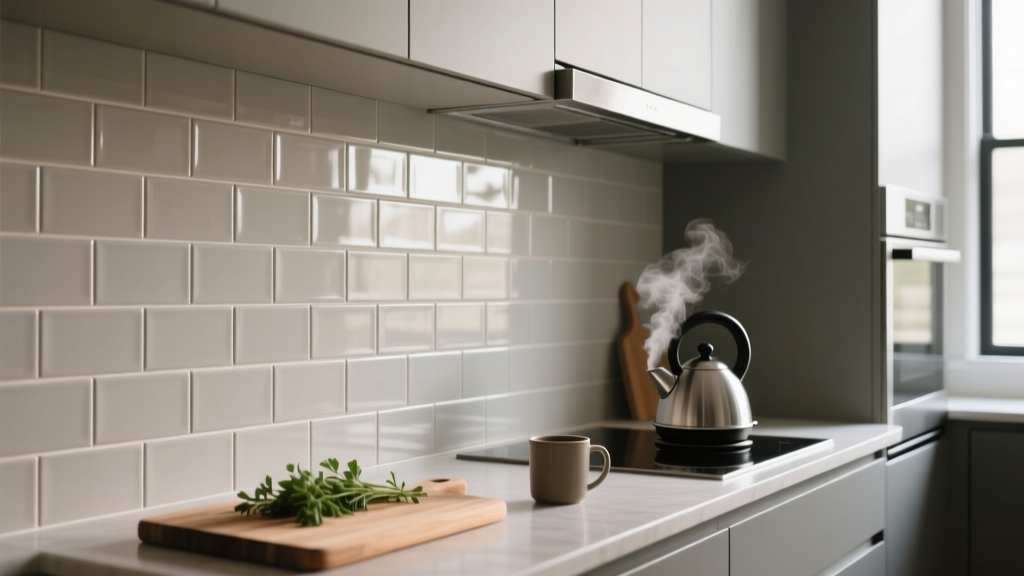
The Material Matrix: Ceramic, Porcelain, Glass, and Stone
While subway tile is traditionally associated with wall applications, selecting the right subway tile for backsplash in kitchen environments requires evaluating material durability, water absorption, and maintenance profiles. The term 'subway tile' refers to the rectangular format and aspect ratio (typically 1:2 or 1:3), not the material itself. Understanding the material science is the first step in application-fit matching.
| Material | Water Absorption (ASTM C373) | Avg. Cost per Sq. Ft. (2026) | Best Application Scenario |
|---|---|---|---|
| Glazed Ceramic | > 0.5% (Typically 1-3%) | $3.00 - $7.00 | Low-to-medium cooking zones; budget renovations |
| Glazed Porcelain | < 0.5% (Impervious) | $6.00 - $14.00 | Heavy cooking zones; steam and high-grease areas |
| Recycled Glass | 0.0% (Non-porous) | $12.00 - $25.00 | Contemporary designs; wet zones near deep sinks |
| Natural Stone (Marble/Travertine) | Varies (Highly Porous) | $15.00 - $35.00 | Low-splash luxury show kitchens; dry zones |
Scenario Matching Framework
Choosing a subway tile for backsplash in kitchen layouts should be dictated by the household's culinary habits and the overarching design intent. Below are three distinct scenarios with specific material and installation recommendations.
Scenario A: The High-Volume Culinary Kitchen
For households that cook daily, utilizing acidic ingredients (tomatoes, citrus) and high-staining spices (turmeric, paprika), standard cementitious grout and porous tiles will fail prematurely. The grease and steam generated by high-BTU gas ranges require an impervious surface.
- Material Selection: Choose a high-gloss or semi-matte glazed porcelain subway tile in a 4x16 format. Porcelain's dense body prevents moisture migration, while the glazed surface allows for aggressive degreasing without etching.
- Grout Specification: Mandate a high-performance epoxy grout, such as Laticrete Spectralock PRO or Mapei Kerapoxy CQ. Epoxy grouts are chemically resistant to household acids and do not require sealing, eliminating the primary failure point in heavy-use kitchen backsplashes.
- Profile: Avoid beveled or heavily textured surfaces (like traditional Zellige) behind the stove, as the ridges trap aerosolized cooking oils that polymerize into a sticky film over time.
Scenario B: The Budget-Conscious Property Flip
When maximizing ROI for a mid-market home sale, the goal is broad aesthetic appeal with strict cost control. The classic 3x6 white ceramic subway tile remains the highest-yielding backsplash investment in real estate staging.
- Material Selection: Standard 3x6 non-rectified ceramic tile. Because these tiles have slightly rounded (cushion) edges, they are forgiving of imperfect drywall substrates, reducing labor costs for wall prep.
- Installation Pattern: Stick to a traditional 50% running bond (brick pattern). It is universally recognized, requires less precision cutting at the edges, and installers can complete the layout rapidly.
- Cost Control: Utilize a standard polymer-modified cementitious grout (e.g., Mapei Ultracolor Plus FA) in a mid-tone gray. Avoid pure white grout, which immediately signals poor maintenance to prospective buyers if slight staining occurs during the listing period.
Scenario C: The Luxury Show Kitchen
In high-end architectural builds, the backsplash serves as a focal point rather than a purely utilitarian shield. Here, material authenticity and artisanal imperfections are prioritized over easy maintenance.
- Material Selection: Handcrafted Zellige clay tiles or honed Carrara marble subway tiles. These materials exhibit natural variation in glaze thickness and surface pitting.
- Layout Strategy: Employ a vertical stack bond or a 1/3 offset pattern. According to the National Kitchen & Bath Association (NKBA), vertical stacking draws the eye upward, emphasizing ceiling height in luxury open-concept kitchens.
- Crucial Maintenance Step: If using natural stone, it must be sealed prior to grouting and again after installation using an impregnating sealer like Miracle Sealants 511. Failure to pre-seal marble subway tiles will result in the grout pigment permanently staining the porous stone edges.
Never install polished marble subway tile directly behind a kitchen sink without a dedicated splash guard or tray. Constant exposure to hard water and acidic dish soaps will etch the calcium carbonate surface within months, leaving permanent dull spots that no amount of sealing can prevent. Opt for honed finishes to mask minor etching, or switch to porcelain marble-look alternatives in the wet zone.
Floor-to-Wall Continuity: Bridging Flooring and Backsplashes
A dominant trend in 2026 kitchen design is material continuity—wrapping the same tile from the floor up the wall. While traditional wall tiles are too fragile for foot traffic, flooring-grade subway tiles can safely be used on backsplashes. When selecting a porcelain subway tile rated PEI Class 4 or 5 for the kitchen floor, purchasing an additional 15% of the same batch to run up the backsplash creates a seamless, monolithic aesthetic. This approach eliminates the need to source complementary wall tiles and ensures exact color matching, a common issue when buying 'matching' tiles from different production lots.
Installation Nuances: Preventing Lippage in Large Formats
As subway tiles have evolved from the traditional 3x6 to larger formats like 6x24 or 4x16, installation failures related to lippage (where one tile edge sits higher than the adjacent tile) have increased significantly. This is due to the manufacturing process; longer porcelain tiles naturally bow or warp slightly in the kiln.
The Tile Council of North America (TCNA) Handbook provides strict guidelines for mitigating this issue:
- The 33% Offset Rule: For any tile with an edge longer than 15 inches, you must never use a 50% running bond (brick pattern). The highest point of the bow in one tile will align with the lowest point (the edge) of the next, guaranteeing visible lippage. Limit the offset to a maximum of 33%.
- Substrate Preparation: Large-format wall tiles require a perfectly plumb substrate. Use a cementitious backer board or a waterproof uncoupling membrane (like Schluter-Kerdi-Board) rather than standard drywall, which often bows between studs.
- Adhesive Selection: Do not use organic mastic for tiles larger than 8x8 or for any porcelain tile. Mastic requires air to cure; large-format tiles trap the adhesive against the wall, preventing it from drying and leading to tile detachment. Always use a polymer-modified thin-set mortar.
Grout Joint Sizing and Edge Profiles
The width of your grout joint fundamentally alters the visual weight and maintenance profile of a subway tile backsplash. The correct joint size is dictated by the tile's edge profile:
- Rectified Edges: Tiles that are mechanically cut after firing to achieve exact, uniform dimensions. These allow for tight 1/16-inch joints, creating a sleek, continuous surface that minimizes grout maintenance.
- Non-Rectified (Pressed) Edges: Tiles that are formed in a mold and fired, resulting in slight size variations and rounded edges. These require a minimum 1/8-inch or 3/16-inch joint to absorb the dimensional variances. Attempting a tight joint with non-rectified tiles will result in jagged, misaligned grout lines.
- Spacer Selection: Always use rigid, cross-shaped tile spacers rather than relying on the built-in lugs found on the edges of some budget ceramic tiles. Built-in lugs often vary in thickness and will compromise the straightness of the horizontal grout lines over a long kitchen run.
By rigorously matching the material properties, installation techniques, and grout chemistry to the specific demands of the kitchen environment, you ensure that the subway tile backsplash performs flawlessly while anchoring the room's design for decades.