Vinyl Floor Edging Options: Durability and Failure Analysis
Compare vinyl floor edging options for durability. Analyze failure modes, impact resistance, and moisture tolerance for LVP and WPC transitions.
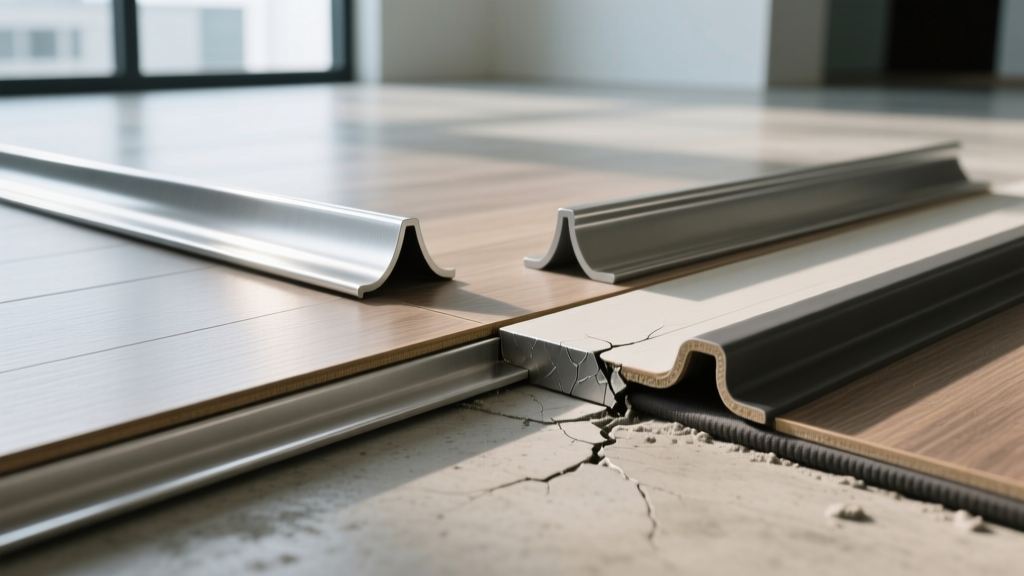
The Hidden Weak Point in LVP Installations
While luxury vinyl plank (LVP) and rigid core WPC/SPC floors boast impressive wear layers and waterproof cores, the perimeter and transition zones remain the most vulnerable elements of any installation. When evaluating vinyl floor edging options, contractors and homeowners often prioritize color matching over structural integrity. This is a critical error. Edging profiles—T-moldings, reducers, stair noses, and wall bases—absorb disproportionate mechanical stress, moisture exposure, and thermal movement. A failure at the edge compromises the entire floating floor system.
This durability analysis dissects the mechanical properties, failure modes, and long-term viability of the most common transition profiles available in 2026, moving beyond aesthetic considerations to focus on structural performance.
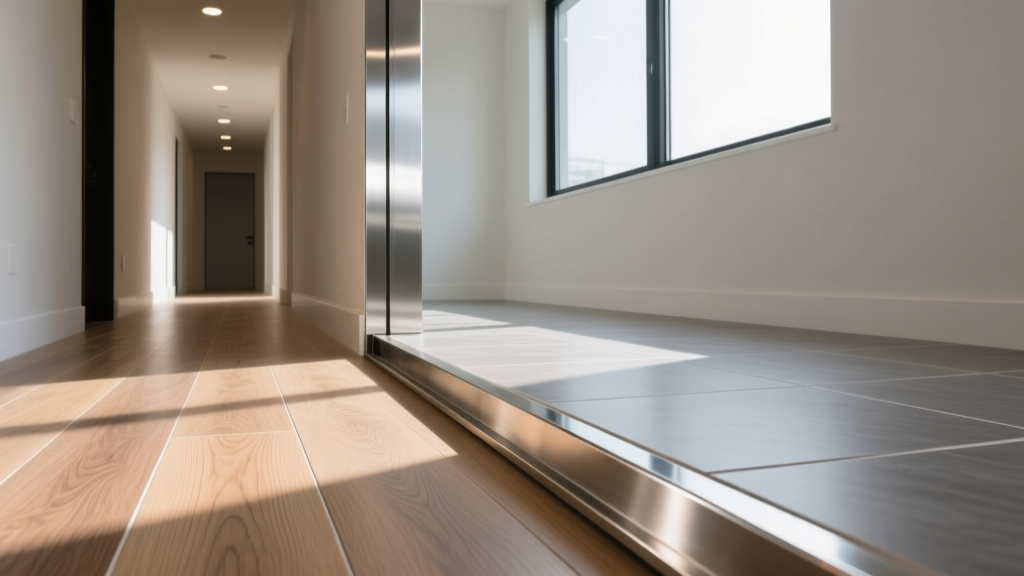
Material Breakdown: Impact and Wear Resistance
Not all vinyl-matched edging is created equal. The core composition of the molding dictates its lifespan. Below is a comparative matrix of the primary materials used in transition profiles.
| Material Core | Surface Layer | Impact Resistance | Moisture Tolerance | Avg. Cost (per LF) |
|---|---|---|---|---|
| 100% Extruded Vinyl (WPC/SPC) | Co-extruded wear layer | High (Flexible) | 100% Waterproof | $5.50 - $9.00 |
| MDF (Medium Density Fiberboard) | Laminated vinyl wrap | Low (Brittle) | Poor (Swells) | $3.00 - $6.00 |
| Anodized Aluminum Track | Aluminum + Vinyl Insert | Very High (Rigid) | High (Track is impervious) | $8.00 - $14.00 |
| Solid Hardwood | UV-cured polyurethane | Medium (Dents) | Moderate (Expands) | $10.00 - $18.00 |
The MDF-Core Trap
Many budget-friendly transition kits utilize an MDF core wrapped in a 0.5mm vinyl film. According to field failure reports analyzed by the Floor Covering News, MDF-core reducers are the leading cause of callback repairs in residential LVP installations. When exposed to a single mop spill or pet accident, the exposed MDF edges absorb water and expand by 15% to 20% in volume. This hydraulic swelling creates internal pressure that inevitably cracks or delaminates the outer vinyl wrap. For any moisture-prone area (kitchens, bathrooms, mudrooms), MDF edging must be strictly avoided.
100% Extruded WPC/SPC Profiles
Extruded profiles made from the same WPC (Wood Plastic Composite) or SPC (Stone Plastic Composite) core as the flooring itself offer superior durability. Because they are homogeneous, they can be routed, sanded, and exposed to standing water without structural degradation. However, SPC profiles can be brittle under extreme point loads (e.g., a heavy refrigerator wheel resting directly on a thin reducer lip), making them best suited for standard foot traffic zones.
Anodized Aluminum Track Systems
For commercial applications or high-stress residential thresholds, an aluminum track with a snap-in vinyl insert is the gold standard. The track absorbs the compressive loads, while the insert provides the aesthetic match. To prevent bending under point loads exceeding 400 PSI (such as stilettos or heavy carts), specify tracks with a minimum extrusion thickness of 1.5mm. Standard 1mm tracks frequently warp over time, causing the vinyl insert to pop out.
⚠️ Warning: Adhesive Selection for Wet Zones
Never use water-based acrylic adhesives or standard pressure-sensitive tapes to secure edging in wet zones. Moisture migrating through the subfloor will reactivate water-based adhesives, leading to track migration. Always use a 100% polyurethane construction adhesive (e.g., Loctite PL Premium or Bostik GreenForce) which cures via moisture rather than degrading from it.
Stair Nose Durability: Managing Point Loads and Shear
Stair noses endure the highest mechanical stress of any edging profile. Every footstep applies downward shear force and forward momentum. Overlap stair noses (which sit on top of the LVP) create a trip hazard and trap debris, while flush-mount stair noses require precise milling. When installing flush-mount WPC/SPC stair noses, follow this structural protocol to prevent catastrophic detachment:
- Subfloor Preparation: Ensure the stair tread substrate is perfectly level. Any void beneath the nose will create a flex point, eventually snapping the SPC core.
- Expansion Gap Preservation: Leave a strict 1/4-inch gap between the back of the stair nose and the field flooring. The field floor must float freely beneath the nose's overhang.
- Adhesive Application: Apply a continuous 3/8-inch bead of 100% polyurethane adhesive to the subfloor. Do not use silicone, which lacks the tensile shear strength required for dynamic stair loads.
- Mechanical Fastening: For wood subfloors, supplement the adhesive with 2-inch ring-shank nails driven at 45-degree angles through the concealed nailing flange. For concrete, use structural epoxy and mechanical pins.
The Journal of Light Construction frequently highlights that stair nose failures are rarely due to the molding material itself, but rather the failure of the installer to accommodate the downward shear force with adequate mechanical fastening combined with elastomeric adhesives.
Thermal Expansion: The 1/4-Inch Rule
Thermal Movement Data
A 30-foot continuous run of rigid core LVP can expand and contract up to 0.375 inches across seasonal temperature shifts (60°F to 85°F). If a T-molding is glued tightly to both adjoining floor fields, this thermal energy will either buckle the floor or tear the locking mechanisms apart.
When installing T-moldings between two floating LVP fields, the edging must be anchored to the subfloor, not the flooring. The Shaw Floors Installation Guidelines explicitly mandate that transition moldings must bridge the expansion gap without restricting the lateral movement of either floor field. Use a track-and-insert system where the track is glued to the subfloor, allowing the LVP to slide microscopically beneath the insert's overlapping lips.
Decision Framework: Matching Edging to Traffic Class
Select the correct vinyl floor edging options based on the specific ASTM traffic class of the environment:
- Light Residential (Bedrooms, Closets): 100% Extruded WPC profiles secured with double-sided acrylic installation tape. Cost-effective and sufficient for low-impact zones.
- Heavy Residential (Kitchens, Hallways, Stairs): SPC flush-mount profiles or solid aluminum tracks. Must be secured with polyurethane adhesive and mechanical pins. Avoid MDF entirely.
- Light Commercial (Boutiques, Offices): 1.5mm Anodized aluminum tracks with commercial-grade vinyl inserts. Tracks must be mechanically screwed into the subfloor every 12 inches to resist rolling cart traffic.
- Heavy Commercial (Hospitals, Retail): Heavy-gauge aluminum ramp reducers with diamond-plate inserts. Edge profiles must be sloped at a maximum 1:12 ratio to comply with ADA transition requirements and prevent wheelchair caster snags.
'The transition strip is the shock absorber of a floating floor system. If you rigidly lock the edges, the floor will find another way to relieve the pressure—usually by tenting in the middle of the room.' — Senior Flooring Inspector, IICRC Certified
By prioritizing core composition, moisture mechanics, and proper shear-load fastening over simple color coordination, you ensure that the perimeter of your LVP installation remains as resilient as the field itself.
Written by
James ThorntonJames Thornton is a construction industry veteran with 25 years of hands-on experience in wood framing, lumber grading, and residential building codes. He started as a framing carpenter in rural Oregon, earned his ICC Residential Building Inspector certification, and eventually became a senior plan reviewer for the City of Portland Bureau of Development Services. James holds a B.S. in Wood Science & Technology from Oregon State University and is a certified lumber grader through the West Coast Lumber Inspection Bureau (WCLIB). He has inspected over 3,000 residential construction sites and authored the city's internal guide on advanced framing techniques (2x6 at 24" O.C.). James lives in Bend, OR, where he builds custom timber-frame cabins and competes in lumberjack sports.
More from James Thornton
View all
Insulation
Best Home Insulation Materials: Complete 2026 Guide
Compare top home insulation materials for 2026. Find R-values, installed costs per square foot, and best uses for fiberglass, spray foam, and mineral wool.
Aug 4, 2026

Sustainable Building
Certify Your Green Building Material for LEED and WELL
Step-by-step guide to certifying a green building material for LEED v5 and WELL v2. Master EPDs, HPDs, and VOC limits for 2026 project specifications.
Aug 4, 2026

Stone & Masonry
Veneer Stacked Stone Panels: Interior Design & Style Showcase
Discover how veneer stacked stone panels transform interiors. Explore modern design profiles, material pairings, and technical installation specs.
Aug 4, 2026