The Complete Basement Window Maintenance Playbook: Cleaning, Sealing, and Well Drainage
Master your basement window maintenance with this expert playbook. Learn track cleaning, window well drainage testing, and sealant replacement steps.
The Basement Window Failure Matrix: Moisture, Debris, and Structural Stress
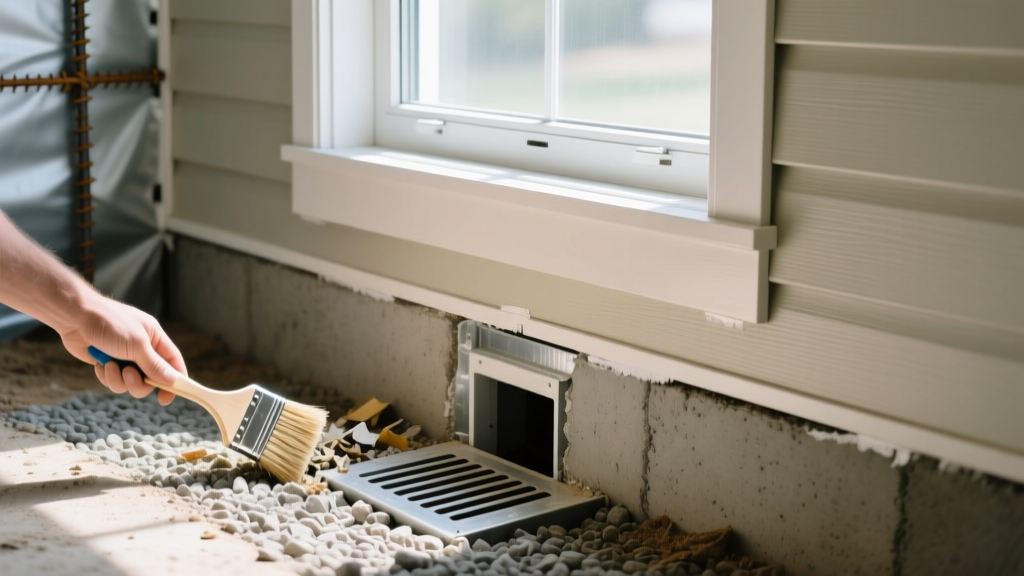
Basement windows occupy the most hostile environment in the building envelope. Unlike above-grade fenestration, they are subjected to direct hydrostatic pressure, soil settlement, constant high humidity, and severe debris accumulation. Neglecting a basement window does not just result in a drafty room; it compromises the foundation's waterproofing membrane and invites structural rot or interior mold colonization. According to the EPA's Moisture Control Guidelines, chronic dampness around below-grade fenestration is a primary catalyst for indoor air quality degradation.
Before executing a maintenance protocol, identify the specific failure mode affecting your window type. Use the matrix below to diagnose the root cause of common basement window issues.
| Symptom | Window Type | Root Cause | Targeted Fix |
|---|---|---|---|
| Water pooling in interior tracks | Vinyl/Aluminum Hopper & Sliders | Clogged exterior weep holes; silt infiltration | Clear weep holes with a 1/8-inch wire brush; flush with distilled white vinegar. |
| White powdery residue on mortar joints | Glass Block | Efflorescence from hydrostatic pressure and micro-cracking | Repoint with Type S masonry mortar or inject Sikaflex-1A polyurethane sealant. |
| Crank mechanism binds or slips | Awning / Hopper | Zinc-nickel plating degradation; dust ingress in operator arm | Clean with isopropyl alcohol; apply PTFE (Teflon) dry lubricant. Never use WD-40. |
| Standing water at the base of the well | Egress / Standard with Well | Compacted gravel; disconnected corrugated drain pipe | Excavate and replace gravel with 3/4-inch washed angular stone; snake the drain line. |
The Biannual Cleaning and Track Clearance Protocol
Standard glass cleaners and paper towels are insufficient for basement windows. The tracks accumulate a specific slurry of oxidized metal, spider webs, topsoil, and decaying organic matter that hardens into a concrete-like paste. Execute this protocol in early spring (post-thaw) and late autumn (pre-freeze).
Step 1: Track Excavation and Weep Hole Verification
- Vacuum the Dry Debris: Use a shop-vac with a crevice tool to remove loose topsoil and dead insects from the exterior track. Do not add water yet; this creates a mud slurry that pushes deeper into the weep channels.
- Clear the Weep Holes: Locate the rectangular slots on the exterior bottom track. Insert a 1/8-inch stainless steel wire brush or a specialized weep hole cleaning tool. Push gently to break up calcified silt. Never use a drill bit or screwdriver, as this can puncture the internal vinyl dam that separates the exterior track from the interior living space.
- The Vinegar Flush: Pour a 50/50 mixture of distilled white vinegar and warm water into the exterior track. The mild acidity dissolves alkaline mineral deposits (calcium carbonate) left by hard water and concrete runoff. Watch for immediate flow out of the weep holes. If water backs up, the internal channel is blocked and requires professional track disassembly.
Step 2: Hardware Lubrication (The PTFE Rule)
A critical mistake homeowners make is spraying wet lubricants (like standard WD-40 or silicone spray) on basement window hinges and cranks. Below-grade environments are inherently dusty. Wet lubricants act as magnets for silt, eventually creating an abrasive grinding paste that destroys the operator gears.
Only use a PTFE (Teflon) dry lubricant, such as WD-40 Specialist Dry Lube or 3M Silicone Paste, on basement window hardware. PTFE dries instantly, leaving a microscopically thin, non-tacky film that repels dust and withstands high humidity without degrading.
Window Well Drainage and Gravel Management
For homes with egress or standard below-grade windows, the window well is a primary defense against foundation flooding. The International Residential Code (IRC Section R310) mandates specific dimensions for egress wells, but proper drainage is what keeps those wells functional over decades.
The Gravel Specification Error
Most builders initially install pea gravel or unwashed river rock in window wells. This is a fundamental error. Pea gravel is smooth and rounded; it shifts easily and allows fine silt and organic matter to filter down and clog the drain pipe. Furthermore, unwashed stone contains clay dust that turns into an impermeable seal when wet.
The Correct Material: Use 3/4-inch washed, angular limestone or crushed granite. The angular edges interlock, maintaining permanent void spaces for rapid water percolation, while the 3/4-inch size prevents debris from packing tightly. The gravel bed must be at least 12 inches deep, stopping 3 to 6 inches below the window sill to prevent splashback onto the glass.
The 5-Gallon Drainage Test
To verify the integrity of the corrugated pipe connecting your window well to the interior French drain (footing drain), perform this annual stress test:
The 5-Gallon Protocol: Rapidly pour exactly 5 gallons of water directly into the center of the window well gravel. Time the dissipation. The water level should drop below the gravel surface within 45 to 60 seconds. If water pools for longer than 2 minutes, the sub-surface drain pipe is either crushed, disconnected, or clogged with iron ochre or root intrusion, requiring immediate hydro-jetting or excavation.
Perimeter Sealant and Glazing Restoration
The joint where the window frame meets the concrete foundation wall is a high-movement zone. Thermal expansion, soil settlement, and frost heave constantly stress this perimeter. Standard acrylic latex caulks will tear and fail within a single freeze-thaw cycle.
- Concrete-to-Metal/Vinyl Joints: Use a high-grade polyurethane sealant like Sikaflex-1A or Sikaflex-221. These products offer a 400% elongation capacity and adhere aggressively to porous concrete and extruded aluminum without a primer.
- Glass Block Mortar Joints: If the traditional Portland cement mortar between glass blocks is spalling, do not attempt a full tuckpointing job unless you are replacing 30% or more of the joints. For isolated micro-cracks, rout out the damaged mortar to a depth of 1/2 inch and fill with a sanded, color-matched polyurethane masonry sealant. This provides the aesthetic of mortar with the flexibility required for below-grade movement.
- Weatherstripping: Inspect the EPDM rubber gaskets on hopper windows. If the rubber feels hard, brittle, or leaves a black mark on your fingers (indicating UV and ozone degradation), it must be replaced. Source exact-match replacement gaskets from the original manufacturer (e.g., Andersen, Pella, or Bilco) rather than using generic adhesive-backed foam tape, which will detach in high-humidity environments.
2026 Maintenance Cost Breakdown: DIY vs. Professional Servicing
Routine basement window maintenance is highly cost-effective when performed as a DIY protocol. However, when sub-surface drainage or structural realignment is required, professional intervention prevents catastrophic foundation water damage.
| Maintenance Task | DIY Cost (Materials) | Professional Cost (2026 Rates) | Frequency |
|---|---|---|---|
| Track Cleaning & Weep Hole Clearance | $15 - $25 | $85 - $125 (Part of general window service) | Biannual |
| Window Well Gravel Replacement (Per Well) | $40 - $60 (Bagged 3/4" stone) | $150 - $250 (Includes haul-away of old stone) | Every 5-7 Years |
| Perimeter Polyurethane Sealant Injection | $15 - $30 per tube | $200 - $400 (Minimum service call + materials) | Every 10-15 Years |
| Sub-Surface Well Drain Snaking / Hydro-Jetting | N/A (Requires specialized equipment) | $350 - $600 | As Needed (Failing Drain Test) |
When to Escalate to a Foundation Specialist
Cleaning and sealing only address the symptoms of a failing basement window. You must consult a licensed foundation repair contractor if you observe horizontal cracking in the concrete adjacent to the window frame, stair-step cracking in glass block installations wider than 1/8 inch, or if the window frame itself has racked (become out-of-square) to the point that the sash no longer locks. These are indicators of lateral soil pressure or differential settlement that no amount of maintenance will resolve.