Epoxy vs Polyurethane Basement Crack Repair: Injection Procedures
Master basement crack repair with our step-by-step epoxy and polyurethane injection guide. Compare materials, costs, and application procedures.
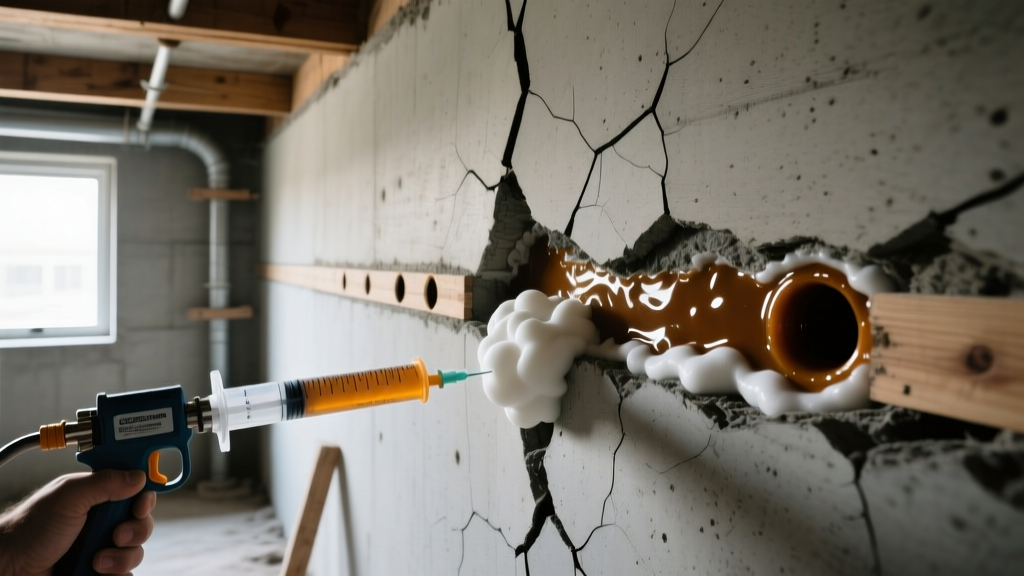
The Physics of Foundation Cracks: Why Material Selection Matters
Concrete foundations are inherently brittle. While a standard 8-inch poured concrete wall boasts a compressive strength of 3,000 to 4,000 psi, its tensile strength is roughly 10% of that. When lateral hydrostatic pressure from saturated soil, thermal cycling, or differential settling exerts tensile force exceeding this threshold, the concrete fractures. According to the Portland Cement Association, plastic shrinkage during the initial curing phase and long-term drying shrinkage are the primary culprits for non-structural vertical cracking.
Before selecting a resin, classify the crack. Vertical or diagonal cracks tapering from top to bottom that are less than 1/4-inch wide are typically shrinkage cracks. Horizontal cracks, stair-step cracks in block walls, or vertical cracks wider than 1/2-inch indicate active structural failure or severe hydrostatic loading. Consult a licensed structural engineer before attempting DIY injection on these failure modes.
Material Matrix: Epoxy vs. Polyurethane Injection Resins
The foundation repair industry relies on two distinct chemical families for basement crack repair. Choosing the wrong chemistry guarantees failure. Epoxy is a rigid, high-tensile structural weld, while polyurethane is a flexible, expansive water-sealant.
| Property | Epoxy Resin (e.g., SikaDur, Simpson Strong-Tie) | Polyurethane Resin (e.g., RadonSeal, Alchemco) |
|---|---|---|
| Primary Function | Structural restoration (welds concrete back together) | Waterproofing and leak sealing (fills voids) |
| Tensile Strength | 7,000+ psi (stronger than the concrete itself) | Low (flexible, does not add structural rigidity) |
| Reaction to Water d> | Repelled by water; requires bone-dry substrate | Reacts with water; expands to fill wet voids |
| Expansion Rate | None (1:1 volume fill) | Expands 20x to 30x its liquid volume |
| Viscosity | Low to Medium (requires routing for surface seal) | Ultra-low (penetrates hairline fissures easily) |
| Ideal Crack State | Dry, dormant, structural | Active leaking, damp, non-structural |
Polyurethane Injection Procedure: Stopping Active Leaks
Polyurethane resins are categorized as either hydrophilic (absorbs water, forms a flexible gel) or hydrophobic (repels water after reacting, forms a rigid foam). For basement walls subject to fluctuating water tables, hydrophobic closed-cell foam is preferred because it does not shrink when the surrounding soil dries out.
Phase 1: Port Installation and Preparation
- Clean the Fissure: Use a wire brush and a shop vacuum to remove loose concrete dust, efflorescence, and debris from the crack face. Do not use a chisel, which can widen the crack and create blowout paths.
- Drill Intersecting Holes: Using a hammer drill and a 5/8-inch masonry bit, drill holes at a 45-degree angle toward the crack. The goal is to intersect the crack at mid-depth (approximately 4 inches deep in an 8-inch wall). Space the holes 6 to 8 inches apart vertically.
- Flush the Drilled Holes: Inject water or compressed air into the drilled holes to clear concrete dust. This ensures the mechanical ports will seat properly and the resin won't bind to dust inside the hole.
- Seat the Mechanical Ports: Screw 5/8-inch brass or heavy-duty plastic mechanical injection ports into the drilled holes. Tighten them until the rubber O-ring compresses against the concrete, creating a watertight seal. Leave the crack face completely open.
Phase 2: High-Pressure Injection
- Connect the Pump: Attach a high-pressure injection pump (capable of 1,500 to 3,000 psi) to the lowest port. Polyurethane must be injected under high pressure to force the expanding foam deep into the soil matrix outside the wall.
- Inject from Bottom to Top: Begin pumping the polyurethane resin. Watch the crack face directly above the injection port. The moment the resin begins to weep out of the concrete surface or the next port up, stop pumping.
- Cap and Move Up: Cap the weeping port with a plastic plug to prevent backflow, disconnect the hose, and move to the next port up the wall. Repeat until resin weeps from the topmost port.
- Cure and Cleanup: Allow the foam to cure for 24 hours. Once hardened, snap off the mechanical ports flush with the wall and grind the remaining nubs smooth with an angle grinder equipped with a masonry cup wheel.
If the crack is completely dry at the time of repair, spray a fine mist of water into the crack before injecting. Polyurethane requires moisture to catalyze and expand. Without a catalyst, the resin will remain a liquid and fail to seal the void.
Epoxy Injection Procedure: Restoring Structural Integrity
Epoxy injection restores the monolithic nature of the concrete. Because epoxy has a higher viscosity than polyurethane and cannot tolerate moisture, surface preparation is radically different. The EPA notes that properly sealing foundation cracks is also critical for mitigating radon gas intrusion, and structural epoxy provides an impenetrable gas barrier.
Phase 1: Surface Sealing (The Most Critical Step)
- Route the Crack: Use a crack router or an angle grinder with a diamond V-groove blade to widen the surface of the crack to 1/4-inch wide and 1/4-inch deep. This creates a reservoir for the epoxy and removes surface contaminants.
- Solvent Wipe: Wipe the routed crack with acetone or a dedicated concrete degreaser to remove oils, dust, and moisture. The substrate must be chemically clean and bone dry.
- Adhere Surface Ports: Mix a fast-setting, high-viscosity epoxy paste (surface seal). Trowel a 2-inch wide, 1/4-inch thick layer of the paste over the entire length of the crack, embedding plastic surface ports every 6 to 10 inches. The spacing rule of thumb: port spacing should equal half the thickness of the wall.
- Cure the Seal: Allow the surface seal to cure completely (usually 2 to 4 hours). If the seal is not fully hardened, the injection pressure will blow the paste off the wall.
Phase 2: Low-Pressure Injection
- Inject Gravity or Low-Pressure Epoxy: Unlike polyurethane, structural epoxy is injected at low pressure (under 50 psi) or via gravity-fed cartridges. Attach the injection cartridge to the lowest port.
- Monitor the Bleed: Squeeze the trigger steadily. When pure, unmixed epoxy begins to flow from the next port up, plug the current port and move upward. This ensures the crack is completely filled from the back of the wall to the front.
2026 Cost Breakdown: DIY Kits vs. Professional Application
Understanding the financial landscape of basement crack repair helps homeowners decide between weekend DIY projects and hiring specialized foundation contractors.
| Repair Method | Material / Service Cost | Equipment Cost | Total per 8-ft Crack |
|---|---|---|---|
| DIY Polyurethane Kit (Low-Pressure) | $125 - $175 | $0 (Uses standard caulk gun) | $125 - $175 |
| DIY Epoxy Kit (Gravity/Low-Pressure) | $150 - $220 | $0 (Uses standard caulk gun) | $150 - $220 |
| Professional Polyurethane Injection | N/A (Included in service) | N/A (High-pressure pump provided) | $450 - $750 |
| Professional Epoxy Injection | N/A (Included in service) | N/A (Specialized pumps provided) | $600 - $950 |
Note: Professional pricing reflects 2026 national averages. High-cost-of-living areas or cracks requiring extensive interior waterproofing membrane removal will push costs toward the higher end of the spectrum.
Common Application Failures and Troubleshooting
Injection repairs fail not because the chemistry is flawed, but because the application procedure is violated. Recognize these common failure modes to ensure a permanent repair.
- Surface Seal Blowout (Epoxy): If the epoxy paste bursts through the surface seal during injection, the injection pressure was too high, or the seal was not fully cured. Fix: Stop immediately, apply a secondary layer of fast-set paste over the blowout, wait 60 minutes, and resume at a slower injection rate.
- Incomplete Polyurethane Fill: If water continues to leak from the bottom of the crack after injecting from the top, the technician failed to intersect the crack at mid-depth with the drill bit. The resin traveled up the back of the wall rather than through the center. Fix: Re-drill the ports at a steeper 45-degree angle to ensure the bit crosses the exact centerline of the fissure.
- Moisture Contamination in Epoxy: Epoxy will turn into a milky, non-structural sludge if injected into a damp crack. Fix: You cannot use epoxy on active leaks. Switch to a hydrophobic polyurethane resin, or use a commercial dehumidifier and heat lamps to dry the concrete for 48 hours prior to epoxy injection.
- Port Blow-Off (Polyurethane): Mechanical ports popping out of the wall under 2,000 psi of pressure indicates the drilled hole was oversized or the concrete is spalled. Fix: Use a larger 3/4-inch port, or pack the annular space around the port with hydraulic cement before injecting.
Proper basement crack repair requires matching the resin's physical properties to the crack's behavior. By adhering to strict drilling angles, surface preparation protocols, and injection sequences, contractors and advanced DIYers can permanently restore foundation integrity and eliminate water intrusion.