Figuring Roof Angles for Accurate Material Cost Estimation
Learn the exact math for figuring roof angles and pitch multipliers to calculate precise roofing material quantities and avoid costly ordering errors.
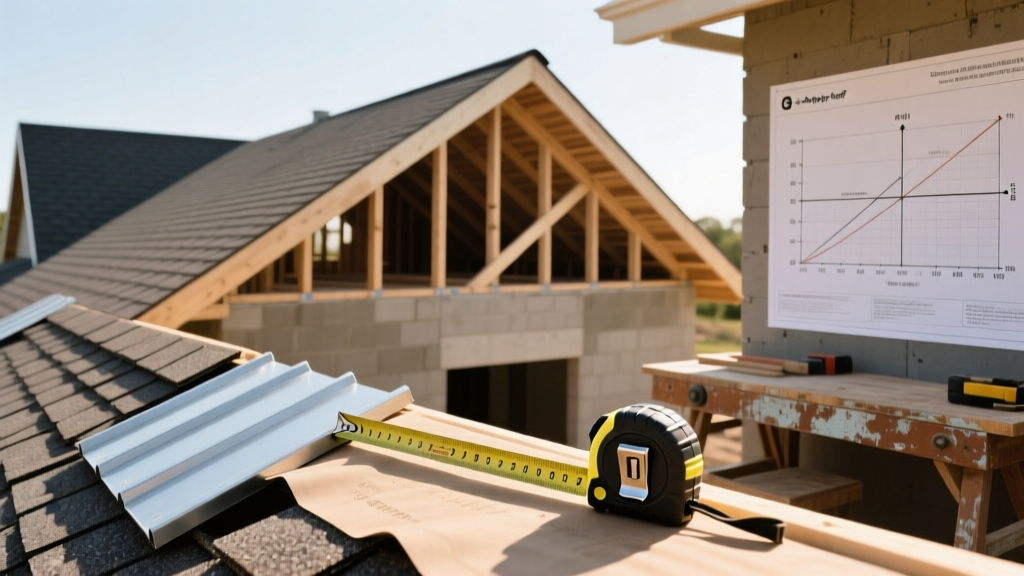
The Financial Risk of Ignoring 3D Surface Area
The most common and expensive mistake in roofing estimation is treating a three-dimensional structure as a two-dimensional footprint. When figuring roof angles for material takeoffs, estimators often calculate the square footage of the building's footprint and order materials based on that flat plane. However, a roof is an inclined surface. The actual area you need to cover is always larger than the footprint, and the steeper the pitch, the more dramatic the discrepancy. Failing to apply the correct pitch multiplier when figuring roof angles results in severe material shortfalls, emergency supply runs at premium prices, and shattered profit margins.
Accurate cost estimation requires translating the 2D architectural plans into 3D surface area calculations. This process involves determining the exact roof pitch, applying a mathematical multiplier to the base square footage, and then adjusting for material-specific waste factors based on the complexity of the roof's intersections. Below is the definitive framework for calculating these angles and translating them into precise material orders.
The Core Math: Translating Roof Angles to Pitch Multipliers
Roof pitch is expressed as a ratio of vertical rise to horizontal run, typically measured in inches per 12 inches of horizontal distance (e.g., a 6:12 pitch rises 6 inches for every 12 inches it moves horizontally). To find the true surface area, you must calculate the length of the hypotenuse (the actual sloped rafter length) and divide it by the run. This is a direct application of the Pythagorean theorem: Multiplier = √(Rise² + Run²) / Run.
For example, on a 6:12 roof, the calculation is √(6² + 12²) / 12, which equals √(36 + 144) / 12, or √180 / 12. This results in a rafter length of 13.416 inches per 12 inches of run, yielding a pitch multiplier of 1.118. If your 2D footprint is 2,000 square feet, the actual sloped roof area is 2,236 square feet.
Standard Pitch Multiplier Reference Chart
| Pitch (Rise/Run) | Angle (Degrees) | Pitch Multiplier | Slope Classification |
|---|---|---|---|
| 2:12 | 9.46° | 1.014 | Low Slope |
| 3:12 | 14.04° | 1.031 | Low Slope |
| 4:12 | 18.43° | 1.054 | Conventional |
| 5:12 | 22.62° | 1.083 | Conventional |
| 6:12 | 26.57° | 1.118 | Conventional |
| 8:12 | 33.69° | 1.202 | Steep Slope |
| 10:12 | 39.81° | 1.302 | Steep Slope |
| 12:12 | 45.00° | 1.414 | Very Steep |
Field Measurement Techniques for Existing Structures
When estimating a re-roofing project where architectural plans are unavailable, you must measure the existing roof angle in the field. Relying on visual estimation is unacceptable for precise quantity calculations. There are two primary methods for figuring roof angles on-site:
Method 1: The 24-Inch Framing Square and Level
Place a 24-inch framing square against the roof deck or fascia board. Ensure the square is perfectly plumb by resting a torpedo level on the vertical tongue. Read the measurement on the horizontal body where it intersects the roof surface. This gives you the exact rise over a 12-inch run. This method is highly reliable but requires safe ladder access to the eave or ridge.
Method 2: Digital Inclinometers
For safer, faster measurements, professional estimators use digital angle finders. Tools like the Johnson Level 800 Digital Angle Finder or the Bosch GIM 120 Digital Level feature magnetic bases that snap directly onto the roof deck, drip edge, or exposed rafters in the attic. These tools instantly display the pitch in both degrees and standard rise-over-run fractions, eliminating manual calculation errors in the field.
The pitch multiplier only accounts for the main sloped planes. It does not account for the cutting waste generated by hips, valleys, dormers, and ridges. For a simple gable roof, add a 5% waste factor to your multiplied square footage. For complex hip roofs with multiple valleys and dormers, you must increase the waste factor to 12% to 15% to account for the off-cuts generated when angling shingles or metal panels to meet intersecting planes.
Material-Specific Constraints Based on Roof Angle
Figuring roof angles is not just about calculating area; it dictates which materials are legally and structurally permissible for the project. Building codes and manufacturer warranties strictly limit material applications based on minimum pitch requirements.
- Asphalt Shingles: Standard architectural shingles, such as Owens Corning Duration series, require a minimum pitch of 2:12. However, if the roof angle is between 2:12 and 4:12, the International Residential Code (IRC) mandates a double layer of underlayment (or a specialized ice and water shield) across the entire deck before shingle installation to prevent wind-driven water intrusion. If the pitch is below 2:12, asphalt shingles are strictly prohibited and will void the manufacturer's warranty.
- Standing Seam Metal Roofing: Mechanically seamed metal roofs can accommodate extremely low slopes. Systems like the MBCI Ultra-Dek can be installed on pitches as low as 1/4:12, provided the seams are factory-sealed with specialized mastic. Architectural snap-lock panels, however, typically require a minimum 3:12 pitch to ensure adequate water shedding without relying on sealants.
- Clay and Concrete Tile: Tile systems are incredibly heavy. While they can be installed on low slopes (minimum 2.5:12 with special underlayment), figuring roof angles on steep pitches (over 8:12) requires mechanical fastening upgrades. On steep angles, gravity and wind uplift threaten the mortar or foam adhesion, requiring every single tile to be mechanically clipped or wired to the battens.
Labor, Safety, and the Steep Surcharge
As roof angles increase, the cost of labor scales non-linearly. When estimating labor for steep roofs, you must factor in the time lost to safety protocols and the physical difficulty of moving materials up an incline. According to OSHA's fall protection standards, any worker on a walking/working surface with an unprotected side or edge 6 feet or more above a lower level must be protected by guardrails, safety nets, or personal fall arrest systems.
For roofs exceeding an 8:12 pitch, standard roof brackets and scaffolding become mandatory. This adds significant setup and teardown time to the project schedule. Furthermore, hoisting bundles of shingles (which weigh roughly 200 lbs per square) up a 12:12 pitch requires specialized material lifts or crane services, as manual carrying becomes a severe safety hazard. Estimators should apply a 15% to 30% steep-slope labor surcharge for any roof plane exceeding an 8:12 pitch to cover the cost of roof jacks, slide guards, harness tie-off anchor installation, and reduced worker mobility.
"The difference between a profitable bid and a loss on a steep-slope Victorian roof almost always comes down to the estimator forgetting to calculate the true surface area of the dormers and failing to price in the material lift rental required to get the shingles to the ridge."
Frequently Asked Questions
Can I use a drone to figure roof angles and calculate area?
Yes, modern photogrammetry software like EagleView or DroneDeploy can generate highly accurate 3D point clouds of a roof. These platforms automatically calculate the exact pitch, surface area, ridge lengths, and valley intersections, applying the correct multipliers automatically. However, you must still verify the eave overhangs manually, as drone top-down views sometimes obscure the exact extent of the fascia overhang.
Does the pitch multiplier apply to underlayment and decking as well?
Absolutely. The pitch multiplier must be applied to every material that covers the sloped plane. This includes the roof decking (plywood/OSB sheets), synthetic or felt underlayment, ice and water shield, and the primary roofing material. The only exceptions are linear materials like drip edge, fascia boards, and ridge caps, which are calculated by linear foot, not square footage.
How do I calculate the angle of a valley or hip rafter?
Hips and valleys run at a 45-degree angle to the main roof planes, meaning they span a longer distance than common rafters. To find the length of a hip or valley rafter per foot of run, multiply the standard common rafter length by 1.414 (the square root of 2). This is a critical calculation when ordering custom-cut structural timbers or specialized hip and valley metal flashing pans.