Step-by-Step Guide to Fully Adhered EPDM Rubber Roofing Installation
Master fully adhered EPDM rubber roofing installation with our step-by-step guide. Learn substrate prep, adhesive application, and seam detailing.
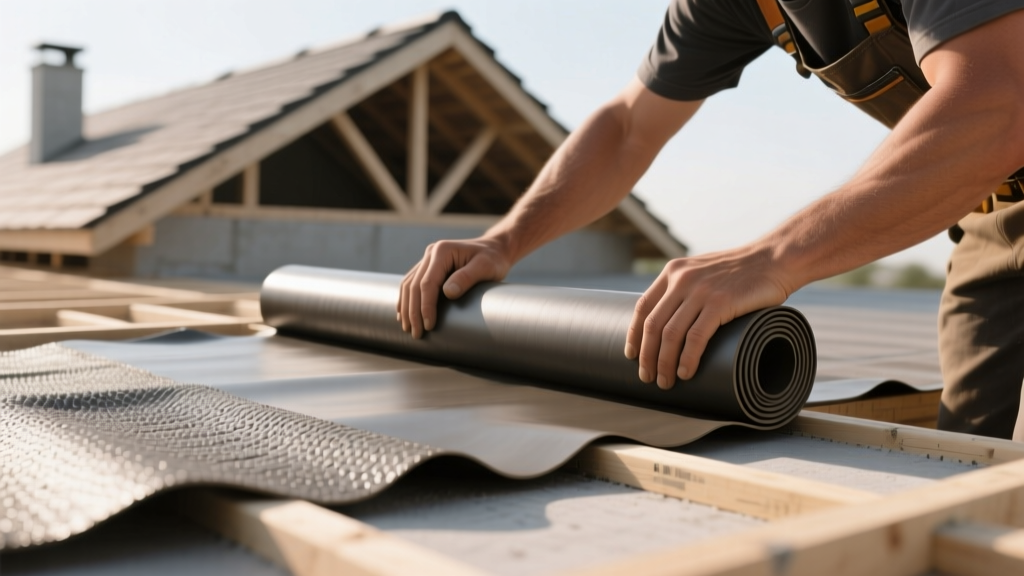
Introduction to Fully Adhered EPDM Systems
Fully adhered Ethylene Propylene Diene Monomer (EPDM) systems represent the gold standard for low-slope and flat roof applications where wind uplift resistance and structural weight limits are critical. Unlike ballasted systems that rely on river stone or pavers, fully adhered EPDM rubber roofing bonds directly to the substrate, achieving wind uplift ratings exceeding 90 psf (pounds per square foot) when installed correctly. According to the National Roofing Contractors Association (NRCA), the success of a fully adhered single-ply membrane hinges entirely on substrate preparation, adhesive flash-off timing, and meticulous seam splicing.
Quick System Specifications
- Membrane Thickness: 45-mil or 60-mil reinforced/non-reinforced EPDM.
- Minimum Slope: 1/4 inch per foot (2%) for positive drainage.
- Substrate Options: 5/8-inch CDX plywood, oriented strand board (OSB), or 1/2-inch high-density polyiso coverboard.
- Adhesive Type: Water-based or solvent-based bonding adhesive.
Phase 1: Substrate Preparation and Moisture Testing
The most common cause of catastrophic failure in adhered EPDM systems is trapped moisture vaporizing and blistering the membrane post-installation. Before unrolling any material, the deck must be verified for structural integrity and moisture content.
Moisture Testing and Surface Tolerance
Use a pinless moisture meter (such as a Tramex) to test the wood deck. Moisture content must not exceed 19% for wood substrates. For concrete decks, perform a calcium chloride test to ensure moisture vapor emission rates (MVER) are below 3 lbs per 1,000 sq ft per 24 hours. If installing over existing roofing, all wet insulation must be cut out and replaced with matching polyiso board.
Once the deck is verified dry, sweep the surface thoroughly. Any debris, sawdust, or gravel left on the deck will telegraph through the 45-mil or 60-mil membrane, creating puncture points and preventing full adhesive contact.
Phase 2: Membrane Positioning and Acclimation
EPDM rubber roofing exhibits significant thermal expansion and contraction. Installing a cold membrane on a hot day will result in severe wrinkling and fishmouths at the seams once the material expands.
- Unroll and Relax: Drop the membrane rolls onto the roof and unroll them in their intended position. Allow the material to relax and acclimate to the ambient roof temperature for a minimum of 30 to 45 minutes.
- Overlap Alignment: Position adjacent sheets with a minimum 3-inch overlap for standard seams, or a 6-inch overlap for high-wind zones and critical detail areas.
- Fold-Back Preparation: Once relaxed, fold the membrane back on itself lengthwise, exposing exactly half of the substrate for adhesive application. Do not crease the fold line; use a PVC pipe or cardboard core to create a gentle roll-back.
Phase 3: Adhesive Application Techniques
Proper adhesive application dictates the longevity of the bond. Most manufacturers (such as Holcim Elevate and Carlisle SynTec) require a specific coverage rate and flash-off time.
| Adhesive Type | Coverage Rate | Flash-Off Time (70°F) | Application Tool |
|---|---|---|---|
| Water-Based Bonding | 150 - 200 sq ft / gallon | 45 - 60 minutes | 3/8-inch nap roller |
| Solvent-Based Bonding | 200 - 250 sq ft / gallon | 15 - 30 minutes | 3/8-inch nap roller |
| Low-VOC Contact Adhesive | 125 - 150 sq ft / gallon | 20 - 40 minutes | 3/8-inch nap roller |
Apply the adhesive to both the substrate and the back of the folded membrane using a 3/8-inch nap paint roller. Maintain a wet edge to prevent lap lines in the adhesive itself. The Building Science Corporation emphasizes that uniform adhesive thickness is critical; thin spots lead to localized detachment, while thick spots trap solvents and cause blistering.
The Touch Test
Never rely solely on the clock for flash-off time. Perform the touch test: press your knuckle or the back of your finger into the adhesive. It should feel highly tacky and stringy, but must not transfer to your skin. If it transfers, it is too wet and will trap solvents. If it feels dry and non-tacky, it has over-flashed and must be re-primed.
Phase 4: Seam Splicing and Detailing
Seam failure is the primary vulnerability of any single-ply roof system. Modern EPDM rubber roofing utilizes pressure-sensitive splicing tapes (like SecurTape or QuickSeam) rather than liquid contact cements, drastically reducing human error.
Step-by-Step Seam Procedure
- Clean the Lap: Wipe the top surface of the bottom sheet and the bottom surface of the top sheet with a dedicated splice wash (e.g., QuickPrime Splice Wash) using a clean, lint-free rag. This removes factory release agents and oxidation.
- Apply Primer: Apply a uniform coat of seam primer (such as QuickPrime Plus) using a specialized scrubber pad. Scrub until the surface feels tacky and no longer slick.
- Apply Tape: Center the 3-inch or 6-inch splicing tape over the seam line. Remove the release film as you go, ensuring the tape does not stretch.
- Roll the Seam: This is the most skipped and most critical step. Use a 2-inch wide silicone seam roller. Apply a minimum of 50 pounds of downward pressure. Roll the center of the seam first, then roll the outer edges to push out trapped air. Proper rolling activates the pressure-sensitive adhesive and ensures a watertight, monolithic bond.
Phase 5: Perimeter Edge Metal and Flashing
Perimeter terminations must be secured to withstand wind uplift forces. Install manufacturer-approved edge metal (drip edge or gravel stop) using corrosion-resistant fasteners spaced no more than 12 inches on center.
Seal the top flange of the edge metal to the EPDM membrane using a cover strip and termination bar, or by wrapping the membrane over the edge and securing it with a reinforced flashing detail. All inside and outside corners require pre-fabricated EPDM corner flashings, which are vulcanized to the field membrane using the same priming and taping procedures outlined in Phase 4. For roofs utilizing white EPDM to meet energy codes, the U.S. Department of Energy notes that maintaining the reflectivity of these flashings is vital for maximizing the cool roof effect and reducing HVAC cooling loads.
Common Installation Failure Modes and Troubleshooting
Identifying and correcting errors during installation prevents costly tear-offs later. Review this troubleshooting matrix before finalizing the roof.
| Symptom | Root Cause | Corrective Action |
|---|---|---|
| Fishmouths (wrinkles at seams) | Membrane was stretched during positioning or seaming. | Cut out the fishmouth, clean the area, apply primer, and patch with a 6-inch layer of uncured EPDM flashing and tape. |
| Adhesive Blisters | Solvent trapped due to insufficient flash-off time or damp substrate. | Puncture the blister, inject compatible contact adhesive, press flat, and patch with a 4-inch cover strip. |
| Seam Peeling / Delamination | Inadequate roller pressure or failure to clean factory release agents. | Lift the peeled section, aggressively clean with splice wash, re-prime, apply new tape, and roll with 50+ lbs of pressure. |
2026 Material and Labor Cost Breakdown
Budgeting for a fully adhered EPDM rubber roofing system requires accounting for both the membrane and the extensive accessory list (adhesives, primers, tapes, and fasteners). Below are the current 2026 market estimates for a standard 5,000 sq ft commercial or large residential low-slope project.
- EPDM Membrane (60-mil): $1.80 - $2.40 per sq ft
- Adhesives and Primers: $1.10 - $1.50 per sq ft
- Seam Tapes and Flashings: $0.60 - $0.90 per sq ft
- Polyiso Coverboard (1/2-inch HD): $0.85 - $1.20 per sq ft
- Professional Labor: $4.50 - $7.00 per sq ft
Total Installed Cost: Expect to pay between $8.85 and $13.00 per square foot for a fully adhered, warrantied 60-mil EPDM system. While the initial material cost is higher than a mechanically fastened TPO system, the fully adhered EPDM system offers superior puncture resistance, aesthetic superiority (no visible fastener plates), and a proven service life exceeding 30 years when maintained correctly.