Essential Green Roof Material Repair and Maintenance Strategies
Learn expert green roof material repair and maintenance strategies. Discover leak detection, membrane patching, and root barrier upkeep for lasting performance.

The term 'green roof material' extends far beyond the visible vegetation layer. A fully functional vegetative roof is a complex, multi-ply assembly comprising a waterproofing membrane, root barrier, moisture retention mat, drainage matrix, filter fabric, engineered growing media, and the plants themselves. When leaks or structural issues arise, the failure rarely originates in the flora; it almost always traces back to the synthetic materials hidden beneath the soil. Proper repair and maintenance of these underlying layers require specialized diagnostic tools, precise material compatibility knowledge, and strict adherence to manufacturer specifications.
The Anatomy of Green Roof Material Failures
Waterproofing membranes bear the brunt of environmental and biological stress in a vegetative assembly. The three most common single-ply membranes used in commercial applications exhibit distinct failure modes over their 20- to 30-year lifespans.
Membrane-Specific Degradation Profiles
- EPDM (Ethylene Propylene Diene Monomer): Products like Holcim RubberGard are highly puncture-resistant but vulnerable to thermal cycling. Over time, EPDM shrinks, placing immense tensile stress on seams, flashings, and pipe penetrations. Failures typically manifest as seam peeling or flashing pull-away.
- TPO (Thermoplastic Polyolefin): Carlisle Sure-Weld TPO resists shrinkage and biological growth but is highly dependent on the quality of the initial heat-welded seams. If the weld temperature or speed was inconsistent during installation, micro-voids form, allowing water ingress that remains undetected until it breaches the decking.
- PVC (Polyvinyl Chloride): Sika Sarnafil PVC membranes utilize plasticizers for flexibility. In environments with high chemical runoff or improper maintenance, plasticizer migration can cause the membrane to become brittle and crack under the hydrostatic pressure of saturated growing media.
A clogged drainage matrix can trap water above the membrane. Every inch of standing water exerts 5.2 pounds per square foot of hydrostatic pressure. If the drainage layer fails to clear, this pressure can force water through microscopic membrane defects that would otherwise remain watertight under standard gravity drainage.
Diagnostic Protocols: Finding Leaks Beneath the Substrate
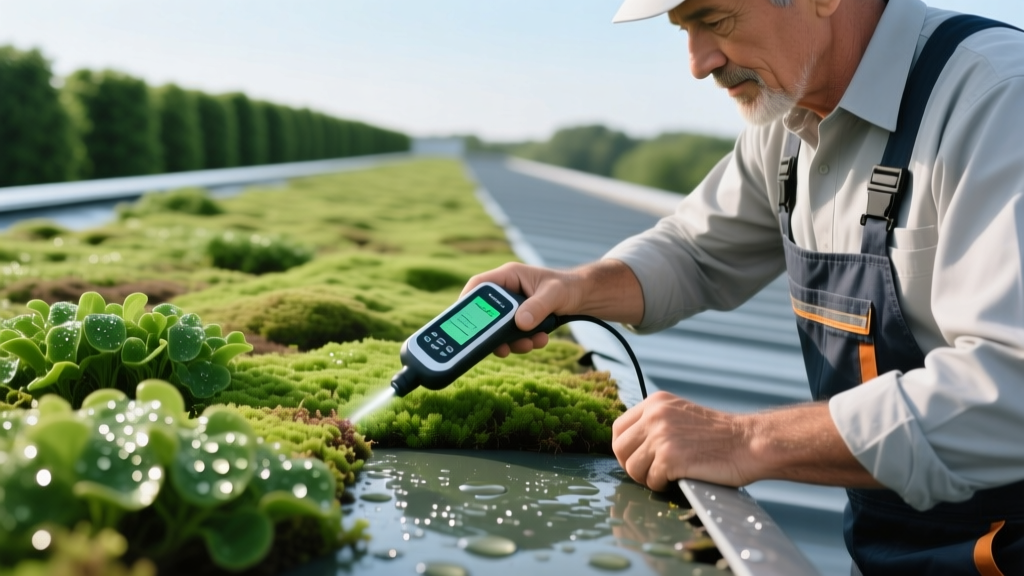
Visual inspection is useless for green roof material repair because the membrane is permanently concealed. When a leak is reported in the interior space below, roofing professionals must utilize non-destructive testing (NDT) to pinpoint the exact location of the breach without excavating the entire roof.
Electronic Leak Detection (ELD) vs. Infrared Thermography
| Diagnostic Method | Mechanism of Action | Ideal Application | Limitations |
|---|---|---|---|
| Vector Mapping (ELD) | Measures electrical current flow through water to pinpoint membrane breaches per ASTM D7877. | Highly accurate for pinpointing exact puncture locations in EPDM and TPO. | Requires the membrane to be wet; cannot be used on conductive membranes like some PVCs with carbon backing. |
| Infrared Thermography | Detects temperature differentials caused by trapped moisture retaining heat after sunset. | Mapping large areas of wet insulation or saturated growing media. | Cannot pinpoint the exact membrane hole; highly dependent on weather conditions and time of day. |
According to the U.S. Environmental Protection Agency, maintaining the structural integrity of the waterproofing layer is the most critical factor in ensuring the long-term environmental benefits of a vegetative roof. ELD is generally the preferred first-line diagnostic tool for green roof material repair because it isolates the exact coordinates of the breach, minimizing the amount of growing media and vegetation that must be excavated.
Step-by-Step Repair of Punctured EPDM and TPO Membranes
Once the breach is located via ELD, the physical repair process requires meticulous attention to material compatibility and surface preparation. The following protocol applies to extensive green roofs (3 to 6 inches of media depth).
- Media Excavation and Containment: Carefully remove the vegetation mats and engineered growing media in a 4-foot radius around the identified leak. Place the media in heavy-duty tarps to prevent loss and contamination. Store the removed sedum or grass plugs in a shaded, moist environment.
- Membrane Cleaning: The exposed membrane must be entirely free of soil, biofilm, and root exudates. For EPDM, scrub the area with a specialized Splice Wash (e.g., Holcim QuickPrime Plus cleaner) using a clean, lint-free rag. For TPO, use a manufacturer-approved TPO membrane cleaner. Never use abrasive pads that could score the material.
- Primer and Adhesive Application: Apply the appropriate primer. For EPDM, roll on a uniform coat of bonding adhesive and allow it to flash off until it is tacky but does not transfer to a dry knuckle. For TPO, heat-welding is preferred over adhesives; use a hot-air welder set to the exact temperature specified for the current ambient conditions (typically between 800°F and 950°F at the nozzle).
- Patch Installation: Cut a patch from matching membrane material. The patch must extend a minimum of 3 inches beyond the perimeter of the puncture in all directions (a 6-inch total overlap is the industry standard). Roll the patch firmly with a 2-inch steel seam roller to ensure continuous contact and eliminate air voids.
- Seam Verification: Run a blunt-nosed seam probe along the entire perimeter of the patch. If the probe catches or penetrates the edge, the seam has failed and must be re-welded or re-adhered.
- Assembly Restoration: Inspect the overlying root barrier and filter fabric. If the root barrier (typically a 20-mil HDPE sheet) was compromised by the same event that punctured the membrane, patch it using HDPE-compatible tape. Replace the filter fabric, return the growing media, and replant the vegetation.
Root Barrier and Drainage Matrix Maintenance
While the waterproofing membrane prevents leaks, the root barrier and drainage matrix protect the membrane from biological and mechanical damage. Research from Penn State Extension highlights that aggressive root systems from unauthorized plant species are a leading cause of secondary membrane degradation.
'A green roof is only as resilient as its root barrier. If facility managers allow wind-blown seeds to establish deep-rooted ornamental grasses or shrubs in an extensive sedum system, the taproots will eventually breach standard geotextile root barriers and seek the moisture trapped just above the waterproofing membrane.'
To maintain these materials, conduct an annual 'weed audit' to manually extract any volunteer plants with taproots before they reach the barrier layer. Additionally, the drainage matrix (such as Enkadrain or similar geocomposite cores) must be inspected at the roof drains and scuppers. Flush the exposed edges of the drainage mat with low-pressure water annually to dislodge silt and fine particulate matter that migrates through the filter fabric over time.
Preventative Maintenance Schedule and Cost Matrix
Proactive maintenance of green roof materials is significantly more cost-effective than emergency leak repair. The following matrix outlines standard commercial maintenance intervals and estimated 2026 pricing for professional roofing contractors.
| Maintenance Task | Frequency | Target Material Layer | Estimated Cost (per sq. ft.) |
|---|---|---|---|
| Drain and Scupper Flushing | Bi-Annual (Spring/Fall) | Drainage Matrix / Filter Fabric | $0.05 - $0.08 |
| Volunteer Weed Extraction | Annual | Growing Media / Root Barrier | $0.10 - $0.15 |
| Seam and Flashing Inspection | Annual | Membrane Perimeter / Penetrations | $0.12 - $0.20 |
| ELD Vector Mapping Test | Every 3-5 Years | Waterproofing Membrane | $0.15 - $0.25 |
Decision Framework: When to Patch vs. When to Replace
Not all material damage warrants a simple patch. Facility managers must evaluate the extent of the degradation to determine the correct intervention.
- Patch the Material When: The damage is an isolated puncture (less than 2 inches in diameter), the surrounding membrane remains pliable and free of micro-cracking, and the ELD test confirms no secondary breaches within a 10-foot radius. Patching costs typically range from $150 to $300 per incident, plus media restoration.
- Replace the Material Section When: The membrane exhibits widespread seam delamination (common in aging TPO), severe shrinkage pulling away from flashings (common in EPDM older than 15 years), or if plasticizer migration has caused the PVC to fail a durometer hardness test. In these cases, excavating the media and replacing a 10x10 foot section of the membrane assembly will cost between $35 and $55 per square foot, but it prevents catastrophic, building-wide water infiltration.
Maintaining a green roof requires shifting focus from the aesthetic canopy above to the engineered materials below. By implementing rigorous diagnostic protocols, utilizing manufacturer-specific repair compounds, and adhering to a strict preventative maintenance schedule, building owners can ensure their vegetative assemblies perform flawlessly for decades.
Written by
Marcus ChenMarcus Chen is a licensed structural engineer (PE) and building materials analyst with over 12 years of experience across residential, commercial, and industrial construction. He holds a Master of Science in Civil Engineering from UC Berkeley and spent six years at Thornton Tomasetti before transitioning to independent consulting and technical writing. Marcus specializes in material selection for seismic-prone regions, concrete reinforcement strategies, and lifecycle cost analysis. His work has been cited by the American Concrete Institute (ACI) and the Structural Engineers Association of California (SEAOC). When he is not on a job site or at his desk, you will find him hiking the Sierra Nevada or restoring a 1920s craftsman bungalow in Oakland, CA.
More from Marcus Chen
View all
Construction Cost
How Much Did the Eiffel Tower Cost to Build?
How much did the Eiffel Tower cost to build in 1889? We adjust for inflation and compare its budget to modern skyscraper construction.
Aug 4, 2026

Fire Resistance
What Is a Fire Resistant Material? Testing & Certification Guide
Discover what is a fire resistant material through ASTM and UL testing. Learn how fire ratings, certifications, and assemblies work in construction.
Aug 4, 2026

Construction Cost
How Much Did the Burj Khalifa Cost to Build?
How much did the Burj Khalifa cost to build? We break down the $1.5B project and extract 5 money-saving strategies for your next build.
Jul 30, 2026