Installing Landmark Pro Shingles: Step-by-Step Application Guide
Master the installation of CertainTeed Landmark Pro shingles with our expert guide covering nailing patterns, underlayment, and flashing details.
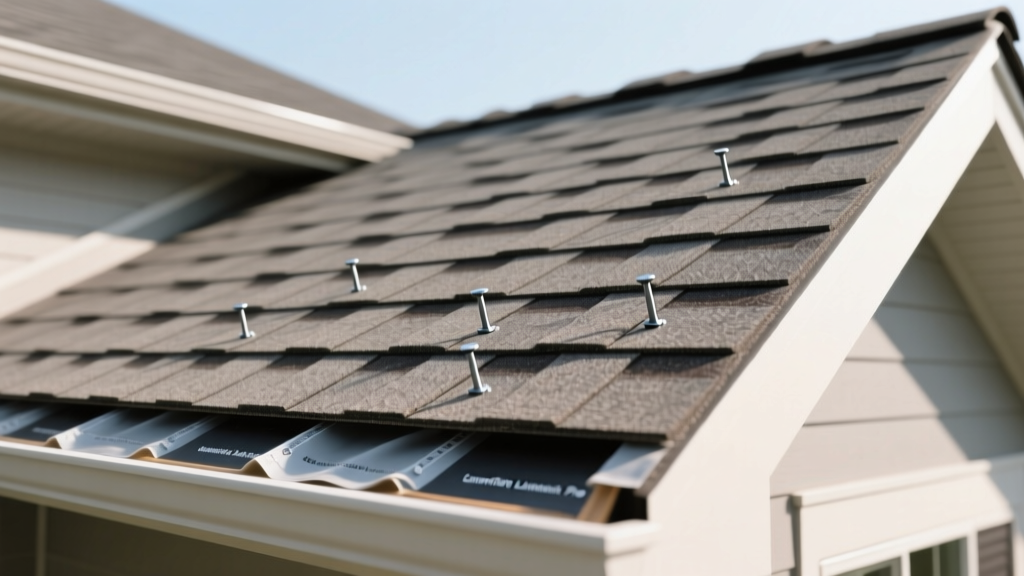
CertainTeed Landmark Pro shingles represent a premium tier in the architectural asphalt roofing market, offering a dimensional wood-shake profile, a Class A fire rating, and a 130 mph wind resistance warranty. However, the performance of these shingles is entirely dependent on precise installation. A deviation in the nailing pattern or an improperly integrated starter course can void the manufacturer's warranty and compromise the roof's lifespan. This guide details the exact application procedures, material specifications, and critical tolerances required to install Landmark Pro shingles to manufacturer and industry standards.
Pre-Installation: Decking and Drip Edge Preparation
Before unrolling underlayment, the roof deck must meet structural and surface tolerances. Landmark Pro shingles require a solid, continuous deck. If using oriented strand board (OSB) or plywood, ensure the minimum thickness is 7/16-inch for 16-inch on-center rafter spacing, or 1/2-inch for 24-inch on-center spacing. Install H-clips at the unsupported edges of panel joints to prevent sagging, which can cause the shingle sealant strips to fail to bond.
Install a corrosion-resistant drip edge (minimum 26-gauge galvanized steel or 0.019-inch aluminum) along the eaves and rakes. At the eaves, the drip edge must be installed under the ice and water shield. At the rakes (edges), the drip edge is installed over the underlayment. This specific sequencing prevents wind-driven rain from wicking under the protective layers.
Underlayment and Ice Barrier Integration
For the eaves, apply a self-adhering polymer-modified bitumen sheet (ice and water shield) meeting ASTM D1970. In regions with a history of ice damming, the shield must extend from the eave edge to a point at least 24 inches inside the exterior wall line of the building. For the main roof field, use a high-tensile synthetic underlayment (such as CertainTeed RoofRunner or DiamondDeck). Overlap horizontal synthetic underlayment rows by a minimum of 4 inches and vertical end-laps by 6 inches, securing them with cap nails rather than standard staples to prevent tearing under high wind loads.
The Critical Nailing Pattern for Landmark Pro
To achieve the 130 mph wind warranty (per ASTM D3161), you must use a 6-nail pattern per shingle. Use 11-gauge or 12-gauge hot-dipped galvanized roofing nails with a 3/8-inch diameter head. For standard decking, use 1-inch to 1-1/4-inch nails; if penetrating through existing layers or thick decking, use 2-inch nails to ensure a minimum 3/4-inch penetration into the wood deck.
- Nail Line Location: Place nails precisely in the manufacturer's designated nail line, located between the cutouts and the self-sealing adhesive strip.
- Spacing: Place the first nail 1 inch from the left end of the shingle. Space the remaining 5 nails evenly across the shingle, with the final nail 1 inch from the right end.
- Depth Tolerance: The nail head must sit perfectly flush with the shingle surface. Over-driven nails fracture the fiberglass mat, while under-driven nails ("proud" nails) prevent the overlapping shingle from laying flat and puncture the shingle above.
Step-by-Step Shingle Application
1. The Starter Course
Never use a standard field shingle with the tabs cut off as a starter strip. Use CertainTeed ProStart or Landmark Pro ShingleTabs. The starter strip provides the necessary sealant at the eave edge to lock down the first course of field shingles. Install the starter strip flush with the drip edge, using the 6-nail pattern placed roughly 3 inches up from the eave edge.
2. First Course and Chalk Lines
Apply the first course of Landmark Pro shingles directly over the starter strip, overhanging the drip edge by exactly 1/4 to 3/8 inch. Snap horizontal chalk lines every 5 courses (28-1/8 inches) to maintain a strict 5-5/8-inch weather exposure. Snapping vertical chalk lines every 6 inches ensures your staggered joints remain perfectly straight down the roof plane.
3. Field Application and Staggering
Landmark Pro requires a minimum 6-inch offset between vertical joints in adjacent courses. Begin the second course with a shingle cut to remove the first 6 inches. Begin the third course with a 12-inch cut, and so on, until the pattern resets. This 6-inch stagger prevents water channeling and creates the randomized, shadow-line aesthetic that mimics natural wood shakes.
Valley and Flashing Integration
For closed-cut valleys—the preferred method for architectural shingles—line the valley center with a 36-inch wide strip of ice and water shield. Install shingles from the lower-slope roof plane across the valley center, extending at least 12 inches onto the adjoining roof. Then, install shingles from the higher-slope plane over the top, and snap a chalk line 2 inches from the valley centerline. Cut the overlapping shingles along this line and seal the cut edge with a 3-inch wide band of roofing cement meeting ASTM D4586.
At sidewalls and chimneys, use step flashing (minimum 26-gauge steel, 4x4x7 inches). Integrate each piece of step flashing with every individual course of shingles, ensuring the flashing extends at least 2 inches up the vertical wall and is covered by the wall's counter-flashing or siding. Never use continuous L-flashing for asphalt shingle sidewalls, as it restricts the natural thermal expansion and contraction of the shingle field.
Landmark Pro Installation Cost & Material Breakdown
Accurate budgeting requires accounting for the full roofing system, not just the field shingles. Below is the estimated material cost breakdown for a 2026 installation of the Landmark Pro system (prices reflect national averages and may vary by regional supply chains).
| Material Component | Unit of Measure | Est. Cost (2026) |
|---|---|---|
| Landmark Pro Shingles | Per Square (3 bundles) | $145 - $165 |
| ProStart Starter Strip | Per Box (18 lin. ft.) | $35 - $45 |
| Synthetic Underlayment | Per Roll (10 sq) | $65 - $85 |
| Ice & Water Shield | Per Roll (2 sq) | $90 - $115 |
| Roofing Nails (1-1/4" Coil) | Per Coil (3,600 ct) | $45 - $60 |
Common Installation Mistakes to Avoid
Even experienced crews can develop bad habits. Audit your installation against these frequent failure points:
- Racking the Roof: Some crews install shingles straight up the roof in a stair-step pattern (racking) rather than horizontally across. While CertainTeed allows racking for some products, it complicates the 6-inch stagger requirement and often leads to misaligned vertical joints and compromised wind resistance on the Landmark Pro profile. Stick to horizontal application.
- Ignoring the Sealant Strip: Landmark Pro relies on a thermal-activated self-sealing adhesive. If installed in temperatures below 40°F, the sealant will not activate. In cold-weather applications, you must manually apply four 1-inch diameter dabs of asphalt roofing cement under the leading edge of each shingle tab to prevent winter wind blow-offs.
- Over-tightening Pneumatic Nailers: Setting the air compressor PSI too high results in over-driven nails that cut through the fiberglass mat. Calibrate your nail gun daily on a scrap piece of OSB and shingle to ensure the nail head is perfectly flush without breaking the surface granules.
For further technical specifications and warranty stipulations, always consult the official CertainTeed Landmark Pro product documentation and review the Asphalt Roofing Manufacturers Association (ARMA) technical bulletins for updated code compliance. For homes in hurricane-prone regions, cross-reference your nailing pattern with the IBHS FORTIFIED Home standards to ensure maximum resilience against extreme weather events.