How to Organize Roofing Systems, Materials, and Staging for Complex Projects
Learn how to organize roofing materials, staging layouts, and application-fit systems for complex multi-zone commercial and residential projects.
Application-Fit Matrix: Matching Materials to Roof Zones
Complex commercial and large-scale residential roofs are rarely uniform. They consist of multiple micro-environments—low-slope fields, high-wind parapets, steep-slope transitions, and heavy HVAC penetration zones. Figuring out how to organize roofing systems across these distinct areas requires moving beyond a one-size-fits-all membrane approach. Application-fit matching ensures that the material deployed in a specific zone is engineered to handle the unique thermal, mechanical, and hydrological stresses of that exact location.
According to the National Roofing Contractors Association (NRCA), mismatching materials to roof zones is a leading cause of premature membrane failure, particularly at perimeters and penetrations. Below is a decision matrix for organizing multi-zone material selection.
| Roof Zone | Recommended Material System | Application-Fit Rationale | Relevant Standard |
|---|---|---|---|
| Main Low-Slope Field | 60-mil TPO (Mechanically Fastened) | High puncture resistance; accommodates thermal expansion/contraction without stressing seams. | ASTM D6878 |
| Parapets & Edge Perimeters | 80-mil EPDM (Fully Adhered) or Liquid Silicone | Conforms to complex 90-degree geometry; eliminates seam vulnerabilities in high-uplift zones. | ASTM D4637 |
| Steep-Slope Transitions | 24-Gauge Galvalume Standing Seam | Sheds water rapidly via gravity; engineered for wind uplift resistance up to 140 mph. | ASTM A792 |
| Heavy HVAC / Pipe Boots | Pre-fabricated TPO/EPDM Pipe Boots with Pourable Sealer | Maintains watertight integrity against vibrating equipment and thermal pipe movement. | NRCA Guidelines |
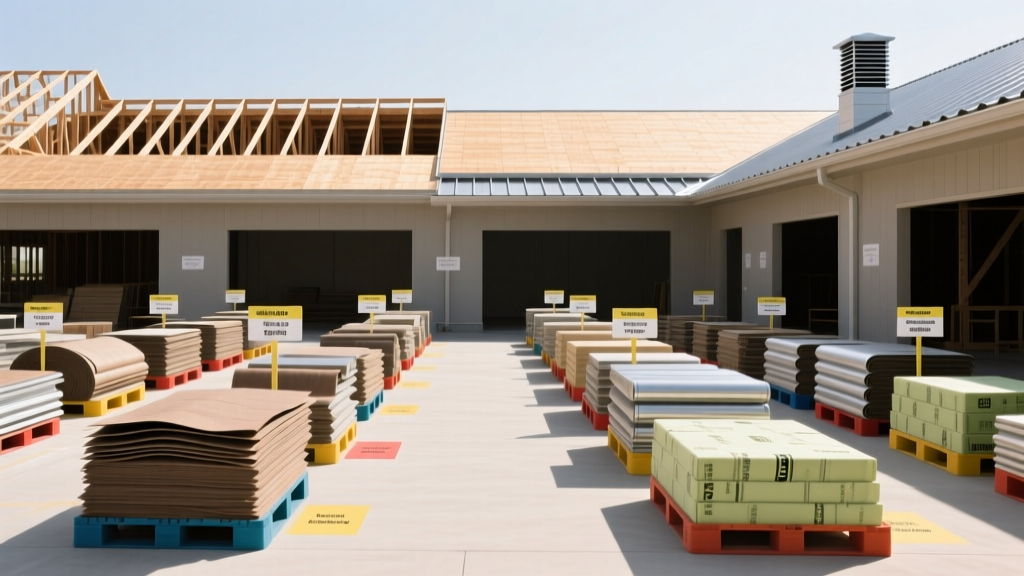
How to Organize Roofing Material Staging on the Deck
Once materials are selected, the physical organization of those materials on the roof deck becomes a critical structural and safety challenge. Improper staging leads to deck deflection, structural failure, and severe OSHA safety violations regarding fall hazards and material handling.
A standard pallet of 4x8 foot polyiso insulation weighs approximately 1,500 lbs. With a footprint of 32 square feet, this exerts a point load of 46.8 PSF. While most 22-gauge steel B-decks can support this, stacking two pallets to save space doubles the load to 93.6 PSF, which can exceed the deflection limits of older structural decks or bar joists spaced at 5-foot intervals. Always distribute pallets across structural bearing lines (beams and joists), never in the center of deck spans.
Staging Layout Protocol
To organize roofing materials efficiently without compromising the deck, implement a grid-based staging layout:
- Zone 1 (Hoist/Crane Drop Zone): Located directly adjacent to the structural columns. This area is strictly for temporary landing. Materials must be dispersed within 4 hours of landing.
- Zone 2 (Insulation Staging): Pallets are broken down and spread flat. Polyiso boards should be stacked no higher than 4 feet to prevent wind blow-offs and maintain a center of gravity below 36 inches.
- Zone 3 (Membrane Rolls): TPO and EPDM rolls (weighing 250-300 lbs each) must be stored on their sides, chocked to prevent rolling, and covered with breathable tarps to prevent UV degradation and moisture trapping before installation.
Phased Installation Workflow
Organizing the sequence of installation is just as critical as organizing the physical materials. A phased approach prevents finished membrane sections from being damaged by ongoing staging operations.
- Phase 1: Substrate Preparation and Moisture Scanning
Before any materials are staged, conduct an infrared thermography scan to identify trapped moisture in the existing deck. Replace all compromised substrate. Install vapor retarders (e.g., 6-mil polyethylene) if the interior climate dictates a Class I vapor barrier per Building Science Corporation climate zone guidelines. - Phase 2: Perimeter Securement and Flashing
Always install the perimeter edge metal, nailers, and fully adhered parapet membranes first. This creates a 'dam' that secures the roof assembly against sudden wind uplift events before the main field is fully ballasted or fastened. - Phase 3: Insulation Staggering and Fastening
Install polyiso insulation in two layers (e.g., 2-inch base + 1-inch top) with staggered joints to eliminate thermal bridging. Fasten the base layer to the deck, but adhere the top layer to the base layer using low-rise polyurethane adhesive to avoid penetrating the vapor barrier. - Phase 4: Field Membrane Deployment
Unroll TPO/EPDM membranes and allow them to acclimate and relax for a minimum of 45 minutes before seaming. This prevents fishmouths and tension-related seam failures.
Expert Insight: In high-wind regions (115+ mph basic wind speed), organize your fastener density by zone. The NRCA requires standard 12-inch on-center fastening in the field, but perimeter and corner zones must be fastened at 6-inch to 8-inch on-center intervals to resist localized uplift pressures that can exceed 90 PSF.
Inventory and Waste Management Tracking
Modern roofing projects in 2026 require precise inventory control to minimize waste and prevent material shortages that delay critical weather-tight deadlines. Organizing roofing inventory involves both digital tracking and physical waste segregation.
Digital Material Tracking
Utilize RFID tagging or barcode scanning on all membrane rolls and insulation pallets. When a crane operator lifts a pallet to the deck, scanning the manifest updates the project management software in real-time. This ensures the installation crew knows exactly which roof quadrant the materials are designated for, preventing the accidental installation of 45-mil membrane in a zone specified for 60-mil.
Waste Segregation Strategy
Organize physical waste streams directly on the roof to avoid costly mixed-debris landfill fees:
- Clean Polyiso Offcuts: Collect in designated gaylord boxes for recycling through manufacturer take-back programs (e.g., GAF or Carlisle recycling initiatives).
- Membrane Scraps: TPO and PVC scraps are highly recyclable; EPDM is more difficult and often requires specialized grinding facilities.
- Fasteners and Plates: Use magnetic sweepers at the end of each shift to collect dropped screws and batten plates, preventing them from puncturing the newly installed membrane or causing slip hazards.
By systematically matching materials to specific roof zones, calculating structural point loads for staging, and enforcing a strict phased installation workflow, contractors can drastically reduce callbacks, structural risks, and material waste on complex roofing projects.