RV Roof Coating Types: A Material Selection Guide
Compare acrylic, silicone, and polyurethane RV roof coatings. Learn substrate compatibility, exact product specs, and costs to protect your rig.
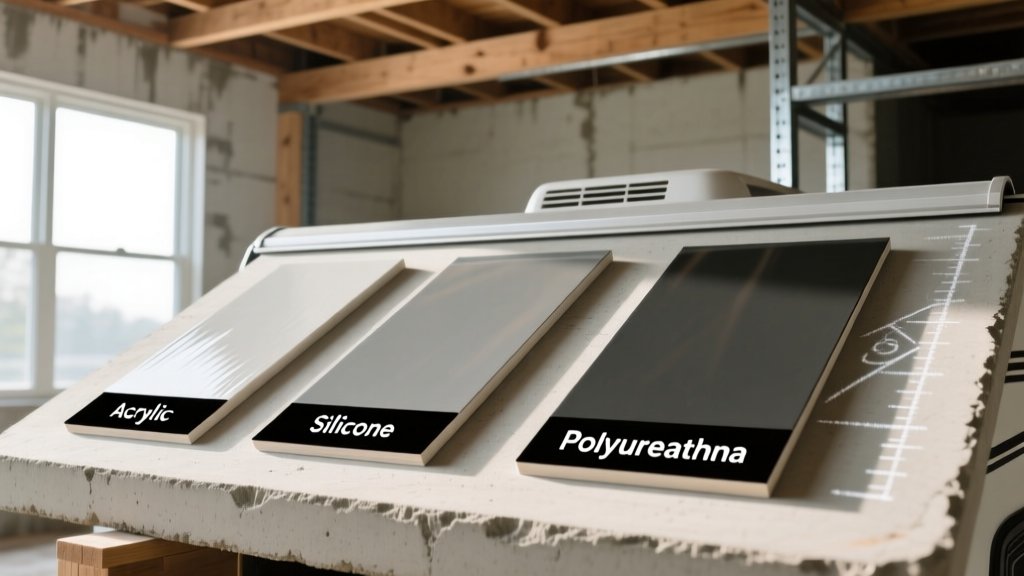
The RV Roof Coating Material Taxonomy
Recreational vehicle roofs endure extreme environmental stressors that standard residential roofing materials cannot withstand. A travel trailer or motorhome experiences rapid thermal cycling—expanding and contracting as it moves from a 40°F night to a 110°F daytime sun exposure—while enduring high-velocity wind shear and UV degradation. Selecting the correct RV roof coating requires understanding the chemical taxonomy of elastomeric and moisture-cure systems. Applying the wrong chemistry to your specific roof substrate (EPDM, TPO, fiberglass, or aluminum) will result in catastrophic delamination within a single season.
Acrylic Elastomeric Coatings (The Industry Standard)
Water-based acrylic elastomerics are the most widely used RV roof coatings due to their ease of application and cost-effectiveness. These coatings cure through water evaporation, leaving behind a flexible, highly reflective membrane. Acrylics are inherently designed to "chalk" over time; this sacrificial chalking process dissipates UV radiation, protecting the underlying polymer chains. However, this means the coating physically erodes, losing roughly 1 to 2 mils of thickness annually. You must reapply acrylic coatings every 3 to 5 years to maintain the required 20-mil minimum thickness for waterproofing.
100% Silicone Roof Coatings (The Premium Shield)
Silicone coatings are moisture-cure systems that do not rely on water evaporation. They offer superior resistance to ponding water—a critical factor for flat RV roofs where air conditioning units and roof vents create low spots that trap rain. Unlike acrylics, silicone does not chalk or erode under UV exposure, offering a lifespan of 10 to 15 years. The primary trade-off is adhesion: once a silicone coating cures, virtually no other material (including sealants or future non-silicone coatings) will stick to it. If you choose silicone, you are committing to a silicone-only maintenance ecosystem for the life of the roof.
Polyurethane and Polyurea Systems (The Heavy-Duty Option)
Polyurethane coatings offer the highest tensile strength and abrasion resistance, making them the mandatory choice for RV roofs that experience heavy foot traffic (e.g., motorhomes with roof-mounted solar panel arrays requiring frequent maintenance). However, aromatic polyurethanes degrade rapidly under UV light and require an aliphatic UV-resistant topcoat. Polyurea, a newer evolution, offers rapid cure times and extreme flexibility but requires professional-grade plural-component spray equipment, making it unsuitable for DIY application.
- Choose Acrylic if: You are on a budget, your roof has excellent drainage (no ponding), and you are willing to perform maintenance every 4 years.
- Choose Silicone if: Your roof has low spots that hold water, you want a "coat and forget" 15-year solution, and you accept the higher upfront material cost.
- Choose Polyurethane if: You frequently walk on the roof to service solar arrays or satellite domes and require high puncture resistance.
Substrate Compatibility Matrix
The most common cause of RV roof coating failure is a chemical mismatch between the coating and the roof membrane. According to guidelines from the National Roofing Contractors Association (NRCA) regarding low-slope membrane maintenance, substrate preparation and primer selection dictate adhesion success.
| RV Roof Substrate | Material Characteristics | Acrylic Compatibility | Silicone Compatibility | Required Primer |
|---|---|---|---|---|
| EPDM (Rubber) | Dull, porous, oxidizes to gray/black over time. | Excellent | Excellent | None (clean only) |
| TPO (Plastic) | Shiny, rigid, non-porous thermoplastic. | Poor (without primer) | Good | Acrylic needs TPO-specific primer; Silicone often adheres directly. |
| Fiberglass | Hard, glossy, prone to micro-cracking (spiderwebs). | Good | Fair | Light sanding + bonding primer required. |
| Aluminum | Metal, prone to oxidation and thermal expansion. | Fair | Good | Etching primer mandatory to prevent rust bleed. |
Top Tier Product Specifications & Pricing
When purchasing materials, avoid generic "white roof paint" from big-box hardware stores. These lack the elastomeric polymers required to bridge the expansion joints of an RV. Look for these specific, industry-proven formulations:
- Dicor RP-CRC-1 Acrylic Roof Coating: The OEM standard for EPDM RV roofs. Yields 125 sq. ft. per gallon. Cost: ~$45 per gallon. Requires two coats to achieve the 20-mil dry thickness.
- Henry 887 Tropi-Cool 100% Silicone: A high-solids silicone that cures to a seamless membrane. Yields 50 sq. ft. per gallon at 20 mils. Cost: ~$160 per 5-gallon bucket. Meets strict EPA VOC regulations for architectural coatings, making it safe for enclosed RV park environments.
- Liquid Rubber RV Roof Coating (Polyurethane Hybrid): Specifically formulated for high-traffic areas and extreme flexibility. Cost: ~$110 per 5-gallon bucket. Excellent for sealing around complex vent penetrations.
The Preparation Protocol: Avoiding Delamination
Ninety percent of coating failures occur because the applicator skipped or botched the preparation phase. RV roofs accumulate a microscopic layer of diesel exhaust, tree sap, and silicone spray from previous sealant jobs. If you coat over this layer, the coating will peel off in sheets during the first winter storm.
Step 1: Chemical Stripping and Agitation
Do not use dish soap, Simple Green, or standard household degreasers; these leave behind surfactant residues that act as a bond-breaker. Use a dedicated RV roof cleaner like Dicor Roof Prep or a heavy-duty TSP (Trisodium Phosphate) substitute. Scrub the roof with a stiff-bristle push broom, paying special attention to the 6-inch perimeter around all AC units, skylights, and vent covers where biological growth (algae/mildew) hides.
Step 2: The Self-Leveling Sealant Check
Before applying any liquid coating, inspect the horizontal lap seams. If the existing self-leveling lap sealant is cracked, shrinking, or pulling away from the membrane, you must remove the loose material and reapply a fresh bead of Dicor 501LSW-1 Self-Leveling Lap Sealant. Never apply a liquid roof coating over failing, cracked sealant. The coating will bridge the crack temporarily, but the roof's flexing will immediately tear the coating at that joint.
Step 3: Priming and Masking
Mask off all sidewalls, awning rails, and windows with plastic sheeting. Acrylic overspray is difficult to remove from textured fiberglass sidewalls, and silicone overspray is nearly impossible. If you are coating a TPO roof with an acrylic system, apply a dedicated TPO primer using a pump sprayer, allowing it to flash off for 45 minutes before rolling the topcoat.
Cost Analysis: DIY vs. Professional Application
Pricing varies based on the size of the rig (measured in linear feet) and the chosen chemistry. Below is a cost breakdown for a standard 30-foot travel trailer (approx. 240 sq. ft. of roof space).
| Application Method | Material Type | Estimated Material Cost | Labor Cost | Total Estimated Cost |
|---|---|---|---|---|
| DIY Application | Acrylic Elastomeric | $110 (3 gallons + primer) | $0 | $110 |
| DIY Application | 100% Silicone | $220 (1 five-gal bucket + solvent) | $0 | $220 |
| Professional RV Shop | Acrylic Elastomeric | $150 | $450 - $600 | $600 - $750 |
| Professional RV Shop | 100% Silicone | $300 | $600 - $850 | $900 - $1,150 |
Troubleshooting Common Coating Failures
Blistering and Bubbling: This indicates trapped moisture between the roof membrane and the coating. This happens when coating is applied in the early morning before the dew has fully evaporated from the porous EPDM membrane. Fix: Core-cut the blisters, allow the substrate to dry under a heat lamp for 48 hours, patch with reinforcing mesh, and re-coat.
Dirt Retention (Silicone Specific): Silicone coatings are slightly tacky and attract airborne dust and pollen, which can turn the white roof gray over time. Fix: This is purely cosmetic and does not affect UV reflectivity or waterproofing. Wash annually with a low-pressure rinse and a soft brush.
Peeling at the Drip Edge: Coatings often fail where the roof membrane wraps over the aluminum drip edge. Fix: Ensure you wrap the coating 1.5 inches down the vertical face of the drip edge, and embed a 4-inch strip of polyester reinforcing fabric into the wet coating at this transition point to handle the mechanical stress of wind uplift.