Making a Base Shoe Water Resistant: Application Guide
Learn the exact procedures for applying fluid-applied and peel-and-stick membranes to make a base shoe water resistant against rising damp.
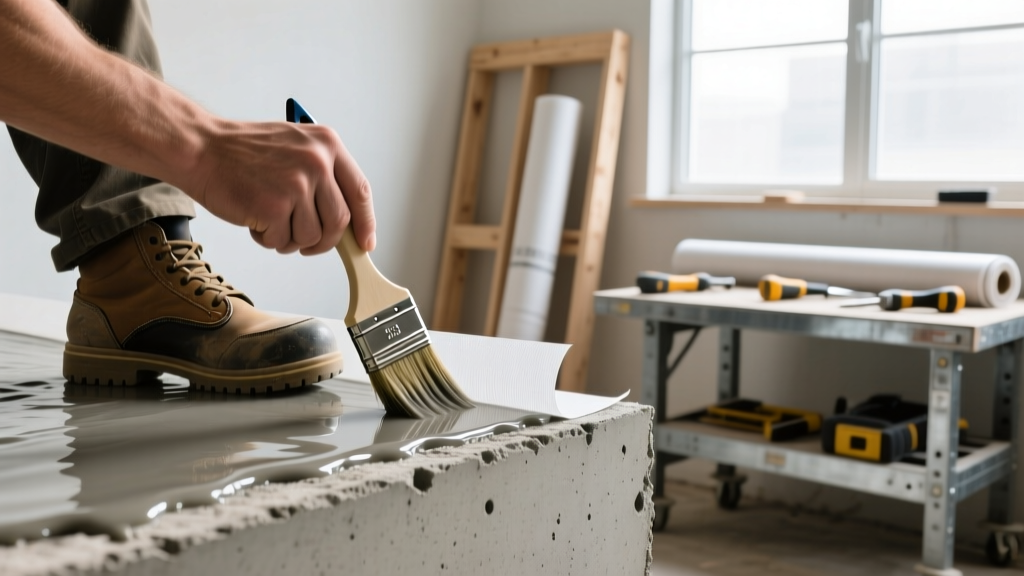
The Critical Role of Base Shoe Waterproofing
In building envelope construction, the base shoe—commonly referred to as the sill plate, bottom track, or mudsill—is the primary structural interface between the foundation and the framed wall assembly. Because concrete is inherently porous, it acts as a wick for ground moisture. If left unprotected, capillary action will draw water upward into the wooden base shoe or steel track, leading to rot, mold proliferation, and structural degradation. Making a base shoe water resistant is not merely a code-compliance checkbox; it is a fundamental requirement for long-term building durability, especially as the 2024 and 2026 IECC updates mandate stricter continuous air and water barrier integration.
According to moisture management research published by the Building Science Corporation, bulk water intrusion and rising damp at the sill plate account for a significant percentage of premature envelope failures in residential and commercial framing. To prevent this, builders must apply dedicated waterproofing membranes that bridge the concrete-to-wood transition, sealing out hydrostatic pressure and lateral water migration.
Material Selection Matrix for Base Shoe Protection
Selecting the correct membrane depends on the substrate condition, the framing material (wood vs. cold-formed steel), and the project timeline. Below is a comparison of the three primary systems used to make a base shoe water resistant in modern construction.
| Material Type | Top Product Models | Specs & Thickness | Est. Cost per LF (2026) | Best Application Scenario |
|---|---|---|---|---|
| Fluid-Applied STPE/Polyurethane | PROSOCO R-Guard Cat 5, Tremco ExoAir 230 | 20-30 wet mils; cures to 40-60 dry mils | $1.80 - $2.60 | Irregular concrete surfaces, high-humidity environments, complex penetrations. |
| Butyl Peel-and-Stick Flashing | Henry Blueskin SA, Grace Vycor Plus | 40 mil nominal thickness; 6" to 9" widths | $2.20 - $3.50 | Smooth concrete foundations, fast-track commercial builds, cold-weather applications. |
| EPDM Sill Seal Gaskets | Protecto Wrap Sill Sealer, MFM Power Shield | 3/16" to 1/4" compressible thickness | $0.90 - $1.40 | Air-sealing under wood plates; must be paired with liquid flashing for true waterproofing. |
Step-by-Step Application Procedure
Achieving a continuous, monolithic seal requires strict adherence to manufacturer specifications and environmental limits. The following procedure outlines the installation of a fluid-applied silane-terminated polyether (STPE) membrane, which is currently the industry standard for making a base shoe water resistant against aggressive capillary draw.
Phase 1: Substrate Preparation and Moisture Testing
Fluid-applied membranes will blister and delaminate if applied over trapped moisture. Before beginning, test the concrete foundation for internal moisture using in-situ relative humidity probes per ASTM F2170. The concrete must read below 75% RH. If the surface is damp, utilize a moisture-mitigating epoxy primer (e.g., PROSOCO R-Guard Moisture Control) before proceeding. Mechanically grind the top 1/2-inch of the concrete foundation to remove form release agents, curing compounds, and laitance. Vacuum the surface thoroughly; compressed air alone will not remove fine concrete dust, which acts as a bond-breaker.
Phase 2: Detailing Penetrations and Inside Corners
Do not apply the main field membrane until all transitions are detailed. Anchor bolts penetrating the base shoe area are primary vectors for water intrusion. Apply a trowel-grade mastic or a thick bead of fluid-applied sealant around the base of every anchor bolt, extending 2 inches up the bolt and 2 inches across the concrete. For inside corners where the foundation steps or turns, embed a 4-inch layer of reinforcing mesh into a heavy coat of the fluid membrane, ensuring no air pockets remain beneath the fabric.
Phase 3: Field Application and Mil Thickness Verification
Apply the STPE membrane using a heavy-nap roller (3/4-inch to 1-inch nap) or an airless sprayer equipped with a 0.021 to 0.025-inch tip. The goal is to achieve a continuous wet film thickness of 20 to 30 mils. Use a wet mil gauge immediately after application to verify thickness. The membrane must extend from the concrete foundation, across the horizontal sill plate joint, and up the vertical face of the base shoe by a minimum of 4 inches. This 4-inch vertical leg is critical for integrating with the wall's primary Weather-Resistant Barrier (WRB).
Never apply fluid-applied polyurethanes or STPEs when the substrate temperature is within 5°F of the dew point. Condensation trapped beneath the membrane will cause catastrophic adhesion failure. Furthermore, most high-performance membranes require ambient and surface temperatures above 40°F (4°C) during application and for 24 hours post-application to ensure proper cross-linking and cure.
Integration with the Weather-Resistant Barrier (WRB)
Waterproofing the base shoe does not exist in a vacuum; it must tie directly into the wall assembly's WRB. According to building envelope guidelines from the U.S. Department of Energy, continuous control layers are essential for managing bulk water and air leakage. Once the base shoe membrane has cured (typically 2 to 4 hours for STPEs, depending on humidity), install the wall WRB (such as a fluid-applied coating or a self-adhered sheet). The wall WRB must overlap the vertical leg of the base shoe membrane by at least 2 inches, creating a shingle-lap effect that sheds water outward and downward, away from the vulnerable wood-to-concrete joint.
Troubleshooting Common Failure Modes
Even with premium materials, improper execution leads to envelope breaches. Below is a diagnostic matrix for troubleshooting base shoe waterproofing failures identified during blower door tests or post-construction moisture meter readings.
| Symptom | Root Cause | Corrective Action |
|---|---|---|
| Pinhole blistering in cured membrane | Application over damp concrete or porous CMU without a venting primer; outgassing trapped air. | Sand down blisters, apply a breathable moisture-vapor primer, and re-coat with a 20-mil layer of STPE. |
| Membrane tearing at the concrete-to-wood 90° transition | Lack of reinforcement fabric at the inside corner; structural settling caused shear stress. | Clean the area, apply a bead of polyurethane sealant to the corner, embed reinforcing mesh, and overcoat. |
| Water staining on the interior side of the base shoe | Capillary draw through unsealed anchor bolt holes or end-grain wood absorption. | Inject expanding polyurethane foam into voided bolt holes; coat exposed wood end-grain with a penetrating silane sealer. |
| Peel-and-stick flashing lifting at the edges | Failure to use a bituminous or water-based primer on dusty or cold concrete surfaces. | Lift the flashing, wire-brush the concrete, apply manufacturer-approved primer, and re-press with a heavy J-roller. |
Final Inspection and Quality Assurance
Before framing proceeds, conduct a visual and tactile inspection of the entire base shoe perimeter. The membrane should be uniform in color, free of fisheyes, and fully adhered. Document the wet mil thickness readings and substrate temperature at the time of application. By rigorously following these installation procedures, builders ensure the structural integrity of the sill plate, effectively eliminating rising damp and securing the building envelope against decades of hydrostatic abuse.