Choosing the Right Moisture Barrier for Every Building Scenario
Match the right moisture barrier to your building assembly and climate zone. Compare vapor retarders, WRBs, and liquid membranes for optimal protection.
The Core Distinction: Liquid Water vs. Water Vapor
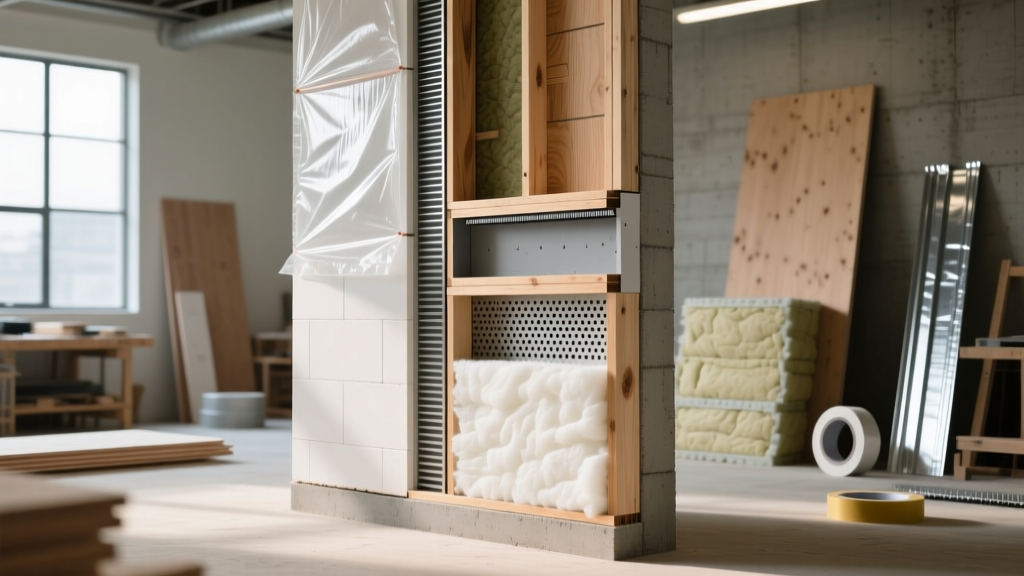
The term moisture barrier is frequently misused in construction, leading to catastrophic assembly failures. To select the correct product, you must first distinguish between liquid water management and water vapor diffusion. A Water-Resistive Barrier (WRB) stops bulk liquid water (rain, groundwater) while allowing water vapor to escape. A Vapor Retarder restricts the diffusion of water vapor through building assemblies to prevent interstitial condensation.
According to the International Residential Code (IRC) and building science principles, vapor retarders are classified by their permeance (perms) measured via ASTM E96:
- Class I (Vapor Impermeable): 0.1 perms or less (e.g., 6-mil polyethylene sheeting, rubber membranes).
- Class II (Semi-Impermeable): 0.1 to 1.0 perms (e.g., kraft-faced fiberglass batts, certain interior paints).
- Class III (Semi-Permeable): 1.0 to 10 perms (e.g., standard housewraps, 15-lb asphalt felt, latex paint).
As detailed in the authoritative Building Science Corporation report on vapor retarders, placing a Class I barrier on the wrong side of a wall assembly traps moisture, leading to mold growth and structural rot. The goal is never to block all moisture, but to control its direction and allow the assembly to dry.
Scenario Matching Matrix: Above-Grade Exterior Walls
Above-grade wall assemblies require a WRB on the exterior to manage rain, and a carefully selected vapor retarder on the interior based on the local climate zone. The following matrix outlines the optimal moisture barrier strategy for wood-framed and light-gauge steel assemblies.
| Climate Zone (IECC) | Exterior WRB Requirement | Interior Vapor Retarder Class | Recommended Material Profile |
|---|---|---|---|
| Zones 1-3 (Hot/Humid) | Class III WRB (Highly Permeable) | None or Class III (Latex Paint) | DuPont Tyvek HomeWrap (58 perms) |
| Zone 4 (Mixed) | Class III WRB | Class II or III | Huber Zip System (Sheathing + integrated WRB) |
| Zones 5-8 (Cold) | Class III WRB | Class I or II (Winter side) | Sto Gold Coat (Fluid-applied) + Interior Poly |
| Marine Zone C | Class III WRB + Rainscreen Gap | Class III (Smart Vapor Retarder) | Henry Blueskin VP100 + MemBrain interior |
Fluid-Applied vs. Sheet Goods: Cost and Performance
For commercial and high-performance residential projects, fluid-applied moisture barriers are increasingly replacing traditional sheet housewraps. Fluid-applied membranes, such as Sto Gold Coat or Prosoco R-Guard, eliminate the fastener holes and taped seams that are primary failure points in sheet goods.
• Sheet Housewrap (e.g., Tyvek): $0.15 - $0.25 per sq. ft. (material) + $0.30/sq. ft. labor.
• Fluid-Applied (e.g., Sto Gold Coat): $0.80 - $1.10 per sq. ft. (material) + $0.60/sq. ft. labor.
• Self-Adhered Peel-and-Stick (e.g., Henry Blueskin): $1.20 - $1.50 per sq. ft. (material) + $0.75/sq. ft. labor.
Step-by-Step: Installing Fluid-Applied Moisture Barriers
When specifying a fluid-applied WRB, strict adherence to mil-thickness requirements is non-negotiable. A common failure mode is applying the coating too thin, which compromises the continuous membrane. Follow this sequence for a compliant installation:
- Substrate Verification: Ensure OSB or plywood sheathing has a moisture content below 15%. Clean surfaces of dust, oil, and loose debris.
- Detailing and Transitions: Apply a thick mastic or specific detailing membrane to all inside/outside corners, window flanges, and pipe penetrations. Embed a fiberglass mesh tape into the wet mastic at all 90-degree transitions.
- Base Coat Application: Roll or spray the primary fluid membrane. Target a wet mil thickness of 20-25 mils (which cures to roughly 10-12 dry mils, depending on the manufacturer).
- Wet Mil Testing: Use a wet mil gauge immediately after application to verify thickness. Thin areas must be back-rolled or re-coated.
- Curing and Protection: Allow 24-48 hours for curing before exposing to UV or installing exterior cladding. Most fluid-applied barriers have a UV exposure limit of 120 to 180 days.
Below-Grade Foundations: Positive vs. Negative Side
Foundation waterproofing requires managing hydrostatic pressure. The placement of the moisture barrier dictates the system's classification and long-term viability.
Positive-Side (Exterior) Waterproofing
Applied to the exterior face of the foundation wall (the side facing the water source), positive-side systems are the industry standard for habitable below-grade spaces. Bentonite clay panels, such as Volclay, swell upon contact with water to form an impermeable gel. Alternatively, self-adhering rubberized asphalt membranes like Tremco Paraseal provide a robust, flexible barrier that bridges hairline concrete cracks. Positive-side systems must be protected by a dimpled drainage board (e.g., Delta-MS) before backfilling to prevent mechanical damage.
Negative-Side (Interior) Waterproofing
Negative-side systems are applied to the interior face of the wall. They do not stop water from entering the concrete matrix; they only manage it once it has penetrated. Crystalline waterproofing admixtures (like Xypex) or cementitious coatings are used here. According to the EPA's guidelines on moisture control, negative-side systems should never be used as a primary defense for finished living spaces, as the concrete wall itself remains saturated, leading to efflorescence and freeze-thaw degradation.
High-Moisture Interiors: Showers and Wet Areas
Interior wet areas require a continuous, load-bearing bonded waterproof membrane compliant with ANSI A118.10. The traditional method of using a polyethylene pan liner behind a mortar bed is obsolete for modern, fully waterproofed assemblies.
'In wet areas, the moisture barrier must be continuous, extending from the shower floor up the walls to a minimum height of 6 inches above the showerhead, and must integrate seamlessly with the drain assembly.' — TCNA Handbook Guidelines.
Sheet vs. Liquid Membranes:
Sheet membranes like Schluter Kerdi (0.9 mil thickness, 0.01 perms) offer uniform thickness and immediate waterproofing, but require precise folding and unmodified thinset mortar for bonding. Liquid-applied membranes like Laticrete Hydro Ban (approx. 30 dry mils) are faster to apply in complex, multi-penetration showers but require strict mil-thickness verification and a 24-hour cure time before flood testing.
Common Failure Modes & Edge Cases
Even when the correct moisture barrier is specified, installation errors compromise the system. Watch for these specific edge cases:
- The Double Vapor Barrier Trap: Installing an interior Class I polyethylene sheet over a wall cavity that already features an exterior insulating sheathing with a foil facer (also Class I). This traps moisture inside the cavity, guaranteeing rot. Always calculate the dew point using a hygrothermal analysis tool like WUFI.
- Tape Incompatibility: Using generic construction tape to seal WRB seams. Housewrap manufacturers require specific acrylic or butyl tapes (e.g., Tyvek Tape or Zip System tape) engineered for the surface energy of their specific membrane. Off-brand tapes routinely fail under thermal expansion and UV exposure.
- Fastener Punctures in Self-Adhered Membranes: While self-adhered peel-and-stick WRBs self-seal around standard nails, they do not self-seal around large roofing nails or heavy bracket lag screws used for deck ledgers or exterior insulation. These penetrations require manual flashing with compatible mastic.
For further technical specifications on air and moisture control layers, consult the Air Barrier Association of America (ABAA) resources, which provide evaluated assembly details that integrate moisture management with airtightness requirements.