How to Install Thermal Insulated Curtains for Maximum Energy Savings
Learn the exact measurements, hardware, and sealing techniques to install thermal insulated curtains and reduce window heat loss by up to 25%.
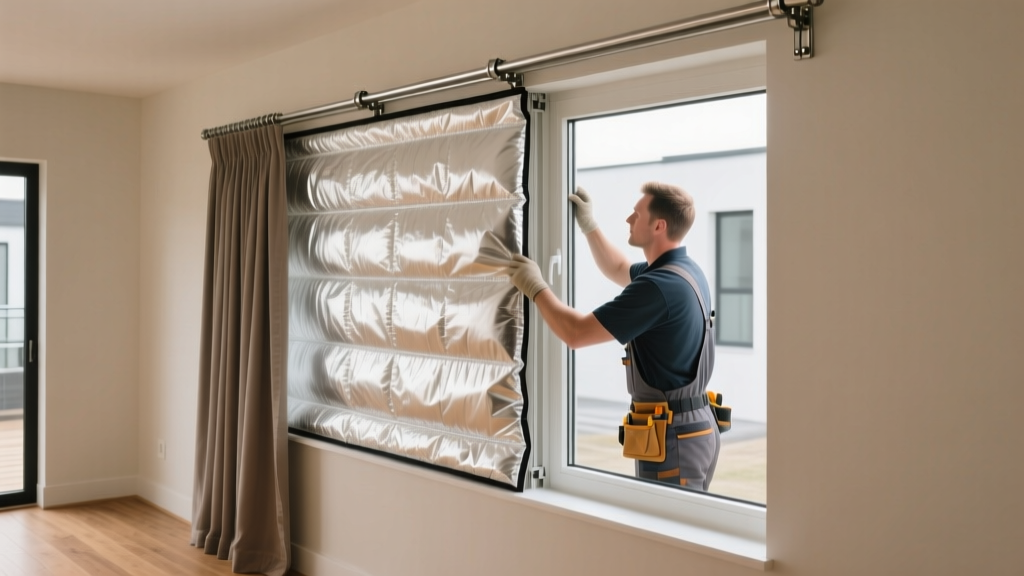
The Physics of Window Heat Loss and the Convection Loop
According to the U.S. Department of Energy, windows account for 25% to 30% of residential heating and cooling energy use. While thermal insulated curtains—typically constructed with a 3-pass acrylic foam backing—can reduce this heat loss significantly, their effectiveness is entirely dependent on the installation technique. Simply hanging the fabric on a standard rod creates a "convection loop." Cold air from the glass cools the air trapped between the window and the curtain, causing it to sink and spill into the room at the floor level, while warm room air is pulled in at the top. To achieve maximum energy savings, the installation must eliminate this loop by creating a sealed, dead-air envelope.
Pre-Installation Measurements and Hardware Selection
Standard decorative curtain rods are the primary point of failure in thermal installations. To block drafts and light gaps, you must select specialized hardware and calculate precise fabric dimensions.
Calculating Fabric Dimensions
- Width (Fullness Ratio): Thermal curtains must have a 1.5x to 2x fullness ratio. For a 36-inch window, you need a combined curtain width of 54 to 72 inches. The extra fabric creates deep folds that trap insulating dead air.
- Length (Floor Seal): Unlike standard drapes that hover above the floor, thermal curtains must either "puddle" 1 to 2 inches on the floor or feature a weighted hem that rests flush against the floorboards to block the bottom convection spill.
Selecting the Right Hardware
Discard standard straight rods. You need a wraparound return rod (such as those manufactured by Kirsch or Kenney). These rods curve 90 degrees at the ends and terminate flush against the wall, allowing the curtain edges to completely cover the side gaps. Ensure the rod is rated for heavy fabrics; 3-pass thermal curtains weigh between 15 and 25 pounds per panel, requiring heavy-duty brackets.
Do not rely on standard plastic drywall anchors for thermal curtain rods. The dynamic weight of heavy velvet or polyester thermal panels, combined with the daily pulling force, will rip plastic anchors from the drywall within months. Always mount brackets directly into wooden wall studs or use 1/4-inch toggle bolts (snap toggles) rated for at least 50 lbs of shear weight per bracket.
Step-by-Step Installation Procedure
- Mark the Bracket Height: Measure 4 to 6 inches above the top of the window casing. Mounting the rod higher creates a larger dead-air space above the glass, which acts as a thermal buffer and prevents warm air from immediately contacting the cold glass.
- Mark the Bracket Width: Measure 3 to 5 inches outward from the outer edge of the window casing on both sides. This ensures the curtain completely covers the window frame and overlaps the insulated wall cavity when closed.
- Install the Return Rod: Secure the brackets using a level. Slide the wraparound rod into place and lock it with the provided set screws.
- Hang and Overlap: Thread the thermal panels onto the rod. If using a center-draw setup, ensure the center edges overlap by at least 3 inches. For optimal sealing, install a center overlap bracket (a small metal arm that pushes one panel behind the other) to eliminate the center light and draft gap.
Creating the Airtight Thermal Envelope
This is the step most DIY guides omit. To stop the convection loop, you must seal the top and side perimeters. According to ENERGY STAR, sealing window attachments can improve overall window thermal performance by up to 20%.
Top Seal: The Cornice or Velcro Method
Warm air rises and will spill over the top of the curtain rod. To block this, apply a 2-inch wide strip of industrial hook-and-loop tape (Velcro) to the wall just above the rod brackets, and sew the loop side to the top back edge of the curtain header. Alternatively, install a wooden cornice board covered in batting and fabric over the top of the rod, which physically blocks the upward airflow.
Side Seal: Magnetic Tape Application
Purchase 1/2-inch wide neodymium magnetic tape (available in 15-foot rolls for about $15). Peel the adhesive backing and apply the magnetic strip vertically down the inside leading edge of both curtain side hems. Apply the corresponding steel tape or a continuous magnetic strip to the window casing or the adjacent wall. When you close the curtains, the magnets will snap the fabric flush against the wall, creating an airtight side seal.
Comparison of Perimeter Sealing Methods
| Sealing Method | Material Cost | Draft Reduction | Installation Time |
|---|---|---|---|
| Magnetic Side Tape | $15 - $25 | 95% | 30 minutes |
| Hook-and-Loop (Velcro) Top Seal | $8 - $12 | 85% | 20 minutes |
| Custom Wood Cornice Board | $60 - $150 | 100% | 2 - 3 hours |
| Weighted Bottom Hem (Floor Puddle) | Included in drape | 90% | 0 minutes (built-in) |
Troubleshooting Common Installation Failures
Problem: Condensation Forming Between the Curtain and Glass
Cause: When you create a perfect airtight seal, the trapped dead air can reach the dew point if the indoor humidity is high and the glass is extremely cold, leading to condensation and potential mold growth on the window sill.
Solution: Introduce micro-ventilation. Leave a 1/4-inch gap at the very bottom of the side seals, or install two small brass grommets near the bottom hem of the curtain to allow minimal moisture exchange without compromising the primary thermal barrier. Additionally, run a dehumidifier to keep indoor relative humidity below 40% during winter months.
Problem: Center Rod Sagging
Cause: Thermal curtains are dense. If your window span exceeds 48 inches, the weight of the overlapping center panels will cause the rod to bow, creating a gap at the top center.
Solution: Install a center support bracket. Ensure the bracket is mounted into a wall stud or secured with a heavy-duty toggle bolt. If a center bracket obstructs the curtain draw, use a specialized "clearance ring" that allows the curtain rings to pass over the center bracket seamlessly.
Maintenance and Care of 3-Pass Acrylic Backings
The thermal insulation properties of these curtains rely on the integrity of the 3-pass acrylic foam coating applied to the back of the fabric. This coating consists of a base layer, a high-density black foam layer (for light blocking and thermal mass), and a white finishing layer.
Expert Maintenance Rule: Never machine wash or aggressively wring 3-pass thermal curtains. The agitation and spin cycles will crack the acrylic foam backing, permanently destroying the thermal barrier and allowing light pinholes to form. Always spot clean the foam side with a damp microfiber cloth and mild detergent. For deep cleaning, professional dry cleaning using a "low moisture" process is the only safe method to preserve the coating's R-value equivalence.
By treating the installation as an exercise in building a sealed thermal envelope rather than simply hanging decorative fabric, you transform standard windows into highly efficient, draft-free barriers. The upfront investment in wraparound hardware and magnetic sealing tape typically yields a return on investment within a single heating season through measurably lower utility costs and drastically improved interior comfort.