Mastering Insulation Types: Installation Procedures Guide
Master the installation procedures for major insulation types. Learn application techniques for fiberglass, spray foam, mineral wool, and cellulose.
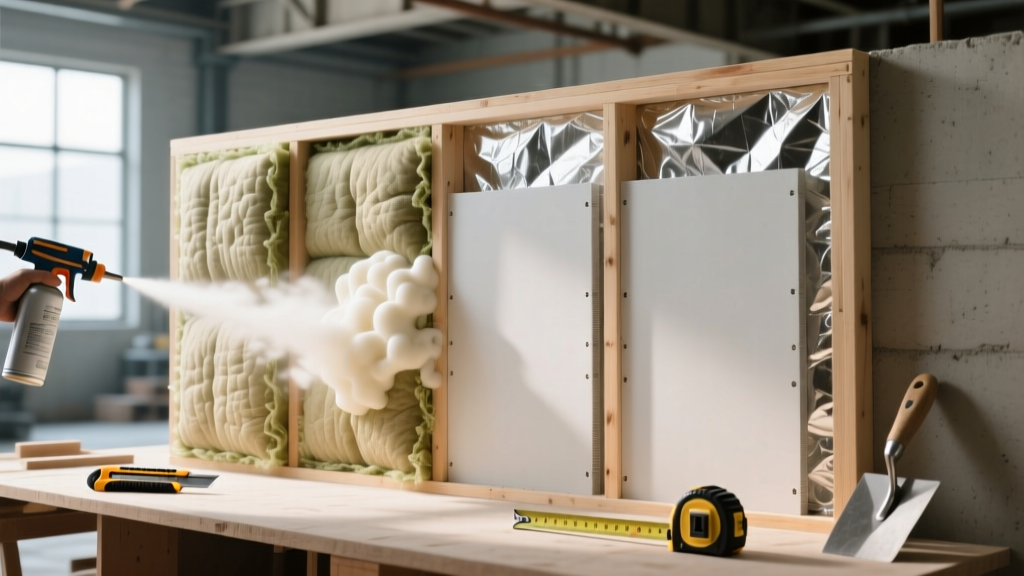
Pre-Installation Diagnostics & Moisture Control
Before unrolling a single batt or firing up a spray rig, the building envelope must be prepped. Insulation does not stop air leakage; it only slows thermal transfer. According to the U.S. Department of Energy, bypasses like top plates, plumbing chases, and recessed lighting can compromise up to 30% of a wall assembly's effective R-value if left unsealed.
- Air Sealing First: Apply a two-part polyurethane sealant (e.g., Great Stuff Pro Gaps & Cracks) to all top and bottom plates, window rough openings, and electrical penetrations.
- Moisture Verification: Use a pinless moisture meter on wood framing. Substrate moisture content must be below 19% before installing any vapor-semi-impermeable insulation types like closed-cell foam or foil-faced polyiso to prevent trapped rot.
- Thermal Bridging Check: Identify steel studs or concrete headers that will require continuous exterior insulation or interior furring strips to prevent condensation.
Fiberglass Batts: Friction-Fit & Flash-Fill Techniques
Fiberglass remains the most common residential material, but its thermal performance is highly dependent on installation precision. A standard 3.5-inch R-13 batt compressed into a 3-inch cavity loses roughly 15% of its stated R-value due to increased solid-state conduction.
Step-by-Step Application
- Measurement & Cutting: Measure the cavity height. Cut the batt 0.5 inches longer than the cavity to ensure a tight friction fit at the top and bottom. Never tear the fiberglass; use a sharp utility knife against a straight edge.
- Width Sizing: For standard 14.5-inch on-center framing, use 15-inch wide batts. The extra 0.5 inch creates the lateral friction needed to hold the batt against the drywall without sagging.
- Splitting & Fluffing: When encountering electrical boxes or plumbing pipes, do not simply stuff the batt behind the obstacle. Split the batt's thickness in half, passing one half behind the pipe and the other half in front, maintaining full coverage.
- Vapor Retarder Orientation: If using kraft-faced batts (e.g., Owens Corning EcoTouch), staple the flanges to the face of the studs, not the side. In cold climates (Zones 5-8), the kraft face must point toward the conditioned interior space.
Never compress fiberglass to fit into shallow cavities. If you must insulate a 2x4 wall with limited depth, purchase specific 3-inch R-11 or high-density R-15 batts rather than forcing a 6-inch R-19 batt into the space. Compression destroys the trapped air pockets that provide the actual thermal resistance.
Spray Polyurethane Foam (SPF): Rigging and Thermal Dynamics
SPF acts as both an insulator and an air barrier. As noted by building science experts at Building Science Corporation, achieving a continuous air barrier is critical for modern high-performance assemblies. SPF application requires strict adherence to temperature and mixing protocols.
Open-Cell vs. Closed-Cell Application Matrix
| Parameter | Open-Cell (0.5 lb/ft³) | Closed-Cell (1.8 - 2.0 lb/ft³) |
|---|---|---|
| R-Value per Inch | R-3.5 to R-3.8 | R-6.0 to R-7.0 |
| Substrate Temp Requirement | Minimum 40°F (4°C) | Minimum 50°F (10°C) |
| Moisture Permeability | High (Requires interior vapor retarder in cold climates) | Low (Acts as Class II vapor retarder at 1.5 inches) |
| Trimming Protocol | Trim flush immediately after curing (approx. 60 seconds) | Trim after full cure (24 hours); leaves a rough, porous surface if cut too early |
Application Technique: Apply closed-cell foam in "lifts" or passes of 1.5 to 2 inches. Applying thicker layers in a single pass generates excessive exothermic heat, which can scorch the foam, degrade the blowing agent, and in extreme cases, pose a fire risk to the wood substrate.
Mineral Wool Boards: Precision Cutting and Fire-Stopping
Mineral wool (rock wool or slag wool) is prized for its acoustic damping, fire resistance, and hydrophobic properties. Products like Rockwool Comfortbatt are semi-rigid, requiring specific handling compared to flexible fiberglass.
- Tool Selection: Do not use a standard utility knife. Mineral wool will dull a standard blade in three cuts. Use a specialized serrated insulation knife, a long-bladed bread knife, or a carbide-tipped scoring tool.
- The Overcut Method: Measure the cavity and add 1 inch to the width. For a 14.5-inch cavity, cut the board to 15.5 inches. The high density of mineral wool allows it to compress slightly and grip the studs aggressively without mechanical fasteners.
- Fire-Stopping Integration: When installing mineral wool in floor/ceiling assemblies or party walls, ensure the boards are tightly butted. Mineral wool is non-combustible (ASTM E136), but gaps larger than 1/8 inch will allow hot gases and acoustic flanking to bypass the assembly. Use a mineral wool fire-stop putty for irregular penetrations.
Blown-In Cellulose: Dense-Pack vs. Loose-Fill Protocols
Cellulose is treated with borates for fire and pest resistance. Its installation procedure varies drastically depending on whether it is applied as loose-fill in open attics or dense-packed in enclosed wall cavities.
Dense-Pack Wall Cavities (Retrofit & New Construction)
Dense-packing is designed to prevent the material from settling over time, which would leave uninsulated voids at the top of the wall cavity.
- Hose Selection: Use a 2-inch or 2.5-inch fill hose. Do not use the standard 3-inch hose for wall cavities, as it restricts airflow and prevents proper compaction.
- Target Density: The machine must be calibrated to deliver cellulose at 3.0 to 3.5 lbs per cubic foot. Standard loose-fill is only 1.2 to 1.5 lbs/ft³.
- Verification: Drill a 1-inch verification hole at the top of the wall cavity after filling. Insert a long probe; if it meets significant resistance and the cavity feels solid, the density is correct. If the probe drops easily, the cavity is under-packed and will settle.
Rigid Foam (XPS/Polyiso): Adhesive Selection & Seam Taping
Rigid foam boards are typically used for continuous exterior insulation or interior basement applications. The failure point in rigid foam installations is almost always the seams and fastener penetrations.
Never use standard cloth-backed duct tape or foil-faced HVAC tape on polyiso or XPS seams. The adhesives on standard tapes dry out and peel within 2 to 3 years. Use UV-stable acrylic tapes specifically engineered for building envelopes, such as Siga Rissan, Zip System tape, or 3M All Weather Flashing Tape. These tapes use pressure-activated acrylic adhesives that actually bond stronger over time.
Interior Basement Application: When gluing XPS or EPS to concrete basement walls, use a foam-compatible construction adhesive (e.g., Loctite PL 300 Foamboard). Solvent-based adhesives will melt EPS and degrade the R-value of XPS. Apply the adhesive in a continuous bead around the perimeter and in a zigzag pattern in the center to prevent air channeling behind the board.
Troubleshooting Matrix: Installation Failure Modes
Even with premium materials, poor application leads to energy loss and structural damage. Use this matrix to diagnose and correct common field failures.
| Symptom | Root Cause | Corrective Procedure |
|---|---|---|
| Ice dams forming at eaves despite attic insulation | Missing air sealing at top plates; warm air bypassing insulation and melting roof snow. | Pull back perimeter insulation. Apply 2-part spray foam or caulk to all top plate penetrations. Install baffles to maintain soffit ventilation. |
| Condensation on interior drywall in winter | Kraft-faced batts installed backward (vapor retarder facing exterior) or closed-cell foam applied too thin in cold climates. | Remove drywall. Reorient kraft facing toward the interior, or add a continuous 6-mil poly vapor retarder over the studs before re-drywalling. |
| Visible sagging or dropping of blown-in cellulose in walls | Installed at loose-fill density (1.5 lbs/ft³) instead of dense-pack density (3.5 lbs/ft³). | Drill new access holes at the top of the stud bays. Re-blow cellulose using a 2-inch hose calibrated to 3.5 lbs/ft³ until the cavity is fully compacted. |
| Foam shrinking or pulling away from studs | Substrate temperature was below 40°F during application, or the spray rig's heated hoses were not at optimal temp (140°F). | Cut away the detached foam. Wait for ambient and substrate temperatures to rise above 50°F. Re-spray the gaps with properly heated two-part foam. |