Drill in Brick or Mortar? A Structural Durability Analysis
Should you drill in brick or mortar? Analyze structural durability, freeze-thaw risks, and anchor failure modes to protect your masonry facade.

The Core Dilemma: Masonry Unit vs. Binding Agent
When mounting fixtures, running conduit, or installing structural ties on a masonry facade, contractors and homeowners face a critical structural decision: do you drill into the brick unit or the mortar joint? From a pure durability and structural integrity perspective, this is not merely a matter of convenience. Penetrating a fired clay masonry unit alters its localized compressive strength and introduces micro-fractures, while penetrating the mortar joint compromises the weather seal and binding integrity of the wall system. Understanding the failure modes associated with both substrates is essential for ensuring the long-term durability of the masonry envelope.
Material Hardness and Micro-Fracture Risks
The fundamental difference between brick and mortar lies in their compressive strength and brittleness. Modern clay bricks are manufactured to meet Brick Industry Association (BIA) standards, specifically ASTM C62 for building brick. These units are designed to withstand immense vertical loads but possess low tensile strength, making them highly susceptible to the radial percussion forces generated by hammer drills.
| Substrate Material | Avg. Compressive Strength (psi) | Brittleness / Spall Risk | Recommended Drill Mode |
|---|---|---|---|
| Severe Weathering (SW) Brick | 8,000 - 12,000 | High (Prone to face spalling) | Rotary Hammer (Low impact) |
| Moderate Weathering (MW) Brick | 4,500 - 7,500 | Moderate | Standard Hammer Drill |
| Type S Mortar (Portland/Lime) | 1,800 - 2,500 | Low (Crumbling risk instead) | Rotary Only (No hammer) |
| Type N Mortar (Portland/Lime) | 750 - 1,200 | Low | Rotary Only (No hammer) |
| Historic Lime Mortar (Pre-1930) | 150 - 350 | Very Low (High degradation risk) | Rotary Only (Low RPM) |
Failure Mode 1: Brick Spalling and Face Cracking
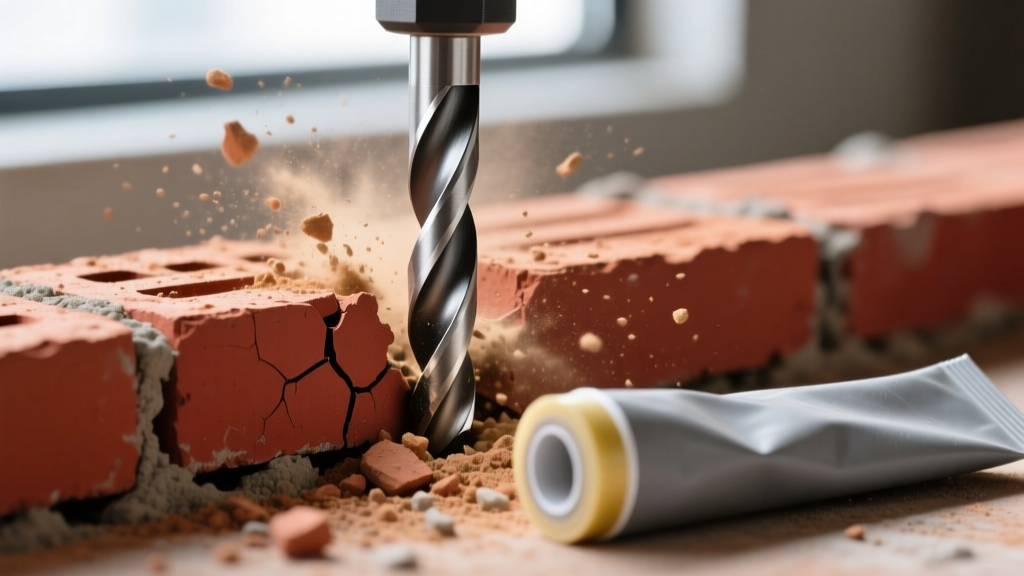
When drilling directly into the brick unit, the percussion action of the drill bit can cause the hardened clay face to spall (chip away) or create invisible micro-fractures that propagate under thermal cycling. If the hole is drilled too close to the edge of the brick (less than 1.5 inches from the margin), the outward pressure from mechanical expansion anchors will almost certainly blow out the corner of the brick, permanently destroying the unit.
Failure Mode 2: Mortar Joint Degradation
Mortar is the sacrificial element in a masonry wall. It is intentionally formulated to be softer and more permeable than the brick it binds. Drilling into the mortar joint preserves the expensive brick units but compromises the joint's weather resistance. If the anchor fails or is removed, the mortar joint is left with a cavity that is difficult to patch seamlessly, often leading to localized water ingress.
Moisture Ingress and Freeze-Thaw Vulnerability
The most severe threat to masonry durability is the freeze-thaw cycle, governed by ASTM C67 testing standards. Unsealed drill holes act as capillary tubes, drawing wind-driven rain deep into the masonry wythe. When water freezes, it expands by approximately 9%. If this expansion occurs inside an unsealed brick hole, the internal hydrostatic pressure exceeds the tensile strength of the clay, resulting in catastrophic spalling.
Drilling into a horizontal mortar joint (bed joint) is significantly riskier for water intrusion than drilling into a vertical joint (head joint) or the brick itself. Horizontal joints act as shelves that catch and pool water. If a horizontal bed joint is drilled and inadequately sealed, water will pool around the anchor shaft, accelerating rust jacking and freezing directly against the brick's bottom edge.
Load-Bearing Implications and Anchor Selection
The choice between brick and mortar must be dictated by the structural load of the fixture and the type of anchor used. According to guidelines referenced by the National Concrete Masonry Association and structural engineering best practices, mechanical expansion anchors (such as wedge anchors or sleeve anchors) exert immense radial outward pressure—often exceeding 2,000 psi—against the walls of the drilled hole.
- Expansion Anchors in Brick: High risk of edge blowout and micro-fracturing. Only acceptable in the center of thick, high-compressive-strength engineering bricks.
- Expansion Anchors in Mortar: High risk of joint crumbling and pull-out. The radial force easily exceeds the tensile bond strength of Type N or Type S mortar.
- Chemical Anchors (Epoxy/Polyurethane): The gold standard for masonry durability. Products like Simpson Strong-Tie SET-3G epoxy bond to the substrate without exerting outward expansion pressure, making them safe for both brick edges and fragile mortar joints.
The Durability Decision Matrix
Use the following framework to determine the optimal drilling location based on your specific structural and environmental requirements.
The Golden Rule of Masonry Penetration: Always drill into the mortar joint for light-duty, non-structural applications to preserve the brick. Always drill into the brick unit for heavy-duty, structural loads, but exclusively utilize chemical anchors to prevent radial stress fractures.
Scenario A: Light Duty (Under 50 lbs) - e.g., House Numbers, Small Sconces
Target: Mortar Joint.
Rationale: The pull-out strength of a small plastic wall plug or screw in Type S mortar is sufficient for light loads. If the fixture is removed, the joint can be repointed with a matching Portland/lime mix, rendering the penetration invisible and restoring the weather seal.
Scenario B: Medium to Heavy Duty (50 lbs to 300+ lbs) - e.g., TV Mounts, Heavy Trellises, Structural Ties
Target: Brick Unit (Centered).
Rationale: Mortar cannot reliably sustain high shear or tensile loads over time, especially under dynamic wind loads. Drilling into the center of the brick provides maximum compressive support. You must use a two-part epoxy anchor system to distribute the load via chemical adhesion rather than mechanical friction, eliminating the risk of splitting the brick.
Execution Protocol for Maximum Lifespan
To ensure the long-term durability of the masonry envelope after drilling, follow this strict execution protocol:
- Bit Selection: Use a high-quality, 4-cutter carbide-tipped masonry bit (e.g., Bosch Bulldog). 4-cutter bits create perfectly round holes, which is critical for epoxy adhesion and prevents the bit from wandering into the softer mortar joint when attempting to drill the brick.
- Vibration Control: If drilling into historic, pre-1930s masonry, disable the hammer function on your drill. The lime-based mortar used in historic buildings will turn to dust under percussion, undermining the structural stability of the surrounding bricks.
- Hole Evacuation: Use a compressed air blower and a wire tube brush to clean the hole. Epoxy anchors lose up to 50% of their pull-out strength if bonded to masonry dust rather than the raw substrate.
- Chemical Sealing: If using mechanical screws or anchors that do not fully seal the void, inject a high-modulus polyurethane sealant like Sikaflex-1a into the hole before inserting the anchor. This prevents the capillary action that leads to freeze-thaw spalling.
- Surface Capping: Apply a small bead of polyurethane sealant at the surface interface where the anchor meets the brick or mortar to create a secondary weather barrier against wind-driven rain.
By treating masonry penetration as a structural modification rather than a simple carpentry task, you preserve the load-bearing capacity, thermal envelope, and aesthetic integrity of the brick facade for decades.
Written by
Marcus ChenMarcus Chen is a licensed structural engineer (PE) and building materials analyst with over 12 years of experience across residential, commercial, and industrial construction. He holds a Master of Science in Civil Engineering from UC Berkeley and spent six years at Thornton Tomasetti before transitioning to independent consulting and technical writing. Marcus specializes in material selection for seismic-prone regions, concrete reinforcement strategies, and lifecycle cost analysis. His work has been cited by the American Concrete Institute (ACI) and the Structural Engineers Association of California (SEAOC). When he is not on a job site or at his desk, you will find him hiking the Sierra Nevada or restoring a 1920s craftsman bungalow in Oakland, CA.
More from Marcus Chen
View all
Construction Cost
How Much Did the Eiffel Tower Cost to Build?
How much did the Eiffel Tower cost to build in 1889? We adjust for inflation and compare its budget to modern skyscraper construction.
Aug 4, 2026

Fire Resistance
What Is a Fire Resistant Material? Testing & Certification Guide
Discover what is a fire resistant material through ASTM and UL testing. Learn how fire ratings, certifications, and assemblies work in construction.
Aug 4, 2026

Construction Cost
How Much Did the Burj Khalifa Cost to Build?
How much did the Burj Khalifa cost to build? We break down the $1.5B project and extract 5 money-saving strategies for your next build.
Jul 30, 2026