How to Install M-Rock Stone Veneer: Mortarless Panel Guide
Learn how to install M-Rock stone veneer panels with this step-by-step mortarless guide. Includes prep, interlocking techniques, and pro tips.

The Shift to Mortarless: Understanding M-Rock Systems
Traditional manufactured stone veneer requires metal lath, a scratch coat, and Type S mortar—a messy, skill-intensive process that demands professional masons. M-Rock stone veneer and similar mortarless interlocking systems have disrupted this workflow. By utilizing mechanical fasteners and precision-molded interlocking lips, these panels allow DIYers and general contractors to achieve a high-end masonry look in a fraction of the time. This guide details the exact substrate preparation, fastening patterns, and cutting techniques required for a flawless, weather-tight M-Rock installation.
Material and Tool Requirements
Before beginning, verify that your substrate is properly sheathed and that you have the correct corrosion-resistant fasteners. Using standard drywall screws or un-galvanized nails will result in rust streaks bleeding through the stone face within a single season.
| Category | Item Specification | Quantity per 100 Sq. Ft. |
|---|---|---|
| Panels | M-Rock Flat Veneer Panels | 105 sq. ft. (includes 5% waste) |
| Corners | M-Rock Interlocking Corner Pieces | As measured by linear ft. |
| Fasteners | 1.5' to 2' Galvanized or Stainless Steel Screws | 1.5 lbs |
| Weather Barrier | 15-lb Asphalt Felt or Housewrap (e.g., Tyvek) | 1 roll / 10 sq. ft. overlap |
| Cutting | 10-inch Wet Tile Saw with Continuous Rim Diamond Blade | 1 (Rental or Purchase) |
Substrate Preparation: The Make-or-Break Step
The most common failure in manufactured stone installations is moisture entrapment. Unlike mortared systems that require metal lath and a scratch coat directly over the weather-resistive barrier (WRB), M-Rock panels attach directly to the structural sheathing or furring strips.
Even though M-Rock panels are highly water-resistant, wind-driven rain can penetrate the micro-gaps between interlocking panels. A continuous WRB is mandatory. For wood-framed structures, apply a minimum of one layer of 15-lb asphalt building felt or a code-approved housewrap, shingling the overlaps by at least 2 inches horizontally and 6 inches vertically. Refer to the Building Science Corporation's wall system guidelines for detailed drainage plane best practices.
Flashing and Weep Screeds
Install a corrosion-resistant weep screed at the base of the wall, maintaining a minimum 4-inch clearance from the soil grade (or 2 inches from concrete paving). The WRB must lap over the weep screed's vertical flange to ensure any water that penetrates the veneer is directed outward and away from the framing.
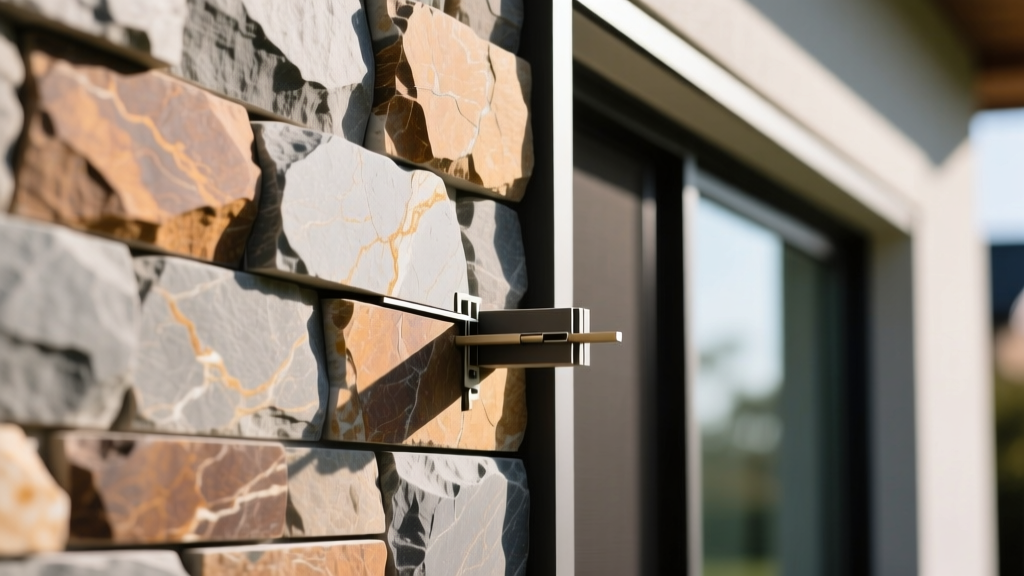
Step-by-Step M-Rock Veneer Installation
Step 1: Layout and Dry Fitting
Never start screwing panels to the wall without a dry layout. Unbox multiple panels and arrange them on the ground to blend color variations and stone profiles. Mark a level chalk line exactly one panel height above the weep screed. This ensures your first course is perfectly level, preventing a cascading alignment error as you move up the wall.
Step 2: Install Corner Pieces First
Always begin with the outside and inside corners. M-Rock corner pieces feature extended flanges that wrap around the adjoining wall.
- Place the first corner piece at the bottom chalk line.
- Drive fasteners through the designated nailing flange, spacing them 16 inches on center into the wall studs.
- Stagger the vertical joints of subsequent corner pieces so they do not align perfectly, mimicking natural masonry.
Step 3: Securing the Flat Panels
Once corners are set, fill in the flat field panels. The interlocking lip of the M-Rock system is designed so that the top edge of the lower panel locks into the bottom channel of the upper panel.
- Slide the flat panel into the corner piece's receiving flange.
- Ensure the bottom lip rests securely on the panel below it.
- Fasten through the top nailing flange. Pro Tip: Use a drill with a clutch setting to avoid over-driving the screw, which can crack the manufactured aggregate or warp the locking lip.
- The next course of panels will completely hide the fastener heads.
Step 4: Cutting Around Obstructions
When cutting around electrical outlets, hose bibs, or vents, measure the exact footprint and transfer it to the back of the stone panel. Cutting from the back using a wet saw prevents the diamond blade from chipping the textured front face. Always leave a 1/4-inch gap around pipes and conduits to allow for thermal expansion, and seal the perimeter with a high-quality, color-matched polyurethane exterior caulk.
Troubleshooting Common Installation Mistakes
Even with an interlocking system, installers frequently encounter alignment and fitment issues. Here is how to resolve them based on field experience:
| Symptom | Cause | Field Fix |
|---|---|---|
| Panels bowing or bulging outward | Over-driven screws warping the nailing flange. | Back the screw out 1/4 turn. Ensure the drill clutch is set to disengage before the screw head pulls the plastic flange too tight against the sheathing. |
| Vertical joints 'stair-stepping' | Failure to check level on every course. | Insert composite shims under the lower panel's locking lip to micro-adjust the height before fastening the next course. |
| Visible gaps at panel seams | Debris in the interlocking channel. | Brush out the receiving channel with a stiff bristle brush before snapping the next panel into place. |
Cost Breakdown: M-Rock vs. Traditional Mortared Veneer
Understanding the financial implications of choosing a mortarless system is critical for project budgeting. While the raw material cost of premium interlocking panels is slightly higher than basic mud-set stone, the elimination of masonry labor drastically reduces the total project cost.
| Cost Factor | M-Rock Mortarless (DIY/GC) | Traditional Mortared (Pro Mason) |
|---|---|---|
| Material Cost (per sq. ft.) | $9.00 - $15.00 | $6.00 - $11.00 |
| Labor Cost (per sq. ft.) | $0.00 (DIY) / $3.00 (GC) | $16.00 - $28.00 |
| Additional Supplies | $1.50 (Fasteners/WRB) | $4.50 (Lath/Mortar/Scratch Coat) |
| Total Estimated Cost (per sq. ft.) | $10.50 - $19.50 | $26.50 - $43.50 |
| Installation Time (100 sq. ft.) | 4 - 6 Hours | 2 - 3 Days |
'The primary value proposition of M-Rock and similar mechanical veneers isn't just speed; it's the elimination of the curing timeline. You can install the panels, flash the roof, and paint the trim all in the same afternoon without worrying about mortar freeze-threats or wash-off from sudden rain.' — Exterior Cladding Contractor Notes
Maintenance and Longevity Considerations
Manufactured stone veneer is composed of Portland cement, lightweight aggregates, and iron oxide pigments. While highly durable, it is inherently porous. To protect the installation from efflorescence (white salt deposits) and freeze-thaw spalling in northern climates, apply a breathable, siloxane-based masonry sealer 30 days after installation. Avoid acrylic or film-forming sealers, which trap moisture inside the substrate and cause the stone face to delaminate over time. For more technical specifications on manufactured stone sealing and weatherization, consult the resources provided by the Masonry Veneer Manufacturers Association (MVMA).
By adhering to strict substrate preparation, utilizing the correct corrosion-resistant fasteners, and employing back-cutting techniques for clean obstructions, your M-Rock stone veneer installation will deliver the authentic aesthetic of natural masonry with the structural reliability of modern engineered cladding.
Written by
Priya KapoorPriya Kapoor is a real estate market analyst and construction economics researcher with expertise in housing affordability, development feasibility, and infrastructure investment. She holds a Master of Regional Planning from Cornell University and previously worked as a senior analyst at CBRE's Investment Properties group, where she modeled returns for $4B in mixed-use development pipelines. Priya now runs an independent research practice advising developers, municipalities, and REITs on construction cost forecasting and market timing. She publishes the quarterly "BuildMat Market Pulse" report tracking material price indices across 12 commodity categories. Based in Austin, TX, Priya serves on the board of Habitat for Humanity Austin and is a marathon runner.
More from Priya Kapoor
View all
Construction Cost
Cost to Build a 1600 Sq Ft Home in 2026: Full Breakdown
Accurate 2026 cost to build a 1600 sq ft home—material, labor, and regional pricing breakdowns included. Plan your budget with real-time estimates.
Aug 11, 2026

Wood & Lumber
Name the Types of Wood for Pressure Treatment and Preservation
Learn how to name the types of wood best suited for pressure treatment. Compare species treatability, chemical retention levels, and 2026 preservation costs.
Aug 4, 2026

Stone & Masonry
Stone Veneer Suppliers Lindenhurst: 2026 Cost Analysis
Analyze 2026 stone veneer costs in Lindenhurst, NY. Compare local supplier pricing, delivery fees, and Suffolk County installation labor rates.
Aug 4, 2026