Top Stone Veneer for Walls: 2026 Buyer's Selection Guide
Compare manufactured and natural stone veneer for walls. Get 2026 pricing, top brand picks, and expert installation tips for interior and exterior projects.
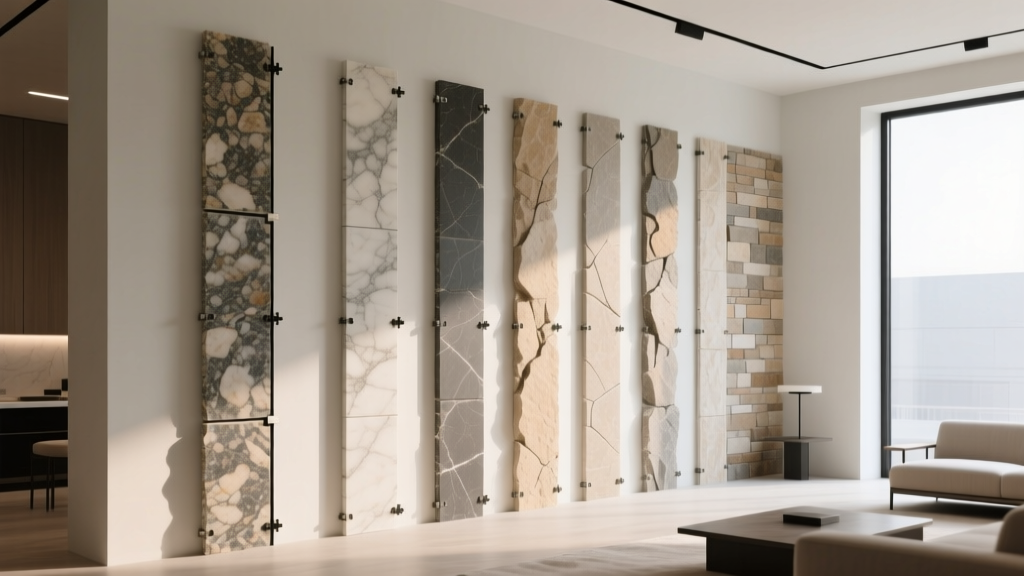
The 2026 Stone Veneer Market: Manufactured vs. Natural
Selecting the right stone veneer for walls requires navigating a market split between adhered manufactured stone masonry veneer (AMSMV) and natural thin stone veneer. In 2026, manufactured options dominate the residential sector due to weight advantages and consistent color batching, while natural thin veneer remains the premium choice for high-end architectural specifications. Both must comply with strict adherence standards—manufactured products are governed by ASTM C1670, while natural thin veneer falls under ASTM C616 (sandstone), C568 (limestone), or C629 (slate).
Understanding the structural load and moisture management requirements of your specific wall assembly is the first step in the selection process. The matrix below breaks down the core physical and financial differences between the primary material categories available this year.
| Material Category | Weight (lbs/sq ft) | Avg Material Cost (2026) | Thickness | Best Application |
|---|---|---|---|---|
| Manufactured Concrete Veneer | 10 - 12 lbs | $7.50 - $13.00 | 1" - 2.5" | Interior accent walls, exterior residential facades |
| Natural Thin Stone Veneer | 13 - 15 lbs | $14.00 - $24.00 | 0.75" - 1.5" | High-end exteriors, commercial lobbies, fireplaces |
| Panelized Interlocking Systems | 8 - 10 lbs | $11.00 - $16.00 | 1.5" - 2" | DIY interior walls, quick-turnaround exterior wainscoting |
| Polyurethane Faux Stone | 1 - 2 lbs | $5.00 - $9.00 | 1" - 2" | Non-structural interior decor, RVs, mobile homes |
Top Brand & Line Recommendations for 2026
1. Best Overall Manufactured: Eldorado Stone (Alderwood Profile)
Eldorado Stone continues to lead the manufactured sector with its Alderwood profile, which replicates weathered, dry-stacked limestone. The 2026 production runs feature improved oxide pigmentation that resists UV fading on south-facing exterior walls. Priced at approximately $9.50 per square foot for flats and $11.00 per linear foot for corners, Alderwood offers a high-end aesthetic without the structural reinforcement required for full-bed natural stone. Installation requires a standard scratch coat and Type S mortar or a polymer-modified veneer mortar.
2. Best Panelized System: Versetta Stone by Westlake Royal
For contractors and advanced DIYers looking to bypass the messy mortar process, Versetta Stone remains the premier panelized stone veneer for walls. Each 2' x 4' panel features a galvanized steel backing that screws directly into wall studs (requiring a minimum 150 lbs pull-out resistance per fastener). This system eliminates the need for metal lath, a scratch coat, and weep screeds on standard framed walls, cutting installation time by up to 40%. Material costs average $14.50 per square foot, but labor savings often make it cheaper overall than traditional adhered veneer.
3. Best Natural Option: Real Stone Thin Veneer (Cut Limestone)
When authenticity is non-negotiable, Real Stone Thin Veneer provides genuine quarried limestone cut to a 1-inch thickness. Unlike manufactured stone, the color permeates the entire thickness, meaning chips or cuts during installation do not reveal a concrete core. At $18.00 to $22.00 per square foot, it is a premium investment. It is highly recommended for exterior applications in freeze-thaw climates, provided it is sealed with a breathable, silane-based penetrating sealer to prevent spalling.
2026 Cost Analysis: Material vs. Labor Breakdown
Budgeting for stone veneer requires looking beyond the price tag on the box. Labor and substrate preparation frequently account for 60% to 70% of the total project cost. According to recent construction economic data tracked by the National Association of Home Builders, specialized masonry labor rates have stabilized but remain a significant line item.
- Interior Accent Wall (100 sq ft): Expect to pay $2,800 - $4,200 total. Interior jobs lack the need for weather barriers and weep screeds, reducing prep time. However, working in confined spaces and protecting finished floors can increase labor rates.
- Exterior Facade (500 sq ft): Expect to pay $16,000 - $24,000 total. Exterior installations require scaffolding, weather-resistive barriers (WRB), corrosion-resistant weep screeds, and flashing integration, which drastically increases prep labor.
- Mortar and Consumables: Budget an additional $1.50 - $2.50 per square foot for metal lath, fasteners, scratch coat materials, and Type S or polymer-modified mortar.
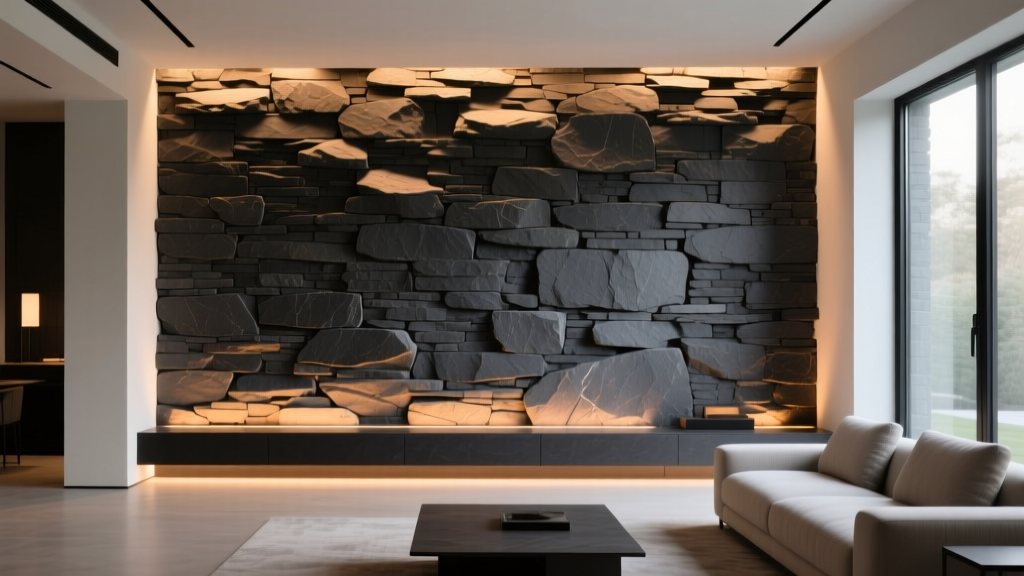
Substrate Preparation: Avoiding Delamination and Efflorescence
The most common failure in stone veneer for walls is not the stone itself, but the substrate preparation. Efflorescence (white, powdery salt deposits) and freeze-thaw spalling are almost always traced back to improper moisture management. Follow this strict preparation sequence for exterior framed walls:
- Weather-Resistive Barrier (WRB): Apply two layers of Grade D building paper or a modern fluid-applied membrane over the OSB/plywood sheathing. The dual-layer approach creates a capillary break, allowing moisture to drain downward.
- Weep Screed Installation: Install a corrosion-resistant weep screed (compliant with ASTM C2278) at the base of the wall, minimum 4 inches above grade or 2 inches above paved surfaces. This is non-negotiable for draining water out of the wall cavity.
- Metal Lath Application: Fasten 2.5 lb self-furring galvanized steel lath (ASTM C847) using 1-inch roofing nails or staples, penetrating the studs every 6 inches. Overlap horizontal seams by 1 inch and vertical seams by 2 inches. Wrap lath around corners by at least 16 inches.
- Scratch Coat: Apply a 1/2-inch thick scratch coat of Type S mortar. Scarify the surface horizontally with a raking tool to create a mechanical bond for the final stone application. Cure for 24 to 48 hours before setting stone.
For detailed technical specifications on mortar mixing ratios and lath overlapping, refer to the Eldorado Stone Installation Guidelines and the Westlake Royal Building Products technical library, which provide exhaustive diagrams for window flashing and roof-to-wall transitions.
Decision Framework: Matching Veneer to Wall Type
Use this framework to finalize your material selection based on your specific project constraints:
- If you are upgrading an existing interior fireplace: Choose Panelized Interlocking Systems or lightweight Manufactured Veneer. You will likely need to remove the existing hearth facing to accommodate the 1.5-inch thickness of the stone and mortar, ensuring the new veneer sits flush with the mantel.
- If you are cladding a multi-story exterior wall: Choose Manufactured Concrete Veneer. The reduced weight (compared to natural stone) minimizes the structural load on the wall ties and foundation. Ensure horizontal shelf angles are installed every 12 feet to support the dead load and prevent mortar joint compression at the base.
- If you are building a high-moisture exterior retaining wall: Choose Natural Thin Stone Veneer (specifically high-density granite or slate). Manufactured concrete veneer is porous and can degrade over decades of constant ground moisture exposure, whereas dense natural stone will withstand hydrostatic pressure and freeze-thaw cycles indefinitely when properly sealed.
- If you are a DIYer with no masonry experience: Choose Polyurethane Faux Stone or Panelized Systems. Traditional adhered veneer requires an understanding of mortar slaking times, buttering techniques, and joint tooling. Panelized systems require only a circular saw with a masonry blade and a drill/driver.
Selecting the correct stone veneer for walls ultimately hinges on balancing your aesthetic requirements with the structural realities of your wall assembly. By prioritizing substrate preparation and choosing materials that align with your installation capabilities, you ensure a facade that remains structurally sound and visually striking for decades.
Written by
James ThorntonJames Thornton is a construction industry veteran with 25 years of hands-on experience in wood framing, lumber grading, and residential building codes. He started as a framing carpenter in rural Oregon, earned his ICC Residential Building Inspector certification, and eventually became a senior plan reviewer for the City of Portland Bureau of Development Services. James holds a B.S. in Wood Science & Technology from Oregon State University and is a certified lumber grader through the West Coast Lumber Inspection Bureau (WCLIB). He has inspected over 3,000 residential construction sites and authored the city's internal guide on advanced framing techniques (2x6 at 24" O.C.). James lives in Bend, OR, where he builds custom timber-frame cabins and competes in lumberjack sports.
More from James Thornton
View all
Insulation
Best Home Insulation Materials: Complete 2026 Guide
Compare top home insulation materials for 2026. Find R-values, installed costs per square foot, and best uses for fiberglass, spray foam, and mineral wool.
Aug 4, 2026

Sustainable Building
Certify Your Green Building Material for LEED and WELL
Step-by-step guide to certifying a green building material for LEED v5 and WELL v2. Master EPDs, HPDs, and VOC limits for 2026 project specifications.
Aug 4, 2026

Stone & Masonry
Veneer Stacked Stone Panels: Interior Design & Style Showcase
Discover how veneer stacked stone panels transform interiors. Explore modern design profiles, material pairings, and technical installation specs.
Aug 4, 2026