Stone Veneer for Outdoor Kitchen Maintenance: Sealing and Stain Removal
Expert guide to stone veneer for outdoor kitchen maintenance. Learn sealing strategies, grease stain removal, and efflorescence treatment for 2026.

The Unique Abuse of Outdoor Kitchen Stone Veneer
Installing stone veneer in an outdoor kitchen subjects the material to a brutal combination of environmental and operational stressors that interior accent walls never face. Unlike a living room fireplace surround, outdoor kitchen stone is bombarded by aerosolized animal fats, intense thermal cycling from nearby pizza ovens and grills, hard water splash from integrated sinks, and seasonal freeze-thaw cycles. According to the Natural Stone Institute, the porosity of natural stone and manufactured veneer makes it highly susceptible to lipid penetration and moisture ingress if left unsealed or improperly maintained.
The most common failure mode in outdoor kitchen veneer is not structural; it is aesthetic and chemical. Grease stains from BBQ splatter oxidize and turn rancid within the stone's capillary network, while trapped moisture leads to efflorescence and spalling during winter freezes. Proper maintenance requires a shift from reactive cleaning to proactive chemical management.
Sealing Strategies: Penetrating vs. Film-Forming
The foundation of outdoor kitchen stone maintenance is the sealer. In 2026, the industry standard for exterior, high-heat, and high-moisture environments is strictly limited to breathable, penetrating sealers. Film-forming sealers (like polyurethanes and acrylics) are catastrophic for outdoor veneer because they trap moisture inside the stone and mortar bed. When temperatures drop below freezing, this trapped water expands, causing the stone face to spall and pop off the scratch coat.
| Sealer Chemistry | Vapor Permeability | UV & Heat Resistance | Recommended Product Type |
|---|---|---|---|
| Siloxane / Silane (Penetrating) | 100% Breathable | Excellent (Does not alter surface) | Stain-Proof Premium Impregnating Sealer |
| Fluoropolymer (Penetrating) | 100% Breathable | Excellent (Oleophobic & Hydrophobic) | PROSOCO SureKlean® Weather Seal |
| Acrylic / Urethane (Film-Forming) | Non-Breathable (Traps Moisture) | Poor (Yellows and peels under UV/Heat) | AVOID FOR OUTDOOR VENEER |
Application Specifics: For an outdoor kitchen, you need an oleophobic (oil-repelling) sealer, not just a hydrophobic (water-repelling) one. Standard siloxane sealers repel water but will allow BBQ grease to penetrate. Fluoropolymer or specialized fluorinated silane sealers create a microscopic barrier that repels both water and lipids. Expect to pay $120 to $180 per gallon for high-grade fluorinated sealers, which typically cover 150 to 250 square feet per coat depending on the veneer's porosity.
Tactical Cleaning Protocols for Specific Stains
When preventative sealing fails or wears thin, specific stains require targeted chemical interventions. The experts at PROSOCO emphasize matching the cleaner's pH to the stain type and the stone's mineral composition.
1. BBQ Grease and Smoke Residue Extraction
Surface grease can be wiped away with an alkaline-based heavy-duty stone degreaser. However, when animal fats penetrate deep into the pores of sandstone or limestone veneer, surface cleaning is insufficient. You must use a chemical poultice to draw the lipids out.
- Mix the Poultice: Combine diatomaceous earth (or kaolin clay) with acetone or a commercial alkaline degreaser until it reaches a peanut-butter-like consistency.
- Apply: Trowel the paste over the grease stain to a thickness of roughly 1/4 inch, extending one inch beyond the stain's visible edges.
- Cover and Wait: Cover the poultice with plastic wrap and tape the edges down. Let it sit for 24 hours. The solvent breaks down the fat, and the clay absorbs it.
- Dry and Remove: Remove the plastic wrap and allow the poultice to dry completely (another 24 hours). Scrape it off gently with a plastic putty knife and rinse with distilled water.
2. Efflorescence and Mineral Blooming
Efflorescence appears as a white, powdery crust on the veneer and mortar joints. It occurs when water-soluble salts from the Portland cement in the mortar bed migrate to the surface and crystallize upon evaporation.
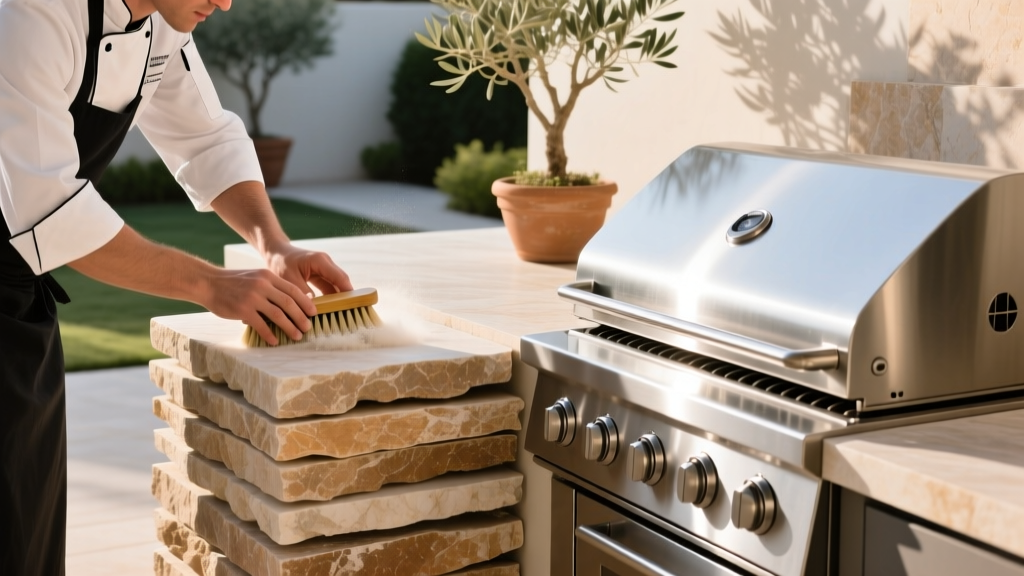
- Stage 1 (Dry Removal): Always start by aggressively dry-brushing the area with a stiff nylon or natural bristle brush. Never use a wire brush, as it will leave behind iron particles that will rust and stain the stone.
- Stage 2 (Chemical Treatment): If dry brushing fails, use a specialized efflorescence remover (such as PROSOCO SureKlean® VanaTrol® or Light Duty Concrete Cleaner diluted 1:10 with water). Apply, agitate, and rinse thoroughly.
- Moisture Control: Efflorescence is a symptom of moisture movement. If it persists, inspect the outdoor kitchen's roof overhang, flashing, and weep holes to ensure water is not constantly infiltrating the veneer's scratch coat from behind.
3. Hard Water and Sink Splash
Integrated outdoor sinks frequently splash hard water onto the backsplash veneer, leaving behind calcium and magnesium deposits. For siliceous stones (granite, slate, sandstone), a mild phosphoric acid-based cleaner will dissolve the mineral scale safely. For calcareous stones, you must use a pH-neutral stone cleaner and a non-scratch melamine pad to mechanically lift the deposits without etching the stone.
Seasonal Maintenance Matrix
To maximize the lifespan of your outdoor kitchen stone veneer, implement this seasonal maintenance schedule. This proactive approach prevents minor issues from escalating into costly masonry repairs.
| Season | Primary Focus | Actionable Maintenance Tasks |
|---|---|---|
| Spring | Inspection & Deep Clean | Inspect mortar joints for freeze-thaw cracking. Wash down the entire veneer with a pH-neutral stone cleaner to remove winter grime and pollen. Check weep holes for blockages. |
| Summer | Stain Management | Monitor the grill and pizza oven zones for grease buildup. Spot-clean splatter immediately using an alkaline degreaser before the heat bakes the lipids into the stone pores. |
| Fall | Sealing & Winterization | Perform the 'water drop test' (if water darkens the stone within 3 minutes, it's time to reseal). Apply a fresh coat of penetrating oleophobic sealer before the first freeze. |
| Winter | Moisture Protection | If the outdoor kitchen is uncovered, use a breathable, waterproof tarp to protect the veneer from ice damming and snow accumulation. Never use chemical ice melters on stone caps. |
Troubleshooting Common Veneer Failures
Even with meticulous cleaning, the physical environment of an outdoor kitchen can cause mechanical failures in the veneer system. Understanding these failure modes allows for targeted repairs.
Thermal Spalling Near Heat Sources
Stone veneer installed directly adjacent to high-BTU grills or wood-fired pizza ovens experiences rapid thermal expansion. If the veneer was installed with a rigid, high-strength mortar (like Type S or Type M), the mortar will not flex, causing the stone face to crack or spall. The Fix: When repointing joints near direct heat sources, use a polymer-modified Type N mortar or a specialized refractory mortar that can accommodate higher thermal movement. Maintain a minimum 2-inch clearance between the heat source and the veneer face, filled with high-temperature silicone or ceramic fiber rope.
Mortar Joint Degradation from Acidic Cleaners
Homeowners often mistakenly use aggressive masonry cleaners (containing hydrochloric or muriatic acid) to clean the stone, inadvertently eating away the Portland cement in the mortar joints. This leads to recessed, crumbling joints that invite water infiltration. The Fix: Rake out the degraded mortar to a depth of twice the joint width. Repoint using a color-matched, latex-modified Type N mortar. Tool the joint to a concave profile, which compresses the mortar against the stone edges, creating a superior water shed compared to flat or raked joints.
To determine if your outdoor kitchen stone veneer needs resealing, splash a few drops of water onto the surface in high-splash zones (near the sink and grill). If the water beads up and rolls off, your sealer is intact. If the water absorbs into the stone and creates a dark spot within 3 to 5 minutes, the sealer has degraded and the stone is vulnerable to staining and freeze-thaw damage. Plan a resealing project immediately.
Maintaining stone veneer in an outdoor kitchen is not a passive endeavor; it requires an understanding of masonry chemistry, thermal dynamics, and proactive sealing. By utilizing breathable fluoropolymer sealers, deploying targeted poultices for lipid extraction, and adhering to a strict seasonal maintenance matrix, you can ensure your outdoor kitchen remains a stunning, functional centerpiece for decades without succumbing to the environmental and operational abuse inherent to al fresco cooking.
Written by
Marcus ChenMarcus Chen is a licensed structural engineer (PE) and building materials analyst with over 12 years of experience across residential, commercial, and industrial construction. He holds a Master of Science in Civil Engineering from UC Berkeley and spent six years at Thornton Tomasetti before transitioning to independent consulting and technical writing. Marcus specializes in material selection for seismic-prone regions, concrete reinforcement strategies, and lifecycle cost analysis. His work has been cited by the American Concrete Institute (ACI) and the Structural Engineers Association of California (SEAOC). When he is not on a job site or at his desk, you will find him hiking the Sierra Nevada or restoring a 1920s craftsman bungalow in Oakland, CA.
More from Marcus Chen
View all
Construction Cost
How Much Did the Eiffel Tower Cost to Build?
How much did the Eiffel Tower cost to build in 1889? We adjust for inflation and compare its budget to modern skyscraper construction.
Aug 4, 2026

Fire Resistance
What Is a Fire Resistant Material? Testing & Certification Guide
Discover what is a fire resistant material through ASTM and UL testing. Learn how fire ratings, certifications, and assemblies work in construction.
Aug 4, 2026

Construction Cost
How Much Did the Burj Khalifa Cost to Build?
How much did the Burj Khalifa cost to build? We break down the $1.5B project and extract 5 money-saving strategies for your next build.
Jul 30, 2026