How to Install Nailable Stone Veneer: Mortarless DIY Guide
Learn how to install nailable stone veneer without mortar. This step-by-step guide covers prep, interlocking panels, fastening, and finishing.

The Shift to Mortarless Cladding
Nailable stone veneer represents a significant evolution in both exterior and interior cladding. Unlike traditional mortared stone that requires metal lath, scratch coats, and specialized masonry skills, nailable (or interlocking) stone veneer features built-in nailing flanges and tongue-and-groove edges. This allows installers to fasten the panels directly to approved substrates using standard pneumatic nailers or exterior screws. The result is a fraction of the installation time, zero curing wait times, and a dramatically reduced structural load on the building envelope.
This guide details the exact technical specifications, substrate requirements, and step-by-step installation protocols required to achieve a seamless, code-compliant finish using nailable stone veneer systems.
System Specifications & Limitations
- Weight: Typically 1.5 to 3.5 lbs per square foot (compared to 10-15 lbs for natural stone).
- Substrate Requirement: Minimum 7/16-inch OSB, 1/2-inch plywood, or 1/2-inch cement board over wood or metal framing.
- Temperature Range for Install: 40°F to 100°F (4°C to 38°C) to prevent thermal expansion/contraction issues during fastening.
Pre-Installation Checklist: Tools and Materials
Do not rely on generic framing nails or standard wood blades. The longevity of a mortarless installation depends entirely on corrosion-resistant fasteners and precise cutting equipment.
Required Fasteners & Adhesives
- Primary Fasteners: 15-gauge or 16-gauge hot-dipped galvanized finish nails (1.5 to 2 inches in length). Electroplated nails will rust and bleed through the veneer face within one season.
- Alternative Fasteners: 1-1/4 inch exterior-grade, self-tapping lath screws (if fastening into metal studs).
- Adhesive: High-quality polyurethane construction adhesive (e.g., Loctite PL Premium 3x) for corner reinforcement and substrate bonding on uneven walls.
- Sealant: Color-matched, paintable exterior silicone or polyurethane caulk for perimeter joints.
Cutting & Layout Tools
- Saw: Wet tile saw or miter saw equipped with a 10-inch continuous rim diamond blade. Never use a toothed wood blade, which will shatter high-density polyurethane or lightweight concrete panels.
- Layout: Laser level (preferred over spirit levels for long exterior runs) and a chalk line with blue chalk (red chalk can stain porous stone faces).
- Gap Spacers: 1/8-inch composite shims to maintain mandatory expansion gaps.
Step-by-Step Installation Protocol
Step 1: Substrate Preparation and Weatherproofing
For exterior applications, nailable stone veneer is a cladding, not a weather-resistive barrier (WRB). The structural sheathing must be covered with a code-approved WRB, such as Tyvek HomeWrap or a fluid-applied membrane. According to the Department of Energy, proper integration of moisture barriers and flashing is critical to prevent water intrusion behind cladding systems. Overlap all horizontal WRB seams by a minimum of 6 inches and vertical seams by 12 inches. Apply self-adhering flashing tape around all window and door rough openings before beginning the veneer layout.
Step 2: Establishing the Ledger and Starter Track
Gravity is your primary ally in a mortarless system. You cannot rely solely on the nails to hold the bottom course.
- Measure up from the lowest grade point or foundation ledge. Maintain a minimum 4-inch clearance from soil to the bottom of the veneer to prevent ground moisture wicking and soil erosion damage.
- Use a laser level to strike a perfectly horizontal chalk line.
- Screw a temporary 1x4 wooden ledger board directly into the wall studs along this line. This board will support the weight of the first three courses while you work.
- Apply a continuous 3/8-inch bead of polyurethane construction adhesive to the back of your first-row panels.
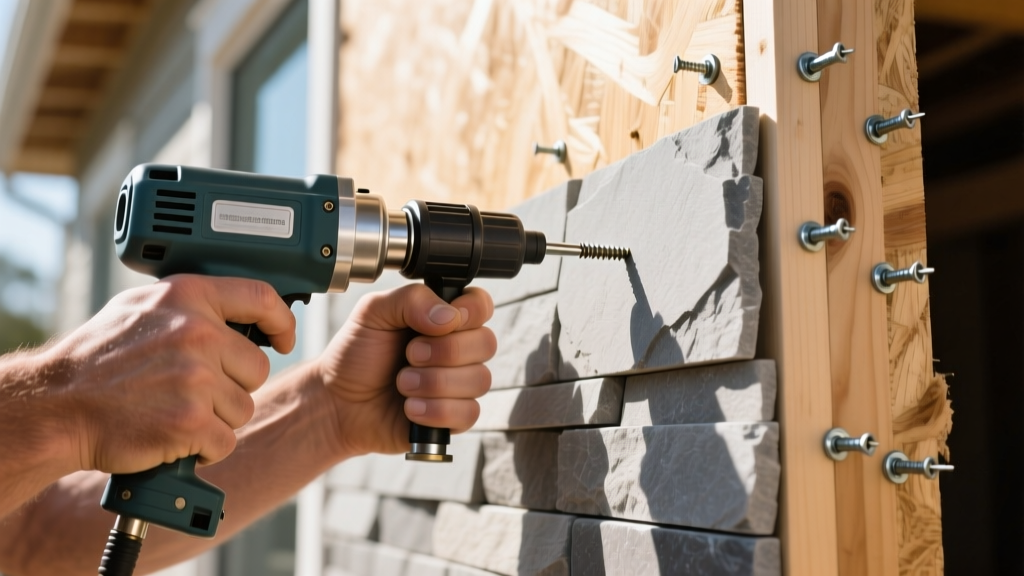
Step 3: Fastening the Nailable Panels
Nailable stone veneer panels feature a top flange with pre-drilled or slotted nail holes.
- Nail Placement: Drive nails at a 45-degree downward angle through the nailing flange. This "blind nailing" technique ensures the next overlapping course will completely hide the fastener heads.
- Spacing: Fasten every 16 inches along the top flange, ensuring you hit the underlying wood or metal studs. Do not just nail into the OSB/Plywood sheathing between studs.
- Depth Setting: Adjust the compressor on your pneumatic nailer so the nail head sits flush with the flange. If the nail is driven too deep ("overdriven"), it will crush the flange and compromise the interlocking seam of the next row.
If your nailable veneer is made of high-density lightweight concrete rather than polyurethane, dry cutting will generate respirable crystalline silica. OSHA strictly regulates silica exposure. Always use a wet saw with a continuous water feed, or attach a HEPA-filtered dust extraction shroud to your miter saw. Consult the OSHA Silica Standards for mandatory PPE, including N95 or P100 respirators, when cutting masonry-based veneers.
Step 4: Navigating Corners and Openings
Most nailable systems offer pre-formed interlocking corner pieces. Install corner pieces first on every course, then measure and cut the flat panels to fit between them. When cutting panels to fit around windows or doors, leave a 1/4-inch expansion gap between the cut edge of the stone and the window flange. Fill this gap with a flexible, color-matched exterior sealant, not rigid caulk, to allow for thermal expansion.
Step 5: Removing the Ledger and Finishing
Once you have installed at least four courses and the panels are securely interlocked and nailed, remove the temporary ledger board. Cut the bottom edge of the first course panels to match the exact contour of the foundation or flashing, apply adhesive, and face-nail them into the bottom plate using color-matched exterior trim-head screws. Touch up any visible screw heads with the manufacturer-provided touch-up paint kit.
Troubleshooting Common Installation Mistakes
| Symptom | Root Cause | Corrective Action |
|---|---|---|
| Horizontal seams appear wavy or uneven | Wall sheathing is bowed or out of plumb; nails overdriven. | Furr out the wall with 1x2 strapping to create a flat plane before installing panels. Calibrate nail gun pressure. |
| Visible gaps between vertical interlocking joints | Thermal expansion during installation; panels not pushed fully together. | Install during cooler morning hours. Use a rubber mallet and a wood block to tap panels tightly together before nailing. |
| Rust stains bleeding through the stone face | Use of electroplated or interior-grade nails instead of hot-dipped galvanized. | Remove affected panels. Replace all fasteners with hot-dipped galvanized or stainless steel equivalents. Prime the stain with a masonry sealer before reinstallation. |
Cost Breakdown: Nailable vs. Traditional Mortared Veneer
While the per-square-foot material cost of high-end nailable polyurethane or architectural concrete veneer can sometimes match natural stone, the labor and ancillary material savings are substantial. Below is a comparative cost analysis for a standard 500-square-foot exterior accent wall project.
| Cost Factor | Nailable Veneer (Mortarless) | Traditional Mortared Veneer |
|---|---|---|
| Material Cost (Panels/Stone) | $8.50 - $14.00 / sq ft | $10.00 - $22.00 / sq ft |
| Ancillary Materials (Lath, Mortar, Adhesive) | $0.75 / sq ft (Adhesive & Nails) | $3.50 / sq ft (Lath, Scratch coat, Mortar) |
| Professional Labor Cost | $4.00 - $7.00 / sq ft | $12.00 - $18.00 / sq ft |
| Structural Reinforcement Required? | Rarely (Under 4 lbs/sq ft) | Often (Requires footing/angle iron) |
| Estimated Total (500 sq ft) | $6,625 - $10,875 | $12,750 - $21,750 |
Expert Tips for Long-Term Durability
"The most common failure in mortarless stone systems isn't the panel itself; it's water management at the penetrations. Always install Z-flashing above any horizontal trim board or window head before the veneer goes up. Water that gets behind the interlocking seams must have a clear, unobstructed path to exit the wall cavity via weep holes at the bottom course."
Finally, always stagger your vertical seams. Never allow the vertical joints of two adjacent panels to align with the joints of the course directly below or above them. A minimum 6-inch offset in a random, ashlar pattern not only mimics the look of natural masonry but also prevents continuous vertical channels where water could potentially migrate behind the interlocking flanges.
Written by
Priya KapoorPriya Kapoor is a real estate market analyst and construction economics researcher with expertise in housing affordability, development feasibility, and infrastructure investment. She holds a Master of Regional Planning from Cornell University and previously worked as a senior analyst at CBRE's Investment Properties group, where she modeled returns for $4B in mixed-use development pipelines. Priya now runs an independent research practice advising developers, municipalities, and REITs on construction cost forecasting and market timing. She publishes the quarterly "BuildMat Market Pulse" report tracking material price indices across 12 commodity categories. Based in Austin, TX, Priya serves on the board of Habitat for Humanity Austin and is a marathon runner.
More from Priya Kapoor
View all
Construction Cost
Cost to Build a 1600 Sq Ft Home in 2026: Full Breakdown
Accurate 2026 cost to build a 1600 sq ft home—material, labor, and regional pricing breakdowns included. Plan your budget with real-time estimates.
Aug 11, 2026

Wood & Lumber
Name the Types of Wood for Pressure Treatment and Preservation
Learn how to name the types of wood best suited for pressure treatment. Compare species treatability, chemical retention levels, and 2026 preservation costs.
Aug 4, 2026

Stone & Masonry
Stone Veneer Suppliers Lindenhurst: 2026 Cost Analysis
Analyze 2026 stone veneer costs in Lindenhurst, NY. Compare local supplier pricing, delivery fees, and Suffolk County installation labor rates.
Aug 4, 2026