The Complete Guide to Tile Stone Veneer Installation and Costs
Master tile stone veneer installation with our complete material guide. Compare natural thin stone vs. mesh-backed panels, costs, and substrate specs.

What Defines Tile Stone Veneer?
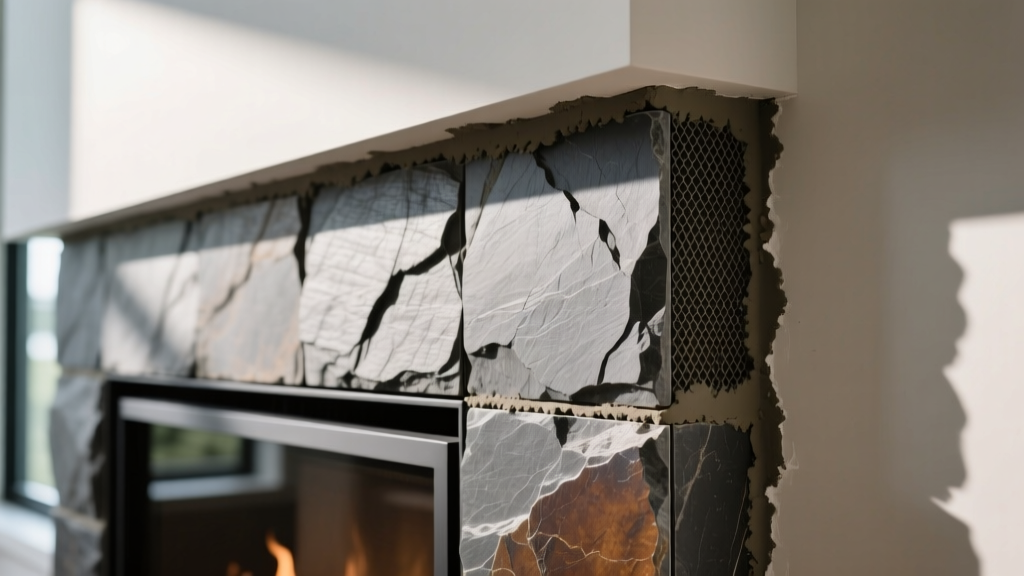
Tile stone veneer represents a hybrid building material that merges the aesthetic depth of natural masonry with the modular installation efficiency of standard tiling. Unlike traditional stacked stone or full-thickness masonry veneers that require structural footings and metal lath scratch coats, tile stone veneer is manufactured or precision-cut into thin, lightweight formats. These formats typically range from 3/8-inch to 3/4-inch in thickness and are designed to be adhered directly to properly prepared interior or exterior substrates using modified thinset mortars.
The category encompasses two primary product types: natural thin-cut stone tiles (such as slate, quartzite, or limestone cut to standard tile dimensions) and manufactured modular stone panels (where stone fragments or cast concrete aggregates are pre-mounted on fiberglass mesh backing). Understanding the structural limitations, substrate requirements, and specific setting materials for these products is critical to preventing delamination and moisture failure.
Material Varieties and Performance Profiles
Natural Thin-Cut Stone Tiles
Natural thin stone tiles are quarried blocks sliced into modular dimensions (e.g., 12x12, 12x24, or modular ashlar patterns). Because they are natural stone, they possess high compressive strength but varying degrees of porosity and flexural strength. Materials like quartzite and high-density slate perform exceptionally well in high-moisture environments and exterior freeze-thaw cycles, provided they are sealed correctly. Softer stones, such as sandstone or certain limestones, require strict moisture management and are generally restricted to interior, climate-controlled applications.
Manufactured Mesh-Backed Panels
Mesh-backed tile stone veneer consists of natural stone chips or high-density polyurethane/cast concrete aggregates pre-arranged and glued to a fiberglass mesh sheet, typically in 12x12 or 12x24 grids. This format drastically reduces installation time and eliminates the need for individual stone spacing and leveling. However, the mesh backing introduces a potential failure plane; if the adhesive binding the stone to the mesh degrades due to prolonged moisture exposure or alkaline mortar reactions, the stones can detach from the mesh while the mesh remains bonded to the wall.
Material Comparison Matrix
| Feature | Natural Thin-Cut Stone Tile | Mesh-Backed Manufactured Panel |
|---|---|---|
| Installation Speed | Moderate (requires individual leveling) | Fast (modular grid system) |
| Aesthetic Authenticity | High (continuous natural veining) | Moderate (repeating patterns possible) |
| Exterior Suitability | Excellent (if high-density stone) | Poor to Moderate (mesh adhesive vulnerability) |
| Substrate Tolerance | Low (requires perfectly flat plane) | High (mesh conforms to minor undulations) |
| Average Weight | 8 - 12 lbs/sq ft | 5 - 8 lbs/sq ft |
Cost Breakdown: Material and Labor Estimates
Pricing for tile stone veneer fluctuates based on stone rarity, panel complexity, and regional labor rates. The following estimates reflect current market averages for standard residential and light commercial applications.
| Cost Component | Natural Thin Tile (per sq ft) | Mesh-Backed Panel (per sq ft) |
|---|---|---|
| Material Cost | $9.00 - $18.50 | $6.50 - $12.00 |
| Setting Materials (Mortar/Grout) | $2.50 - $4.00 | $1.50 - $2.50 |
| Professional Installation Labor | $18.00 - $28.00 | $12.00 - $18.00 |
| Penetrating Sealer Application | $1.50 - $3.00 | $1.00 - $2.00 |
| Total Estimated Installed Cost | $31.00 - $53.50 | $21.00 - $34.50 |
Step-by-Step Installation Framework for Interior Walls
Proper installation of tile stone veneer requires strict adherence to substrate preparation and mortar chemistry. The Tile Council of North America (TCNA) Handbook outlines specific methodologies for stone tile that must be followed to prevent bond failure.
1. Substrate Verification and Preparation
Interior drywall (gypsum board) is not an acceptable substrate for stone veneer due to its low shear strength and moisture sensitivity. You must install a cementitious backer unit (CBU) such as 1/2-inch fiber-cement board (complying with ASTM C1325) or a cement board (ASTM C1325). Ensure all studs are spaced a maximum of 16 inches on center to limit deflection. The substrate must meet an L/360 deflection criteria under maximum expected loads.
2. Mortar Selection and Mixing
Do not use standard unmodified thinset or organic mastics. Tile stone veneer requires a non-sag, polymer-modified mortar. For natural stone, use an ANSI A118.15 Improved Modified Dry-Set Cement Mortar. This high-performance mortar provides superior bond strength and non-sag properties, critical for supporting the 8-12 psf weight of the stone while the mortar cures. Mix the mortar to a peanut-butter consistency, allowing a 10-minute slake time before remixing.
3. Setting the Veneer
Apply the mortar to the substrate using a 1/2-inch x 1/2-inch square-notch trowel. For natural thin-cut tiles, back-butter the stone with the flat side of the trowel to ensure 95% minimum mortar coverage, which is mandatory for natural stone to prevent voids where moisture could accumulate and cause spalling. Press the tile firmly into the mortar bed, twisting slightly to collapse the ridges. Use a 2x4 straight edge and a rubber mallet to true the surface, as natural stone thickness can vary by up to 1/8-inch between adjacent tiles.
Moisture Management and Sealing Protocols
Natural stone is inherently porous. Without proper sealing, moisture ingress can lead to efflorescence (white salt deposits), biological growth, and freeze-thaw spalling in exterior applications. The Natural Stone Institute mandates that all natural stone veneers be treated with appropriate sealers post-installation.
Recommended Sealers by Stone Type
- High-Density Slate and Quartzite: Use a solvent-based, penetrating siloxane/silane sealer. These sealers do not alter the natural cleft texture or color of the stone but provide deep hydrophobic protection against water and oil-based stains.
- Porous Limestone and Sandstone: Require a high-solids, water-based penetrating sealer. Avoid topical acrylic sealers, which can trap moisture vapor inside the stone matrix, leading to sub-surface spalling when the trapped moisture expands during temperature fluctuations.
- Manufactured Cast Panels: Generally require a breathable, water-based acrylic or silane masonry sealer to protect the cementitious binders from UV degradation and acid rain.
Apply sealers only after the mortar and grout have fully cured (typically 14 to 28 days, depending on ambient humidity). Always test the sealer on an inconspicuous off-cut of the stone to verify that it does not impart an unwanted glossy sheen or darken the stone beyond the desired aesthetic.
Building Code Compliance for Exterior Applications
When transitioning tile stone veneer to exterior facades, the structural load becomes a critical code compliance issue. According to the International Code Council (ICC) building codes, adhered masonry and stone veneers are limited to a maximum weight of 15 pounds per square foot (psf). If your selected natural thin-cut stone, combined with the mortar bed and scratch coat, exceeds this 15 psf threshold, you must incorporate mechanical fasteners (such as corrosion-resistant wall ties anchored directly into the structural framing) to support the dead load. Failure to engineer mechanical support for heavy stone veneers will result in code violations and catastrophic structural delamination over time.
Written by
Marcus ChenMarcus Chen is a licensed structural engineer (PE) and building materials analyst with over 12 years of experience across residential, commercial, and industrial construction. He holds a Master of Science in Civil Engineering from UC Berkeley and spent six years at Thornton Tomasetti before transitioning to independent consulting and technical writing. Marcus specializes in material selection for seismic-prone regions, concrete reinforcement strategies, and lifecycle cost analysis. His work has been cited by the American Concrete Institute (ACI) and the Structural Engineers Association of California (SEAOC). When he is not on a job site or at his desk, you will find him hiking the Sierra Nevada or restoring a 1920s craftsman bungalow in Oakland, CA.
More from Marcus Chen
View all
Construction Cost
How Much Did the Eiffel Tower Cost to Build?
How much did the Eiffel Tower cost to build in 1889? We adjust for inflation and compare its budget to modern skyscraper construction.
Aug 4, 2026

Fire Resistance
What Is a Fire Resistant Material? Testing & Certification Guide
Discover what is a fire resistant material through ASTM and UL testing. Learn how fire ratings, certifications, and assemblies work in construction.
Aug 4, 2026

Construction Cost
How Much Did the Burj Khalifa Cost to Build?
How much did the Burj Khalifa cost to build? We break down the $1.5B project and extract 5 money-saving strategies for your next build.
Jul 30, 2026