Travertine Stone Maintenance: The Complete Cleaning Playbook
Master travertine stone maintenance with our expert cleaning playbook. Learn pH-safe products, sealing schedules, and stain removal techniques.
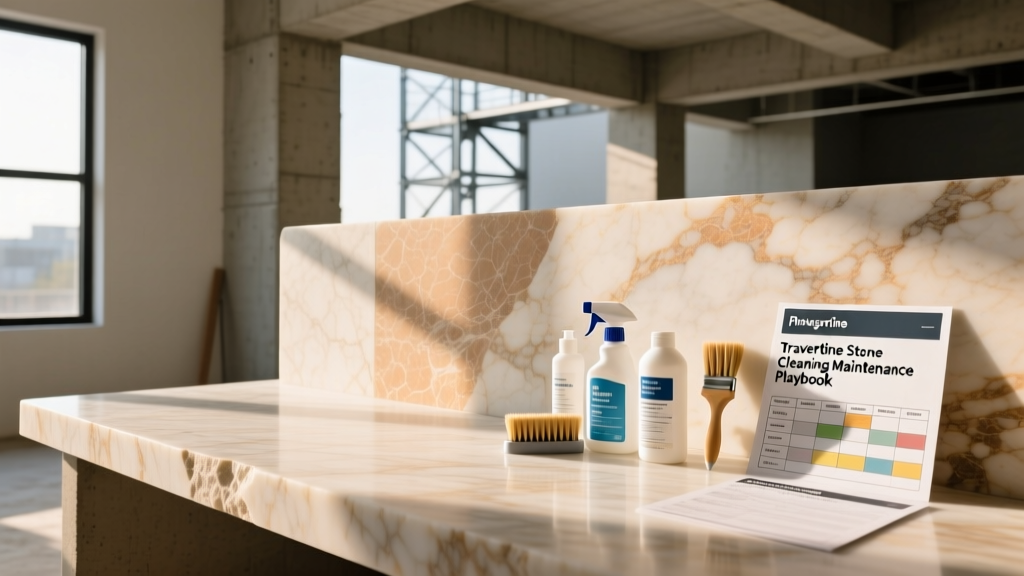
The Chemistry of Travertine: Why Standard Cleaners Fail
Travertine is a dense, banded sedimentary rock composed primarily of calcium carbonate (CaCO3). Geologically formed in mineral springs, it shares a similar chemical profile with marble and limestone, meaning it is highly susceptible to acid etching. According to Natural Stone Institute guidelines, any cleaning agent with a pH below 6.0 will chemically react with the calcite in travertine, dissolving the surface and leaving permanent dull spots known as etch marks.
Standard household cleaners—including vinegar, bleach, ammonia, and most citrus-based degreasers—are highly acidic or highly alkaline and will degrade the stone's factory honed or polished finish. Furthermore, travertine is characterized by natural pitting and voids. When these voids are left unfilled (or when factory resin fillers degrade over time), they become traps for microscopic grit, organic debris, and moisture, accelerating surface wear and bacterial growth.
Daily and Weekly Maintenance Protocols
Routine maintenance for travertine stone is less about aggressive cleaning and more about abrasion control and pH-neutral lifting. Sand and quartz dust are significantly harder than travertine (Mohs hardness of 7 vs. travertine's 3-4) and will act like sandpaper underfoot, scratching the surface and destroying the sealer.
The Dry Soil Removal Phase
- Daily Dust Mopping: Use a clean, dry microfiber dust mop. Avoid synthetic bristle brooms, which can flick abrasive grit into the stone's natural voids.
- Vacuuming: If using a vacuum, ensure the beater bar (rotating brush) is disengaged. Use a hard-floor attachment with felt or soft rubber wheels to prevent scratching.
The Two-Bucket Wet Mopping Method
When wet mopping is required (typically weekly for high-traffic areas), use the two-bucket method to prevent redepositing dirty water into the stone's pores.
- Bucket 1 (Wash): Fill with warm water and a pH-neutral stone cleaner (target pH 7.0 to 8.0). Professional-grade options like StoneTech Professional Daily Use Cleaner or Tenax Aton are formulated with chelating agents that lift dirt without stripping the impregnating sealer.
- Bucket 2 (Rinse): Fill with clean, warm water. Use this to rinse your microfiber mop head after every two passes.
- Drying: Allow the floor to air dry, or use a dry microfiber cloth to buff away water spots, especially in hard-water regions where calcium and magnesium deposits can leave a white film.
Deep Cleaning and Stain Removal Matrix
Travertine's porosity means spills can quickly penetrate the surface if the sealer has degraded. Identifying the stain type is critical, as applying the wrong chemical activator can set the stain permanently. Below is a diagnostic matrix for the most common travertine stains.
| Stain Category | Common Causes | Poultice Base | Chemical Activator |
|---|---|---|---|
| Organic | Coffee, wine, tea, tobacco, food spills | Diatomaceous Earth or Kaolin Clay | 12% Hydrogen Peroxide (hair developer volume 40) |
| Oil-Based | Cooking grease, cosmetics, motor oil, wax | Diatomaceous Earth or White Flour | Acetone or Mineral Spirits |
| Inorganic (Metal) | Iron nails, rusted cans, bronze fixtures | Diatomaceous Earth | Commercial Rust Remover (Non-acidic, oxalic acid based) |
| Biological | Algae, mildew, moss (exterior/shower) | White Cotton Balls or Paper Towels | 3% Hydrogen Peroxide or dilute ammonia |
Step-by-Step Poultice Application
A poultice works by drawing the stain out of the stone's capillary network and into an absorbent medium as the liquid evaporates.
- Mix: Combine your absorbent base with the chemical activator until it forms a thick paste, similar to peanut butter consistency.
- Apply: Spread the paste over the stain using a plastic putty knife. The layer should be roughly 1/4 to 1/2 inch thick and extend one inch beyond the stain's perimeter.
- Cover: Tape plastic wrap over the poultice, poking a few small holes in the plastic to allow for slow, controlled evaporation.
- Wait: Leave the poultice in place for 24 to 48 hours. The plastic wrap keeps the chemical active while the edges dry out, creating the capillary draw.
- Remove: Remove the plastic and allow the poultice to dry completely into a hard crust. Scrape it away gently with a wooden or plastic scraper (never metal) and rinse with distilled water.
Sealing Playbook: Penetrating vs. Enhancing Sealers
Travertine requires an impregnating sealer to repel liquids while allowing the stone to breathe (transmit water vapor). Topical sealers (acrylics, urethanes) should never be used on travertine floors, as they trap moisture, create a high-gloss plastic appearance, and require aggressive chemical stripping when they inevitably scuff and yellow.
Modern penetrating sealers utilize siloxane or fluoropolymer resins. As of 2026, advancements in water-based, low-VOC siloxane sealers have made them highly competitive with traditional solvent-based options, aligning with strict indoor air quality regulations noted by the EPA guidelines on indoor VOCs.
Sealer Selection Guide
- Standard Penetrating Sealer (e.g., Miracle Sealants 511 Impregnator): Best for indoor floors and wet areas. Provides a natural, unaltered look while repelling water and oil. Coverage: 500-800 sq. ft. per gallon.
- Color-Enhancing Sealer (e.g., Tenax Ager): Best for exterior cladding, pool decks, or honed indoor stone where a 'wet look' is desired. Darkens the stone and highlights the natural veining. Note: Enhancers can alter the slip-resistance coefficient (DCOF) of the stone; always test a small area in wet conditions before full application.
To determine if your travertine needs resealing, place three drops of water on the surface in high-traffic and low-traffic zones. Time how long it takes for the water to absorb and darken the stone. If it darkens in under 3 minutes, the stone requires an immediate recoat. If it holds for 10+ minutes, the sealer is intact.
Troubleshooting Common Travertine Failures
Even with rigorous maintenance, travertine is subject to specific environmental and mechanical failures. Understanding the root cause is essential for proper remediation.
1. Acid Etching vs. Staining
Homeowners frequently confuse etching with staining. If a spill (like lemon juice or toilet bowl cleaner) leaves a dull, light-colored mark that is more visible when light hits it at an angle, the stone is etched. The acid has physically dissolved the calcite crystals. The Fix: Etching cannot be cleaned. It must be mechanically removed. For honed travertine, use a series of diamond-impregnated polishing pads (starting at 400 grit, moving up to 800 grit) attached to a variable-speed polisher to re-hone the affected area.
2. Pitting and Void Degradation
Natural voids in unfilled travertine can accumulate debris and become difficult to clean. Over time, the edges of these voids can chip under foot traffic. The Fix: Clean the voids thoroughly with a soft brush and vacuum. Fill the voids using a two-part, color-matched polyester or epoxy resin (such as Tenax Tefill). Overfill slightly, allow it to cure for 24 hours, and then scrape it flush with a razor blade held at a 45-degree angle.
3. Efflorescence
Efflorescence appears as a white, powdery residue on the surface of the stone. It is not a surface dirt issue; it is a sub-slab moisture issue. Water migrating up through the concrete substrate dissolves soluble salts and deposits them on the travertine surface as the water evaporates. The Fix: Do not wash efflorescence with water, as this drives the salts back into the stone. Dry-brush the powder away daily until the moisture source is resolved. Long-term remediation requires improving sub-slab drainage or installing a vapor barrier during a full floor replacement.
4. Soap Scum in Wet Areas
In showers, travertine accumulates a combination of soap scum, hard water minerals, and body oils. The Fix: Avoid standard bathroom tile cleaners. Use a specialized soap-scum remover formulated specifically for natural stone, or a non-acidic phosphoric acid alternative that is buffered to a safe pH for calcium carbonate. Apply, let dwell for 5 minutes, agitate with a white nylon scrub pad, and rinse thoroughly.