Exterior Shiplap Siding Installation: A Pro Step-by-Step Guide
Master exterior shiplap siding installation with our pro guide. Learn weatherproofing, flashing, fastener spacing, and board alignment techniques.
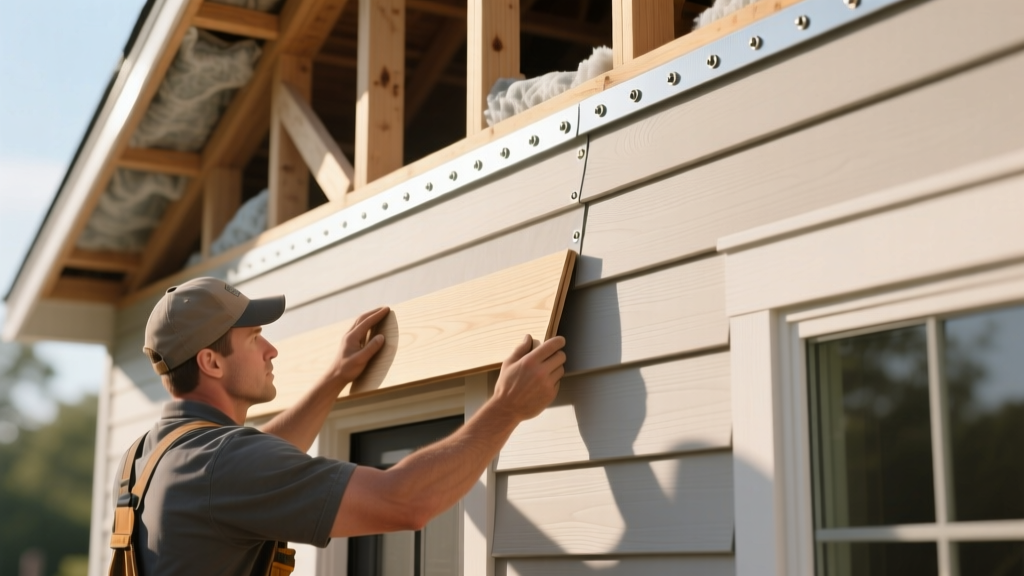
The Anatomy and Physics of Exterior Shiplap
Exterior shiplap siding is defined by its rabbeted profile, where the top edge of one board overlaps the bottom edge of the adjacent board, creating a tight, weather-resistant joint that casts a subtle shadow line. Unlike interior shiplap, which is primarily aesthetic, exterior shiplap must function as a dynamic rain screen. Wood is hygroscopic; a standard 1x8 Western Red Cedar shiplap board (actual width 7.25 inches) can expand up to 1/4 inch across its grain when transitioning from a dry winter to a humid summer. Installation procedures must accommodate this movement, or the siding will buckle, cup, and ultimately fail.
Pre-Installation Prep and Material Acclimation
The most common cause of post-installation warping is failing to acclimate and seal the wood before it goes on the wall. Shiplap siding should be delivered to the job site and stickered (stacked with 1-inch spacers between layers) under a breathable tarp for 10 to 14 days. This allows the wood's moisture content to equalize with the local ambient humidity, ideally targeting 12% to 15% for exterior applications.
The Six-Sided Sealing Protocol
Before installation, apply a high-quality, oil-based penetrating stain or primer to all six sides of every board. The end grain acts like a bundle of microscopic straws, wicking moisture deep into the board. Dip or heavily brush the end grains with a water-repellent preservative compliant with American Wood Protection Association standards. If you cut a board on site, you must immediately coat the freshly exposed end grain before nailing it to the wall.
Fastener and Tool Matrix
Using the wrong fasteners will result in rust streaking and premature pull-out. Electro-galvanized nails will corrode when exposed to the tannins in cedar or redwood. You must use 304 or 316 stainless steel.
| Component | Specification | Application Notes |
|---|---|---|
| Primary Fastener | 15-gauge, 2-inch ring-shank nail (304 SS) | Used for blind nailing through the lap joint into studs. |
| Secondary Fastener | 8d (2.5-inch) ring-shank nail (316 SS) | Face nailing the bottom edge of the starter course. |
| Rainscreen Furring | 1x3 treated pine or corrugated plastic mat | Creates the 3/4-inch or 3/8-inch drainage plane. |
| Flashing | 24-gauge galvanized steel or PVC Z-flashing | Required at all horizontal transitions and butt joints. |
Step-by-Step Installation Procedure
Step 1: WRB Integration and Furring Strips
Begin with a fully taped Weather-Resistant Barrier (WRB). Install vertical furring strips directly over the wall studs, spaced 16 inches on center. If using 1x3 wood battens, treat them with a borate-based preservative. Alternatively, a continuous corrugated rainscreen mat (like Keene Driwall) can be rolled out over the WRB, which provides omnidirectional drainage and eliminates the need to perfectly align furring strips with studs.
Step 2: The Starter Board and Drip Edge
Install a metal drip edge or kick-out flashing at the bottom of the wall. The starter shiplap board must maintain a minimum 6-inch clearance from the final grade, or 2 inches from adjacent decks and roofs. The bottom edge of this first board should be face-nailed with two 8d stainless steel nails per stud. Ensure the board is perfectly level; any deviation here will compound as you move up the wall.
Step 3: Board Placement and the 'Single-Pin' Nailing Rule
This is where most DIY installations fail. When placing the second board, overlap the rabbet joint by 1/2 inch to 3/4 inch. You must only nail through the top board. Drive the 15-gauge blind nail at a 45-degree angle through the tongue or the upper lip of the shiplap profile, positioned roughly 1/4 inch above the overlap line of the board beneath it.
Expert Insight: If you drive a nail through the top board and the bottom board simultaneously, you pin them together. When the bottom board inevitably swells during a rainstorm, it has nowhere to expand, forcing the wood to cup outward or split along the grain. Always allow the underlying board to slide freely beneath the fastened board above it.
Step 4: Managing Butt Joints and Corners
When two boards meet end-to-end on a long wall run, never simply butt them together. Wood shrinks longitudinally over time, which will open a gap and expose your WRB. Cut both ends at a 30-degree bevel to create a scarf joint, and install a piece of Z-flashing behind the joint to kick water outward. For outside corners, miter the boards at 45 degrees and seal the end grain heavily, or use pre-formed stainless steel corner wraps for a more modern, durable aesthetic. For detailed profile specifications, refer to the Real Cedar Installation Guide.
2026 Material and Labor Cost Breakdown
Budgeting for exterior shiplap requires factoring in the hidden costs of weatherproofing and premium fasteners. The following table reflects national averages for professional installation in 2026.
| Line Item | Cost per Sq. Ft. | Notes |
|---|---|---|
| Western Red Cedar Shiplap (1x8) | $6.50 - $9.00 | Clear vertical grain (CVG) commands the higher end. |
| Thermally Modified Ash Shiplap | $9.50 - $14.00 | Highly rot-resistant, zero chemical treatments required. |
| Rainscreen & Flashing Materials | $1.25 - $2.50 | Includes furring, WRB tape, and stainless Z-flashing. |
| Professional Labor | $5.00 - $8.50 | Varies by region and scaffold requirements. |
| Total Installed Cost (Cedar) | $12.75 - $20.00 | Excludes scaffolding rental and old siding demolition. |
Troubleshooting Common Installation Failures
Even with meticulous planning, exterior wood siding can present challenges. Use this diagnostic matrix to identify and correct issues during or immediately after installation.
-
Symptom: Boards are cupping outward at the edges.
Cause: Moisture trapped behind the siding due to a missing rainscreen gap, or the back of the boards was left unsealed while the front was stained, creating uneven moisture absorption.
Fix: If caught early, improve perimeter ventilation. If severe, remove affected boards, install a proper 3/4-inch furring strip rainscreen, and six-side seal replacement boards. -
Symptom: Black tannin streaking below fastener heads or joints.
Cause: Use of standard galvanized or electro-plated nails reacting with wood tannins, or water pooling behind un-flashed scarf joints.
Fix: Pull and replace all non-stainless fasteners with 304/316 SS. Install Z-flashing behind all horizontal butt joints. -
Symptom: Horizontal splitting along the grain near the overlap line.
Cause: The installer drove nails too close to the bottom edge of the top board, or nailed through both the top and bottom boards, preventing seasonal expansion.
Fix: Pre-drill pilot holes for the remaining boards and adjust nail placement to 1/4 inch above the overlap line, ensuring the underlying board is unpinned.
Maintenance and End-of-Life Care
Exterior shiplap is not a 'install and forget' material like fiber cement or vinyl. To maintain structural integrity and color, the UV-protective stain must be reapplied every 3 to 7 years, depending on solar exposure. When washing the siding, never use a high-pressure power washer, which will shred the soft spring wood of the cedar and open the grain to moisture intrusion. Instead, use a soft-bristle brush and a low-pressure garden hose with a dedicated wood cleaner containing oxalic acid to brighten the wood and remove mildew without damaging the protective surface fibers.