Shake Siding Installation: Step-by-Step Guide for Cedar & Composite
Master shake siding installation with our step-by-step guide. Learn exact flashing, nailing, and spacing techniques for cedar and fiber cement.
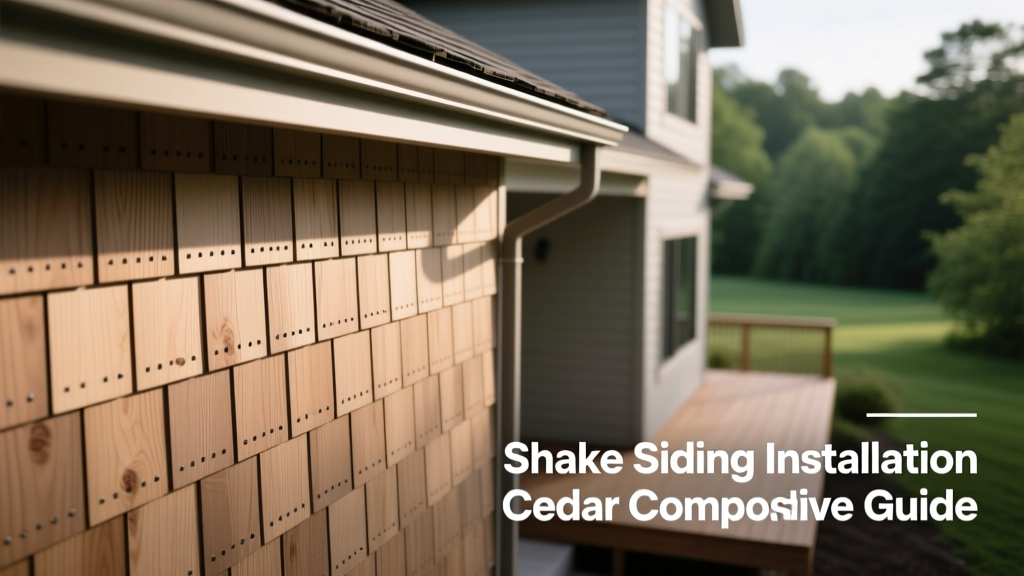
Material Profiles: Cedar vs. Fiber Cement vs. Polymer
Shake siding installation requires distinct methodologies depending on the substrate. Natural wood, fiber cement, and polymer composites react differently to moisture, thermal expansion, and mechanical fastening. Selecting the correct fastener type and exposure profile is the first critical step in preventing premature system failure.
| Material Type | Standard Dimensions | Max Exposure | Required Fasteners |
|---|---|---|---|
| Western Red Cedar (18" Perfection) | 18" L x Random Widths | 7.5" | 3d/5d Type 304 or 316 Stainless Steel Box Nails |
| Fiber Cement (e.g., James Hardie ShinglePlus) | 15" L x 48" W Panels | 7.0" | 6d/8d Hot-Dipped Galvanized or Stainless Ring-Shank |
| Polymer Composite (e.g., Foundry Specialty Shingles) | 14" L x Random Widths | 7.0" | 1.5" Electro-Galvanized or Aluminum Roofing Nails |
Pre-Installation: Weather Barriers and Rainscreen Assemblies
Unlike vinyl or engineered wood, natural cedar shake siding is highly susceptible to capillary moisture draw and back-face rot if installed directly against a flat weather-resistive barrier (WRB). The Cedar Shake & Shingle Bureau (CSSB) strongly mandates a ventilated rainscreen gap behind all wood shake applications.
Installing cedar shakes directly over flat Tyvek or felt paper traps moisture against the back of the wood. This eliminates the drying potential, leading to cupping, fungal decay, and premature paint failure within 3 to 5 years.
For optimal performance, install a dimpled rainscreen mat (such as Benjamin Obdyke Slicker Max or Keene Building Products Driwall) over your primary WRB. According to U.S. Department of Energy guidelines on rainscreen wall design, a minimum 3/8-inch air space is required to create the pressure equalization and capillary break necessary for bulk water drainage and convective drying. If using furring strips instead of a mat, use 1x3 treated wood or PVC furring strips fastened vertically at 16 inches on center, aligning directly over the wall studs.
Step-by-Step Installation Procedure
Step 1: The Double Starter Course
The bottom edge of the siding system requires a double layer of shakes to ensure water shedding and structural rigidity.
- Install a corrosion-resistant drip edge flashing at the bottom of the wall, extending at least 1/2 inch past the foundation line.
- Lay down the first course of shakes (the under-course). These can be lower-grade shakes or standard shakes installed upside down.
- Apply the primary starter course directly over the under-course, offsetting the vertical joints by at least 1.5 inches to prevent water channeling.
- Ensure the bottom edge of the starter course extends at least 1 inch below the top edge of the foundation flashing.
Step 2: Calculating Exposure and Staggering Joints
Exposure is the visible portion of the shake after the next course is applied. For 18-inch cedar shakes, the CSSB dictates a maximum exposure of 7.5 inches. This accounts for a mandatory 2-inch headlap over the shake two courses below it.
Do not measure each shake individually. Snap a chalk line exactly 7.5 inches above the bottom edge of the previous course. Align the bottom of the new shakes to this line. For fiber cement shake panels, snap lines at 7-inch intervals as per James Hardie installation specifications.
Joint Staggering Rules:
- Never align vertical joints in adjacent courses.
- Joints in alternating courses (e.g., Course 1 and Course 3) must be offset by a minimum of 1.5 inches.
- For cedar shakes, leave a 1/8-inch to 3/8-inch gap between individual shakes in the same course to accommodate lateral expansion during high-humidity periods.
Step 3: Fastening Mechanics
Improper nailing is the leading cause of shake splitting and blow-offs. Fasteners must penetrate the sheathing and embed at least 1 inch into the wall studs.
- Cedar Shakes: Apply two nails per shake, positioned 3/4 inch in from each edge and 1 inch above the exposure line (so the nail is covered by the overlapping course). Use blunt-point box nails to push wood fibers apart rather than cutting them, which prevents splitting.
- Fiber Cement Panels: Fasteners should be placed 3/4 inch from the edges and 2 inches from the top edge. Blind nailing is preferred where the overlap covers the fastener. If face-nailing is required at the bottom of a panel, use color-matched acrylic caulk to seal the nail head immediately.
Common Failure Modes and Mitigation
Understanding how shake siding fails allows installers to preemptively address vulnerabilities during the application phase.
| Failure Mode | Root Cause | Installation Mitigation |
|---|---|---|
| Bottom-Edge Rot | Capillary draw from ground moisture or splashback. | Maintain a minimum 6-inch clearance between the bottom shake and finished grade. Install kick-out flashing at the base. |
| Vertical Splitting | Over-driven nails or using sharp-pointed common nails. | Calibrate pneumatic nailers to 90-100 PSI. Use blunt-point stainless box nails. Do not drive nails flush; leave them slightly proud if hand-nailing. |
| Cupping and Curling | Moisture differential between the front and back faces. | Mandatory use of a ventilated rainscreen mat to equalize air pressure and moisture content on both sides of the wood. |
Flashing and Obstruction Clearances
Integrating shake siding around windows, doors, and roof intersections requires precise Z-flashing and drip caps. Never rely on caulk as a primary water barrier at horizontal intersections.
- Window and Door Heads: Install a metal drip cap flashing over the window trim. The shake siding must overlap this flashing by at least 1 inch, but never touch the horizontal trim surface. Leave a 1/4-inch clearance to prevent water wicking.
- Roof-to-Wall Intersections: When shake siding meets an adjacent roofline, install step flashing integrated with the roofing underlayment. The siding must terminate at least 2 inches above the roof surface to prevent ice dam backup and snow accumulation from submerging the bottom courses.
- Pipe Penetrations: Cut shakes to fit within 1/4 inch of plumbing or HVAC penetrations. Slide a neoprene pipe boot or lead flashing over the pipe, overlapping the shake below and sliding under the shake above.
Final Sealing and Coating Protocols
If the shake siding is to be painted or stained, the timing of the coating application is as critical as the mechanical installation. Bare cedar shakes should be coated within 14 days of installation to prevent UV degradation of the wood lignin, which causes surface checking and reduces coating adhesion.
Use an oil-based, semi-transparent penetrating stain for natural cedar to allow vapor transmission. Avoid film-forming acrylic paints on unback-primed cedar, as trapped vapor will blister the paint film. For fiber cement shakes, apply a 100% acrylic latex exterior paint system, ensuring all factory-cut edges are sealed with a compatible edge-sealer before the topcoat is applied.