Mastering Bending Gypsum Board: Radii, Wet vs Dry Methods & Costs
Learn the exact radii, wet vs. dry methods, and framing specs for bending gypsum board. Includes cost breakdowns and kerfing techniques for tight arches.

The Physics of Curved Drywall: Minimum Bending Radii
Bending gypsum board requires overcoming the natural rigidity of the gypsum core and the tensile strength of the paper facers. The success of any curved wall, arch, or vaulted ceiling depends entirely on matching the panel thickness to the correct bending radius and framing spacing. Attempting to force a standard 1/2-inch panel around a 3-foot radius will result in core fractures and face paper delamination.
According to the Gypsum Association's GA-216 application guidelines, the minimum bending radius is dictated by panel thickness and moisture content. Below is the definitive matrix for planning curved drywall installations in 2026.
| Panel Thickness | Bending Method | Minimum Radius | Required Framing Spacing |
|---|---|---|---|
| 1/4-inch (Flex) | Dry | 32 inches | 6 to 8 inches O.C. |
| 1/4-inch (Flex) | Wet | 24 inches | 6 inches O.C. |
| 1/2-inch (Standard) | Dry | 10 feet (120 inches) | 12 inches O.C. |
| 1/2-inch (Standard) | Wet / Scored | 5 feet (60 inches) | 8 inches O.C. |
| 5/8-inch (Standard) | Kerfed Only | Varies by kerf depth | 6 inches O.C. |
Method 1: Dry Bending with 1/4-Inch Flexible Panels
For radii between 24 and 32 inches, specialized flexible panels like USG Sheetrock Flex Brand are the industry standard. These 1/4-inch panels feature a specialized glass-mat or reinforced paper facer and a highly aerated core that allows them to bend without snapping.
Dry Bending Installation Sequence
- Pre-frame the curve: Use kerfed 2x4 bottom and top plates, or flexible track systems, with studs spaced strictly at 6 inches on center (O.C.).
- Start at the center: Locate the center stud of the curve. Position the center of the drywall sheet over this stud.
- Fasten outward: Drive 1-inch fine-thread drywall screws into the center stud, then work your way outward toward the edges, applying steady pressure to bend the board against the framing.
- Maintain edge margins: Keep all screws at least 3/8-inch from the board edges to prevent blowouts, which are highly common on tensioned curves.
Method 2: Wet Bending Standard 1/2-Inch Panels
When 1/4-inch flex board is unavailable, or when bending standard 1/2-inch panels for radii between 60 and 120 inches, wet bending is the most effective technique. Water temporarily plasticizes the gypsum core and relaxes the paper fibers.
The Mist-and-Roll Technique
Lay the standard 1/2-inch panel flat on a clean floor. Using a thick-nap paint roller, apply approximately 1/4 cup of clean water per square foot to the back side of the panel. Score the back paper lightly with a utility knife every 8 inches to help water penetrate the core. Let the panel rest for 15 to 20 minutes. The board will become noticeably pliable. Carry it to the framed curve with two people, supporting it flat to prevent premature snapping, and fasten it immediately from the center outward.
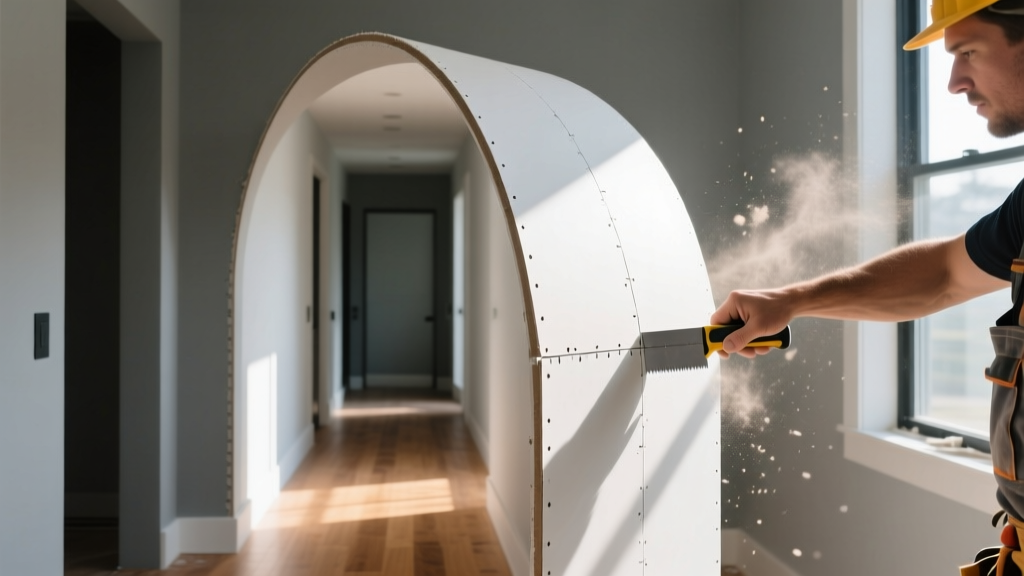
Method 3: Kerfing for Tight Arches and Vaults
For architectural arches, barrel vaults, or radii tighter than 24 inches, kerfing is mandatory. Kerfing involves removing material from the back of the panel to allow the face paper to act as a hinge.
- Tool Selection: Use a router with a straight bit or a specialized drywall kerfing saw. A utility knife is insufficient for consistent depth control.
- Depth Control: Cut through the back paper and exactly 3/8-inch to 1/2-inch into the gypsum core. You must leave at least 1/8-inch of core and the face paper completely intact.
- Kerf Spacing: For a 24-inch radius, space the kerf cuts 2 inches apart. For a 12-inch radius, space cuts 1 inch apart.
- Adhesive Application: Because kerfing compromises the structural integrity of the back side, apply a continuous bead of construction adhesive (like Liquid Nails Drywall) inside each kerf cut before bending the board around the frame. This prevents the cuts from expanding and creating visible ridges on the finished face.
Framing, Fastening, and 2026 Cost Realities
Bending gypsum board is a labor-intensive process that fundamentally alters project economics. Contractors pricing curved walls in 2026 must account for exponential increases in both material waste and finishing labor.
| Cost Factor | Standard Flat Wall | Curved Wall (1/4" Flex) |
|---|---|---|
| Material Cost (per 4x8 sheet) | $14.00 - $16.00 (1/2" Std) | $22.00 - $26.00 (1/4" Flex) |
| Framing Labor | Base Rate | 2.5x Base Rate (kerfing plates, 6" O.C.) |
| Drywall Hanging Labor | Base Rate | 1.5x Base Rate (double layering) |
| Finishing Labor | Base Rate | 3x Base Rate (skim coating curves) |
Because curved walls require double-layering 1/4-inch boards to meet fire and acoustic codes, the base material cost alone increases by roughly 75% compared to a single layer of 1/2-inch standard board. Furthermore, framing a true curve requires either flexible metal track or painstakingly kerfing wooden plates, driving carpentry costs up significantly.
Finishing Curves: Avoiding the Wavy Wall Effect
The most common failure in curved drywall installations occurs during the finishing stage. A curved surface amplifies any joint compound buildup, turning minor seam ridges into glaring visual defects under grazing light.
Tape and Compound Specifications
Never use self-adhesive fiberglass mesh tape on curved seams. The thickness of the mesh creates an unavoidable ridge that is nearly impossible to feather out on a convex curve. Instead, use standard paper tape or ultra-thin FibaTape. For the first coat, use a setting-type compound like Durabond 45. Setting compounds do not shrink as they cure, preventing the tape from pulling away from the curve. Follow with two broad coats of a lightweight topping compound (like USG UltraLight), feathering the edges out at least 16 inches from the seam to disguise the transition.
Troubleshooting Common Curve Failures
Symptom: Face Paper Tearing at the Apex
Cause: The board was bent too quickly, or the ambient temperature in the building is below 55°F (13°C), making the paper facers brittle.
Fix: If using standard board, switch to the wet-bending method. If using flex board, warm the panels in a heated room for 24 hours before installation. Never force a cold panel around a tight radius.
Symptom: Screw Pops on the Curve
Cause: The framing lumber was installed with high moisture content and subsequently shrank, or the screws were not driven perfectly perpendicular to the curved surface.
Fix: Ensure framing lumber is kiln-dried (KD) with a moisture content below 12%. When driving screws on a curve, use a dimpler attachment on your drill to ensure the head breaks the paper without tearing it, and drive the screw perfectly plumb to the local tangent of the curve, not straight into the wall cavity.
Written by
Priya KapoorPriya Kapoor is a real estate market analyst and construction economics researcher with expertise in housing affordability, development feasibility, and infrastructure investment. She holds a Master of Regional Planning from Cornell University and previously worked as a senior analyst at CBRE's Investment Properties group, where she modeled returns for $4B in mixed-use development pipelines. Priya now runs an independent research practice advising developers, municipalities, and REITs on construction cost forecasting and market timing. She publishes the quarterly "BuildMat Market Pulse" report tracking material price indices across 12 commodity categories. Based in Austin, TX, Priya serves on the board of Habitat for Humanity Austin and is a marathon runner.
More from Priya Kapoor
View all
Construction Cost
Cost to Build a 1600 Sq Ft Home in 2026: Full Breakdown
Accurate 2026 cost to build a 1600 sq ft home—material, labor, and regional pricing breakdowns included. Plan your budget with real-time estimates.
Aug 11, 2026

Wood & Lumber
Name the Types of Wood for Pressure Treatment and Preservation
Learn how to name the types of wood best suited for pressure treatment. Compare species treatability, chemical retention levels, and 2026 preservation costs.
Aug 4, 2026

Stone & Masonry
Stone Veneer Suppliers Lindenhurst: 2026 Cost Analysis
Analyze 2026 stone veneer costs in Lindenhurst, NY. Compare local supplier pricing, delivery fees, and Suffolk County installation labor rates.
Aug 4, 2026