Drywall Repair Cost Estimator: Material Quantities and Pricing Guide
Calculate exact drywall repair costs with our material quantity guide. Learn pricing for patches, joint compound, and labor for holes of any size.
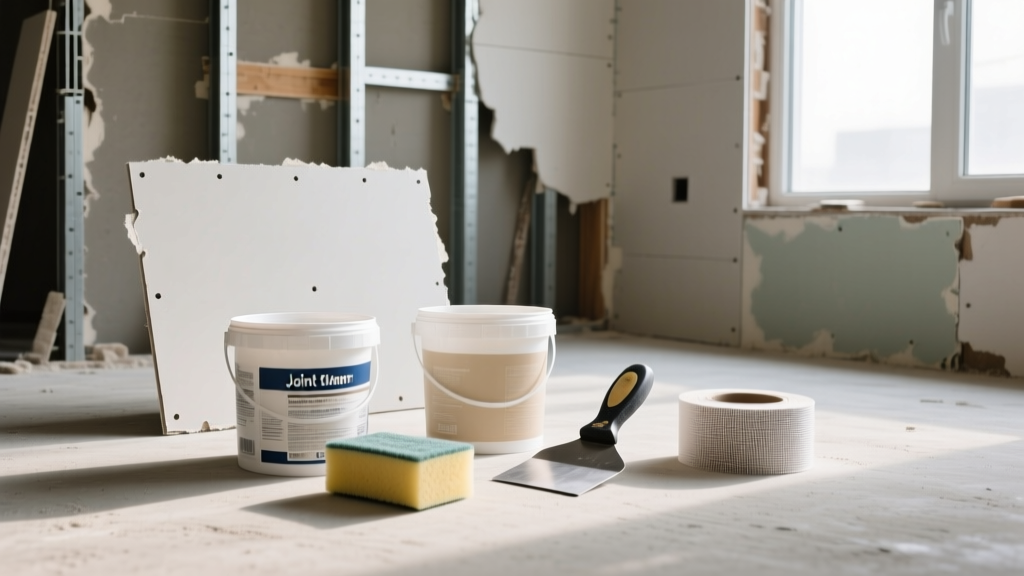
The Anatomy of Drywall Repair Costs
Accurately estimating the cost of a drywall repair requires moving beyond generic per-square-foot averages. The true cost is dictated by the volume of the void, the specific chemical properties of the joint compound selected, and the complexity of the existing wall texture. While minor cosmetic blemishes require only drying-type compounds and minimal labor, structural voids demand setting-type materials and precise backing frameworks.
- Materials Only: $0.45 to $1.20 per square foot of repaired area.
- Professional Labor: $55 to $85 per hour, with a typical minimum call-out fee of $150 to $250.
- Texture Matching: Adds $40 to $120 per repair zone depending on the application method.
Material Quantity Calculator by Damage Classification
To calculate your exact material requirements, classify the damage into one of three standard tiers. The quantities below assume standard 1/2-inch thick gypsum board and include a 15% waste factor for joint compound and sanding loss.
| Damage Tier | Dimensions | Required Materials & Quantities | Est. Material Cost |
|---|---|---|---|
| Tier 1: Surface | Nail pops, hairline cracks, dents < 2" | 1 qt drying compound, 120-grit sanding sponge, 1" drywall screws (for pops) | $8 - $14 |
| Tier 2: Penetration | Doorknob holes, utility cuts 2" to 8" | 1 adhesive mesh patch or California patch, 1 gal setting compound, 2" paper tape | $22 - $35 |
| Tier 3: Sectional | Water damage, impact voids > 8" | 1/2 sheet 1/2" drywall, 2x furring strips, 1-1/4" screws, 2 gal setting compound, 500ft tape | $55 - $85 |
Setting-Type vs. Drying-Type Compounds: The Shrinkage Factor
The most common estimation error in drywall repair is using drying-type compound (like standard pre-mixed all-purpose mud) for deep fills. Drying compounds cure through evaporation. A 1/4-inch deep fill will shrink by up to 30% as the water leaves the matrix, requiring three to four additional skim coats to achieve a flush finish, drastically inflating labor time and material use.
For any void deeper than 1/8-inch, use a setting-type compound such as USG Durabond 90. Setting compounds cure via an exothermic chemical reaction. They experience virtually zero shrinkage, allowing you to fill a 1/2-inch deep gap in a single pass. While a 20-lb bag of Durabond 90 costs approximately $18 (compared to $16 for a gallon of pre-mixed), the reduction in labor and sanding time yields a net savings of over 40% on Tier 2 and Tier 3 repairs. For detailed technical specifications on curing times and substrate preparation, refer to the USG setting-type compound guidelines.
Step-by-Step Cost Breakdown: The Standard 4x4 Patch
To understand how material quantities translate into real-world application, consider the industry-standard 4x4 inch repair patch. This scenario assumes a clean, square cutout in a standard 1/2-inch interior wall.
- Backing Framework ($3.50): Cut two 1x3 pine furring strips to 7 inches. Insert them into the void and secure them to the intact drywall above and below the hole using 1-1/4 inch coarse-thread drywall screws. Space screws exactly 4 inches apart to prevent the backing from pivoting under trowel pressure.
- Gypsum Insert ($1.20): Cut a 4x4 inch piece of matching 1/2-inch gypsum board. Secure it to the furring strips using four 1-1/4 inch screws, ensuring the face paper is perfectly flush with the surrounding wall.
- Taping and First Coat ($4.00): Apply a 2-inch wide strip of paper tape (not mesh, which lacks the tensile strength for structural butt joints) over all four seams. Embed the tape using a 6-inch taping knife and a setting-type compound. Scrape the joint completely flat; do not leave a ridge.
- Feathering Coats ($6.50): Once the chemical set is complete (90 minutes for Durabond 90), apply a drying-type topping compound (such as USG Sheetrock UltraLight) using a 10-inch knife. Extend the mud 4 inches beyond the seam on all sides to create a 1:12 slope, which tricks the eye into perceiving a flat plane.
- Sanding and Finishing ($1.50): Sand with a 220-grit pole sander. Avoid 120-grit, which will leave deep scratches in the lightweight topping compound that will telegraph through flat-finish paints.
Hidden Costs: Texture Matching and Substrate Hazards
Material calculators frequently omit the cost of texture replication, which can double the final invoice of a drywall repair. If the existing wall features an orange peel or knockdown texture, the repaired section must be re-textured before priming.
Expert Insight: Aerosol texture cans (e.g., Homax Orange Peel) cost $8 to $12 each, but their nozzle pressure drops significantly after 45 seconds, resulting in inconsistent splatter patterns. For repairs larger than 12 inches in diameter, renting a pneumatic hopper gun ($45/day) and mixing your own texture mud yields a professional, uniform finish that aerosol cans cannot replicate.
Furthermore, homes constructed prior to 1980 may contain asbestos in the drywall joint compound or textured ceiling finishes. Disturbing these materials during a repair poses severe health risks and regulatory violations. If you suspect legacy materials, halt the repair and commission an EPA-compliant asbestos inspection. The Environmental Protection Agency (EPA) provides strict protocols for handling and testing suspect building materials, which typically costs $250 to $400 for a localized bulk sample analysis.
Optimizing Your Material Purchasing Strategy
When sourcing materials for multiple repairs across a property, avoid purchasing pre-packaged "drywall repair kits" from big-box hardware stores. These kits typically include a 1-quint tub of low-grade spackle, a flimsy plastic scraper, and a single mesh patch, often priced at a 300% markup compared to raw materials.
Instead, purchase joint compound in 5-gallon buckets or 25-lb bags, and invest in a flexible stainless-steel taping knife (specifically a 6-inch and a 10-inch). A high-carbon stainless steel blade will not rust if left damp overnight, preventing orange oxide stains from bleeding into your white joint compound. For comprehensive industry standards on finishing levels and material application, consult the Gypsum Association's finishing guidelines, which dictate the exact number of coats and trowel widths required to achieve a Level 4 or Level 5 finish.
Fastener Selection and Failure Prevention
Using the wrong screws is a primary cause of callback repairs. Never use fine-thread drywall screws on wood framing or furring strips; they will strip the wood fibers and fail to pull the gypsum board tight. Always use coarse-thread drywall screws for wood backing, and fine-thread screws exclusively for metal studs. Ensure the screw head is driven exactly 1/32-inch below the paper surface. Driving it too deep will break the paper face, destroying the structural integrity of the gypsum core and requiring an additional layer of fiberglass mesh tape to prevent future cracking.