How to Install Gypsum Board Ceiling Tiles: Grid & Direct Mount
Master the installation of gypsum board ceiling tiles. Learn suspended grid framing, direct-mount adhesive techniques, and sag-prevention tips.

Understanding Gypsum Board Ceiling Tiles vs. Standard Drywall
The term "gypsum board ceiling tiles" encompasses two distinct product categories in commercial and high-end residential construction: modular 2x2 and 2x4 perforated acoustic panels (such as Knauf Danoline systems) and large-format lightweight gypsum ceiling boards. While standard 1/2-inch drywall weighs approximately 1.6 pounds per square foot (psf), specialized ceiling boards and modular gypsum tiles are engineered to mitigate sagging and reduce dead load on suspended grids.
Modular gypsum ceiling tiles offer the monolithic, high-end aesthetic of finished drywall combined with the accessibility of a drop ceiling. However, because gypsum is inherently denser than mineral fiber or PVC alternatives, installation requires strict adherence to heavy-duty framing protocols. According to Gypsum Association application guidelines, failing to account for the increased dead load of gypsum tiles is the primary cause of grid deflection and perimeter failure.
- Standard 1/2" Drywall: ~1.6 lbs/psf
- USG Sheetrock UltraLight Ceiling Board: ~1.2 lbs/psf
- Perforated Gypsum Ceiling Tiles (e.g., Knauf): 1.8 to 2.2 lbs/psf (varies by perforation density)
Method 1: Suspended Grid Installation for Modular Gypsum Tiles
Installing 2x2 or 2x4 gypsum tiles into a suspended grid requires upgrading from standard commercial ceiling components to heavy-duty systems. The Armstrong Ceilings suspended systems specifications mandate specific load-bearing capacities when utilizing dense gypsum panels.
Step 1: Heavy-Duty Grid Framing
Do not use standard 9/16-inch grid systems for gypsum tiles. You must install a 15/16-inch heavy-duty T-bar grid rated for ASTM C635 Heavy-Duty classification.
- Hanger Wires: Use 12-gauge galvanized steel wire. Space hangers a maximum of 4 feet on center (OC) along the main tees, and ensure the first hanger is within 6 inches of the wall.
- Main Tees: Space main tees 4 feet OC. Splice joints must be staggered and secured with positive-locking mechanisms.
- Cross Tees: Install 4-foot cross tees at 2-foot intervals to create the 2x4 modules, and 2-foot cross tees to break them down into 2x2 modules if required by your tile dimensions.
Step 2: Perimeter Isolation and Wall Angle
Gypsum tiles expand and contract with humidity fluctuations. Install a 1-inch perimeter wall angle, but do not pin the tiles to the wall angle. Leave a 1/4-inch gap between the edge of the gypsum tile and the wall to allow for lateral movement, filling the visual gap with a shadow-line molding or acoustic sealant if a monolithic look is required.
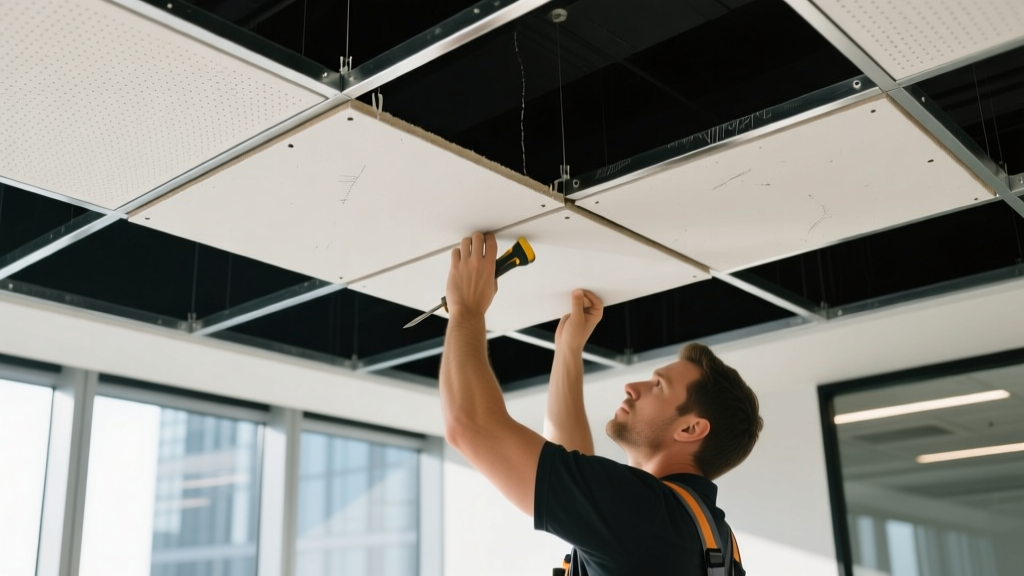
Step 3: Dropping and Seating the Tiles
Method 2: Direct-Mount Furring for Solid Gypsum Ceiling Panels
When a suspended grid is not desired, direct-mounting large-format gypsum ceiling boards or direct-adhesive gypsum tiles to the structural deck is the preferred technique. This method drastically reduces the ceiling plenum depth but eliminates above-ceiling accessibility.
Furring Channel Layout
Never attach gypsum ceiling panels directly to wood joists or concrete decks without a decoupling layer.
- Install 3/4-inch cold-rolled channels (CRC) perpendicular to the joists, spaced 4 feet OC.
- Attach 7/8-inch hat channels (furring channels) perpendicular to the CRC, spaced strictly at 12 inches OC. The 12-inch spacing is non-negotiable for ceilings to prevent fastener pop and sagging.
- Use 1-1/8-inch Type S bugle-head drywall screws to secure the hat channels to the CRC using wire ties or specialized channel clips.
Adhesive Selection for Direct-Applied Tiles
For direct-adhesive applications of smaller solid gypsum tiles to existing drywall or concrete, use a high-tack, VOC-compliant construction adhesive like LIQUID NAILS Drywall Adhesive or USG Drywall Adhesive. Apply the adhesive in continuous 3/8-inch beads, 12 inches apart. Mechanical fastening (screws) must still be used in conjunction with adhesive to hold the tile flush while the adhesive cures, typically requiring 24 to 48 hours of dead-shoring.
Fastener and Framing Specification Matrix
| Installation Parameter | Suspended Grid (Modular 2x2/2x4 Tiles) | Direct-Mount (Large Format Board) |
|---|---|---|
| Primary Framing | 15/16" Heavy-Duty T-Bar (ASTM C635) | 3/4" Cold-Rolled Channels (48" OC) |
| Secondary Framing | Cross Tees (24" and 48" modules) | 7/8" Hat Channels (12" OC) |
| Hanger / Attachment | 12-Gauge Galvanized Wire (48" max OC) | Concrete anchors or joist clips |
| Fastener Type | N/A (Tiles rest on flange) | 1-1/8" Type S Bugle-Head Screws |
| Fastener Spacing | N/A | 12" OC on field, 8" OC on edges |
| Perimeter Clearance | 1/4" expansion gap required | 1/4" gap at walls, taped and filled |
Troubleshooting Common Ceiling Failures
Grid Deflection and Tile Sag
If the T-bar grid bows downward after the gypsum tiles are installed, the dead load exceeds the grid's yield strength. This occurs when contractors use standard-duty grids for heavy perforated gypsum. The fix requires removing the tiles, replacing the main tees with heavy-duty variants, and adding supplementary 12-gauge hanger wires at 2-foot intervals along the main tees.
Joint Ridging on Direct-Mount Ceilings
Joint ridging (visible bumps at the seams) in direct-mount gypsum ceilings is caused by truss uplift or thermal expansion compressing the panels. To prevent this, always use specialized ceiling board with fiberglass-reinforced cores (like USG Sheetrock UltraLight), and apply paper tape with setting-type joint compound (e.g., Durabond 90) rather than mesh tape and pre-mixed compound, which lacks the tensile strength to resist compression ridging.
Acoustic Flanking in Drop Ceilings
Gypsum tiles provide excellent Sound Transmission Class (STC) ratings, but sound will bypass the ceiling through the plenum. Install acoustic batt insulation (mineral wool) over the tiles in the plenum space, and ensure that any HVAC return air grilles are backed with acoustic duct liners to prevent flanking noise.
Frequently Asked Questions
Can I use standard 1/2-inch drywall for a ceiling?
Standard 1/2-inch drywall is prone to sagging when used on ceilings, especially if framing is spaced at 24 inches OC. For ceilings framed at 24 inches OC, you must use either 5/8-inch Type X gypsum board or specialized 1/2-inch sag-resistant ceiling board. If framing is 16 inches OC or 12 inches OC, standard 1/2-inch is structurally acceptable but heavier to lift.
How do I cut perforated gypsum ceiling tiles without tearing the face paper?
Use a sharp utility knife with a fresh blade. Score the face paper deeply along a metal straightedge, snap the gypsum core backward, and then cut the back paper. For circular cutouts for recessed lights, use a rotary drywall cutter running at a lower RPM to prevent burning the paper face and generating excessive gypsum dust.
Do gypsum ceiling tiles require painting?
Most factory-finished acoustic gypsum tiles come with a pre-applied latex primer and finish coat. However, if you are using standard un-tapered gypsum panels in a monolithic direct-mount ceiling, you must apply a Level 4 or Level 5 finish, followed by a PVA drywall primer and two coats of flat or matte ceiling paint to minimize light glare and hide minor surface imperfections.
Written by
Elena RodriguezElena Rodriguez is a civil engineer and technical writer specializing in concrete technology, masonry systems, and ASTM/ACI compliance. She earned her B.S. in Civil Engineering from Texas A&M University and spent a decade at a materials testing laboratory, performing over 2,000 concrete compressive strength tests and masonry prism evaluations. Elena is an ACI-certified Field Testing Technician (Grade I) and a member of ASTM Committee C12 on Natural Building Stone. She currently consults on forensic engineering cases involving concrete failures and moisture intrusion. Based in San Antonio, TX, Elena is a proud member of the Society of Women Engineers (SWE) and coaches her daughter's FIRST Robotics team.
More from Elena Rodriguez
View all
Walls & Panels
Cost Analysis: Light Gauge Steel Framing Advantages and Disadvantages
Evaluate light gauge steel framing advantages and disadvantages through a strict cost analysis lens, comparing material, labor, and lifecycle expenses.
Aug 4, 2026

Walls & Panels
Gypsum Board Types: Exact Specifications, Thickness & Dimensions
Compare standard, Type X, and moisture-resistant gypsum board types. Get exact specifications, thicknesses, dimensions, and ASTM standards for your project.
Aug 4, 2026

Fire Resistance
Best Fire-Resistant Outdoor Decking Materials: 2026 Buyer Guide
Discover the best fire-resistant outdoor decking materials for 2026. Compare Class A PVC, aluminum, and hardwood options for WUI compliance and safety.
Aug 4, 2026