How Do You Fix a Hole in a Sheetrock Wall? Size-Based Repair Guide
Learn how do you fix a hole in a sheetrock wall based on damage size. Pro techniques, exact materials, and step-by-step drywall repair.
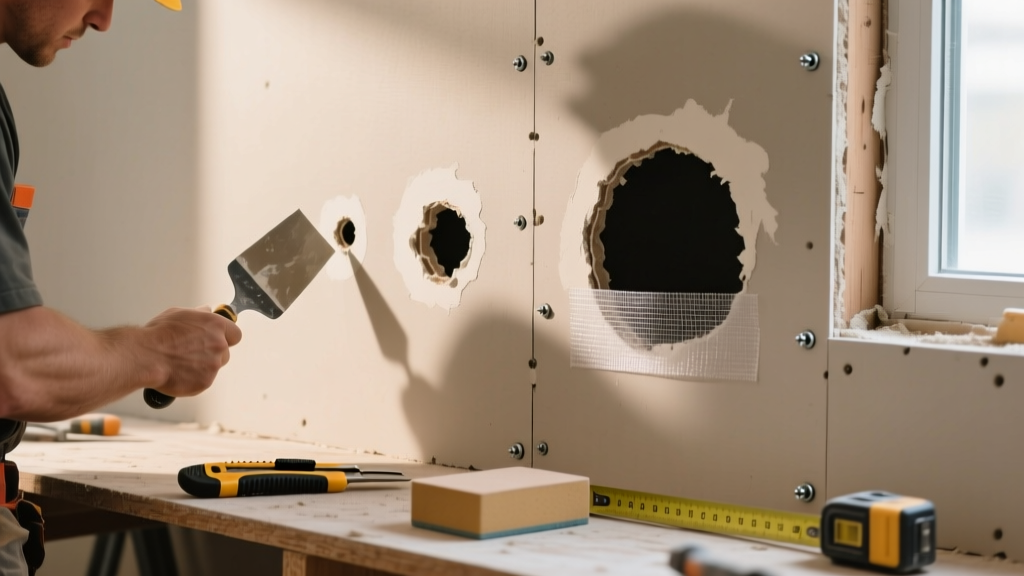
Assessing the Damage: The Size-Based Decision Matrix
The fundamental challenge of gypsum board repair is not filling a void; it is managing the transition between the patch and the surrounding plane. The human eye can detect a surface deviation of just 1/16th of an inch over a 12-inch span under raking light. Therefore, the repair methodology must scale with the size of the breach to allow for adequate feathering. Before purchasing materials, categorize your damage using the matrix below to determine the correct structural and finishing approach.
| Hole Diameter | Repair Method | Primary Materials | Coats Required | Feathering Width |
|---|---|---|---|---|
| Under 1/2 inch | Direct Fill | Vinyl spackle or Plus 3 | 1 - 2 | 4 - 6 inches |
| 1/2 to 6 inches | California Patch or Mesh | FibaTape, Setting Compound | 3 | 12 - 16 inches |
| 6 to 24 inches | Backer Board & New Panel | 1x2 Pine furring, Drywall screws | 3 - 4 | 24+ inches |
| Over 24 inches | Stud-to-Stud Replacement | New gypsum panel, Paper tape | 3 - 4 | Full panel blend |
Micro-Repairs: Nail Pops, Dents, and Holes Under 1/2 Inch
For minor drywall damage, standard lightweight joint compound often fails due to high shrinkage rates, requiring multiple applications. Instead, utilize a vinyl-based compound like USG Sheetrock Brand Plus 3. The vinyl formulation reduces shrinkage to near zero, allowing a single thick application to cure flush with the wall surface.
Apply the compound with a flexible 4-inch taping knife held at a 15-degree angle. Press the material firmly into the cavity, then execute a single, smooth wipe to strike it off flush. Allow 2 to 4 hours of drying time before sanding with a 220-grit sponge.
Medium Cavities: 1/2 Inch to 6 Inches
When learning how do you fix a hole in a sheetrock wall of this size, the most common DIY mistake is relying solely on self-adhesive fiberglass mesh tape without proper structural support. Fiberglass mesh has high tensile strength but low shear strength, meaning it can crack if the patch is pressed inward. You have two professional options here: the California Patch or the Backer-Strip method.
The California Patch Technique
This method uses the factory-tapered paper face of a scrap piece of drywall as the tape, eliminating the risk of mesh bubbling or edge ridges.
- Cut a square piece of scrap drywall 2 inches larger than the hole on all sides.
- Score the back paper and gypsum core with a utility knife, leaving the front paper face intact.
- Snap the core backward and peel away the back paper and gypsum, leaving only the front paper and a 1-inch border of paper around the perimeter.
- Apply a base coat of USG DuraBond 45 (a setting-type compound) to the wall hole.
- Press the California patch into the wet compound, smoothing the paper border flat with a 6-inch knife.
According to the Gypsum Association GA-216 guidelines, setting-type compounds like DuraBond undergo a chemical crystallization process rather than evaporative drying. This eliminates shrinkage and provides a rock-hard base coat that resists future cracking.
The Mesh and Setting Compound Method
If using FibaTape self-adhesive mesh, you must use a setting-type compound for the first coat. Standard drying compounds (like All-Purpose mud) shrink significantly as water evaporates, which will pull the mesh away from the wall and create a visible ridge. Apply the DuraBond through the mesh, force it into the void, and strike it flat.
Large Breaches: 6 Inches to 24 Inches
Large holes require rigid backing to support the new drywall insert and transfer impact loads to the surrounding intact panel. Do not attempt to span a 12-inch hole with just compound and tape; it will fail under minor structural deflection.
If your home was built before 1978, sanding drywall compound may disturb lead-based paint layers. Consult the EPA Lead-Safe Guidelines and use wet-sanding methods or HEPA-filtered vacuum sanders to prevent toxic dust dispersion.
Step-by-Step Backer Board Installation
- Cut the Hole Clean: Use a drywall saw to cut the damaged area into a perfect square or rectangle, ensuring the edges fall cleanly between wall studs if possible.
- Fabricate Backers: Cut 1x2 pine furring strips or scrap plywood 4 inches longer than the height of your hole.
- Secure Backers: Insert the strips into the wall cavity. Hold them flush against the back of the existing drywall and drive 1-1/4 inch drywall screws through the intact face paper into the wood. Space screws every 6 inches.
- Install the Patch: Cut a new piece of 1/2-inch gypsum board to exact dimensions. Screw it into the exposed face of your wooden backers.
- Tape the Seams: Apply paper tape (not mesh) over the butt joints. Paper tape embeds deeply and creates a stronger structural bond for large perimeter seams.
The Sanding and Finishing Protocol
The transition from the patch to the existing wall must be imperceptible. For a 6-inch hole, your final coat of joint compound must be feathered out at least 16 inches in every direction. This creates a slope of roughly 1:48, which tricks the eye into perceiving a flat surface.
Use a progression of abrasives. Start with a 120-grit aluminum oxide sanding screen on a pole sander to knock down high spots and ridges. Finish with a 220-grit sanding sponge for the final smoothing. Always use a bright LED work light held at a severe angle against the wall (raking light) to identify shadows cast by ridges or depressions before painting.
Common Failure Modes and Troubleshooting
- Flashing: The patch appears duller or shinier than the surrounding wall after painting. Cause: Joint compound is highly porous and absorbs paint binders. Fix: You must prime the entire repair with a dedicated PVA (Polyvinyl Acetate) drywall sealer, such as USG Tuff-Hide Primer-Surfacer, before applying topcoats.
- Bubbling Tape: Paper tape lifts in the center of the seam. Cause: Insufficient compound underneath the tape, or applying too much pressure with the taping knife, squeezing all the mud out. Fix: Cut out the bubble with a utility knife, inject setting compound underneath, and re-trowel.
- Shrinkage Cracks: Hairline cracks appear down the center of the patch. Cause: Using a drying-type compound too thickly in the base coat. Fix: Always use a chemical-setting compound (like DuraBond or EasySand) for the first layer over deep voids.
2026 Material Costs and Tool Requirements
Budgeting for a professional-grade drywall repair requires accounting for specialized compounds and finishing tools. The table below outlines current retail pricing for high-quality materials necessary to execute the methods described above.
| Material / Tool | Specific Product Recommendation | Estimated Cost (2026) | Yield / Usage |
|---|---|---|---|
| Setting Compound | USG DuraBond 45 (18 lb bag) | $18.50 | Base coats, deep fills |
| Finishing Compound | USG Plus 3 All-Purpose (3.5 gal) | $22.00 | Top coats, feathering |
| Drywall Tape | FibaTape Extra Strength (2.5 in x 150 ft) | $8.95 | Medium holes, seams |
| PVA Primer | USG Tuff-Hide or Zinsser Drywall Primer | $26.00 / gal | Sealing porous patches |
| Taping Knife Set | Stainless Steel 4", 6", 10" knives | $35.00 (set) | Application and feathering |
| Sanding Pole & Screen | Hyde Pole Sander + 120/220 grit screens | $24.50 | Flushing and blending |
Mastering how do you fix a hole in a sheetrock wall is ultimately an exercise in patience and material science. By matching the repair technique to the specific geometry of the damage, utilizing chemical-setting compounds for structural integrity, and executing wide, gradual feathering passes, you can achieve a factory-flush finish that remains invisible under even the harshest lighting conditions.