Install CertainTeed Impact Resistant Moisture Resistant Gypsum Board
Master the installation of CertainTeed impact resistant moisture resistant gypsum board with expert framing, fastening, and finishing techniques.

System Design: Navigating Single-Layer vs. Double-Layer Assemblies
Commercial corridors, healthcare facilities, and high-traffic educational zones demand wall systems that can withstand both physical abuse and high humidity. When architectural specifications call for a certainteed impact resistant moisture resistant gypsum board, contractors face a specific material reality. CertainTeed manufactures distinct product lines for these hazards: ImpactResistant Firecode C (featuring a dense, reinforced core for abuse resistance) and M2Tech (featuring moisture and mold-resistant face and core technology).
To achieve both impact and moisture resistance in a single wall assembly, you must typically deploy a double-layer system or utilize a specialized glass-mat faced composite if specified by the local distributor. The most reliable and code-compliant method for high-performance zones is a double-layer assembly:
- Base Layer: 5/8-inch CertainTeed M2Tech Moisture & Mold Resistant gypsum board.
- Face Layer: 1/2-inch or 5/8-inch CertainTeed ImpactResistant gypsum board.
Framing and Substrate Preparation
High-density impact boards are significantly heavier than standard drywall, weighing up to 3.2 pounds per square foot. Your framing must support this dead load while resisting the lateral forces of physical impacts.
Steel Stud Requirements
For commercial applications, use a minimum of 20-gauge (33 mil) steel studs. In severe impact zones—such as hospital gurney corridors or school hallways—upgrade to 16-gauge (43 mil) studs. While standard framing allows 24-inch on-center (o.c.) spacing, impact-resistant assemblies require a maximum spacing of 16 inches o.c., with 12 inches o.c. strongly recommended for double-layer systems to prevent core fracturing upon impact.
Blocking and Backing
Install solid wood or steel blocking behind the gypsum board at all heavy mounting locations, including grab bars, wall-mounted medical equipment, and heavy cabinetry. Relying on toggle bolts through high-density gypsum without structural backing is a primary cause of catastrophic wall failure in commercial restrooms.
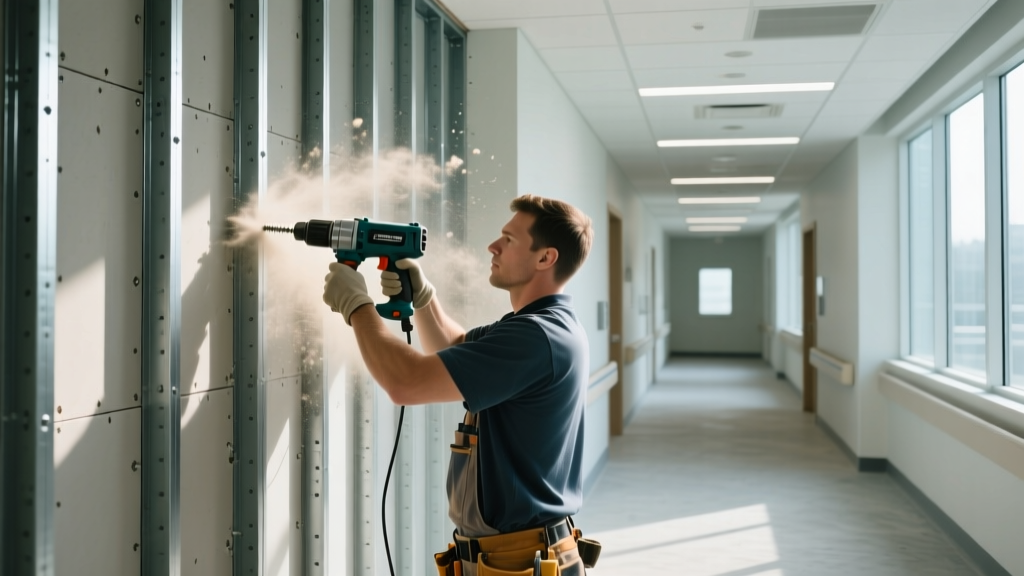
Cutting High-Density Core Boards
The reinforced, high-density core of impact-resistant boards will rapidly dull standard utility blades. Attempting to score and snap these boards with dull blades results in ragged edges that require excessive joint compound to hide.
- Scoring: Use a heavy-duty, carbide-tipped scoring tool. Score deeply through the face paper and into the top third of the gypsum core.
- Snapping: Apply firm, even pressure to snap the core. Do not use a knee-kicker, as the concentrated force can shatter the reinforced core.
- Routing: For complex cutouts (electrical boxes, HVAC registers), use a high-RPM rotary router equipped with a carbide drywall bit.
Fastener Schedules and Attachment Techniques
Improper fastening is the most common reason impact-resistant walls fail to achieve their rated durability. Fasteners must penetrate the steel studs by a minimum of 3/8-inch. For double-layer assemblies, the base layer and face layer must be fastened independently, with face layer screws offset from base layer screws by at least 2 inches.
| Assembly Type | Fastener Type | Length | Wall Spacing (Field) | Ceiling Spacing |
|---|---|---|---|---|
| Single Layer (1/2 in.) | Type S Bugle Head | 1-1/4 in. | 12 in. o.c. | 12 in. o.c. |
| Single Layer (5/8 in.) | Type S Bugle Head | 1-3/8 in. | 12 in. o.c. | 12 in. o.c. |
| Double Layer (Base) | Type S Bugle Head | 1-5/8 in. | 24 in. o.c. | 24 in. o.c. |
| Double Layer (Face) | Type S Bugle Head | 2 in. or 2-1/2 in. | 12 in. o.c. | 12 in. o.c. |
According to the Gypsum Association guidelines for panel application, screws must be driven so the head sits slightly below the surface of the face paper without breaking the paper. Over-driving the screw breaks the paper tension, effectively rendering that fastener useless in an impact event.
Joint Treatment and Finishing for Maximum Durability
The joints are the weakest point in any gypsum assembly. In high-impact zones, standard drying-type joint compounds are insufficient. You must use setting-type compounds and heavy-duty tape to create a monolithic surface.
Step-by-Step Finishing Protocol
- Tape Selection: Use CertainTeed FibaTape (fiberglass mesh) for the base layer and high-quality paper tape for the face layer. Paper tape provides superior tensile strength at the joints, resisting the shear forces generated by physical impacts.
- First Coat (Bedding): Apply a setting-type compound, such as Easy Sand 45 or 90. Setting compounds cure via a chemical reaction, creating a rock-hard joint that resists cracking far better than air-drying compounds.
- Second and Third Coats: Use a high-strength topping compound. Feather the edges out to a minimum of 18 inches on each side of the butt joints to distribute impact stress across a wider surface area.
- Internal Corners: Install metal corner beads or heavy-duty composite corner guards. Vinyl or metal-reinforced paper beads must be embedded in setting-type compound, not stapled, to maintain the fire and moisture ratings of the assembly.
Managing Penetrations and Acoustic Seals
High-performance walls often serve as acoustic and fire barriers. When routing plumbing or electrical penetrations through a certainteed impact resistant moisture resistant gypsum board assembly, the integrity of the wall must be maintained.
- Electrical Boxes: Use deep-set electrical boxes to accommodate the double-layer thickness. Seal the perimeter of the box with an intumescent acoustic putty pad to prevent sound flanking and maintain the fire rating.
- Pipe Penetrations: Cut the gypsum board no more than 1/4-inch larger than the pipe diameter. Fill the annular space with a tested and listed firestop sealant compatible with both PVC/copper and gypsum.
- Perimeter Sealing: Apply a continuous bead of acoustical sealant at the floor and ceiling tracks before installing the base layer. This prevents moisture wicking from concrete slabs and stops airborne sound transmission.
Common Installation Failures to Avoid
Even premium materials will fail if installed poorly. Inspect your site for these critical errors:
For comprehensive technical specifications and updated fastener schedules, always consult the official CertainTeed Gypsum installation instructions and local building codes before beginning your project. Proper execution ensures the wall system delivers the decades-long durability required in demanding commercial environments.
Written by
Sarah WhitfieldSarah Whitfield is a chartered quantity surveyor (MRICS) and construction cost analyst with 15 years of experience in material pricing, procurement strategy, and project budgeting. She earned her degree in Construction Management from the University of Reading (UK) and has worked on projects ranging from $2M custom homes to $180M mixed-use developments across North America and Europe. Sarah currently leads cost estimating for BuildMat Insight, maintaining a proprietary database of 4,000+ material price points updated quarterly. She is a frequent contributor to RSMeans cost data panels and has presented at the International Cost Engineering Council (ICEC) congress. Based in Denver, CO, Sarah is an avid trail runner and volunteer mentor for Women in Construction.
More from Sarah Whitfield
View all
Wood & Lumber
What Are the Different Types of Wood? A Builder's Guide
Compare structural softwoods, finish hardwoods, and engineered lumber. Analyze Janka ratings, MOE values, and 2026 pricing for construction.
Aug 4, 2026

Walls & Panels
Steel Framing vs Wood Framing: Corrosion and Moisture Defense
Compare steel framing vs wood framing for moisture resistance. Learn about galvanized coatings, condensation risks, and corrosion protection strategies.
Jul 21, 2026

Stone & Masonry
How to Cut Stone Veneer: Wet Saw vs Grinder Comparison
Compare the best tools for cutting stone veneer. We review wet saws, angle grinders, and chop saws to help you achieve clean, chip-free cuts.
Jul 21, 2026