How to Install Drywall Anchors: TOGGLER & E-Z Ancor Deep Dive
Master how to install drywall anchors with our deep dive into TOGGLER SNAPTOGGLE and E-Z Ancor product lines, including load limits and failure modes.
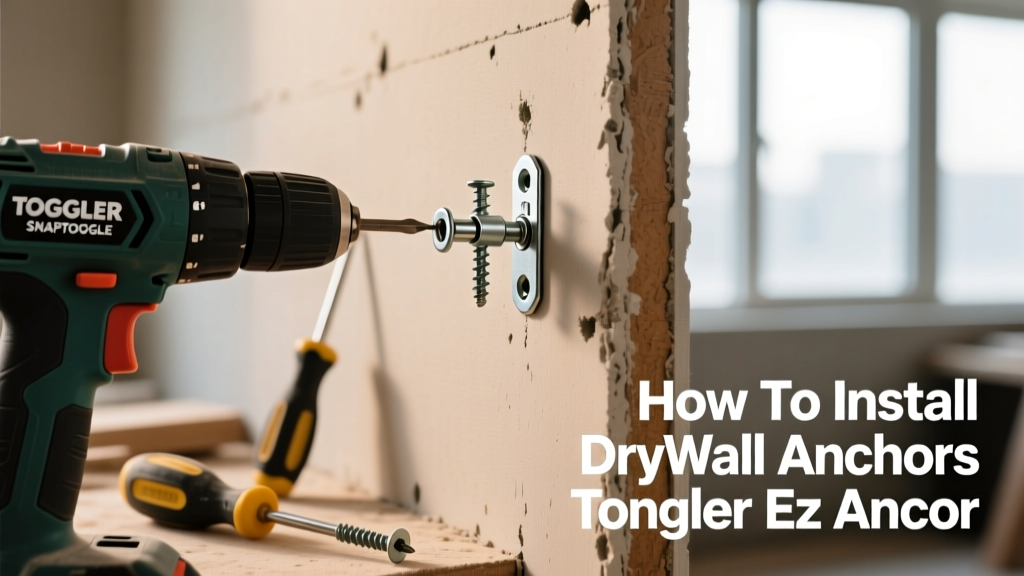
Gypsum Board Physics and Anchor Mechanics
Hanging heavy objects on gypsum board requires understanding the material's structural limits. Standard 1/2-inch regular gypsum board and 5/8-inch Type X fire-rated board possess high compressive strength but low tensile and shear strength at the paper-face boundary. When you learn how to install drywall anchors correctly, you are essentially bypassing the fragile gypsum core and distributing the load across the backside of the panel or engaging the wood/metal framing behind it.
According to the Gypsum Association GA-216 standards, the paper facing provides the primary tensile membrane for the board. Standard plastic expansion anchors fail under dynamic loads because they rely on friction against the crumbly gypsum core, which quickly pulverizes under vibration or weight. To achieve reliable holding power, professionals rely on two dominant product lines: TOGGLER's SNAPTOGGLE system and ITW's E-Z Ancor line. This guide breaks down the exact installation mechanics, torque limits, and failure modes of these specific product lines.
TOGGLER SNAPTOGGLE BB: Heavy-Duty Installation
The TOGGLER SNAPTOGGLE BB (model 50070) is engineered for 1/2-inch to 5/8-inch gypsum board. Unlike traditional toggle bolts that require a massive clearance hole to fold the wings, the SNAPTOGGLE uses a zinc-plated steel channel that pivots flat, passes through a 1/2-inch hole, and locks flush against the backside of the drywall via polypropylene straps.
Step-by-Step Installation Protocol
- Drill the Pilot Hole: Use a sharp 1/2-inch twist bit or spade bit. Drill strictly perpendicular to the wall. Angled drilling causes the steel channel to bind and prevents it from sitting flush against the backside of the gypsum.
- Insert the Channel: Pinch the polypropylene straps together and push the metal channel through the hole until the straps protrude from the wall.
- Lock the Channel: Pull the straps toward you while sliding the plastic collar forward until it clicks against the wall surface. The internal locking mechanism ratchets the collar tight.
- Snap the Excess: Bend the straps back and forth at the pre-scored line to snap them off flush with the collar.
- Drive the Machine Screw: Insert the provided 1/4-inch-20 UNC machine screw through your fixture and thread it into the metal channel.
Do not use an impact driver to seat the machine screw. Over-torquing the 1/4-20 screw causes the steel channel to bow inward, crushing the gypsum core and tearing the backside paper face. Use a manual screwdriver and stop turning the moment the fixture feels snug against the collar. The Fine Homebuilding drywall anchor guide notes that over-tightening is the number one cause of catastrophic toggle failure in 1/2-inch board.
E-Z Ancor Twist-N-Lock: Medium-Duty Installation
For medium-duty applications (shelves, towel bars, light mirrors), the E-Z Ancor Twist-N-Lock (models 50lb and 75lb) offers a faster, self-drilling alternative. Made from high-density glass-filled nylon, these anchors cut their own threads into the gypsum core without pre-drilling, utilizing a wide-flange design to distribute shear loads across the paper face.
Installation and Edge Cases
- Positioning: Hold the anchor at a strict 90-degree angle to the wall. Any deviation will cause the nylon cutting threads to strip the gypsum on the entry side.
- Drive the Anchor: Using a #2 Phillips bit, drive the anchor into the drywall at a medium speed.
- Monitor the Flange: Stop driving immediately when the wide flange sits flush against the wall surface. The cutting threads are designed to pull the anchor in; if you continue driving after the flange makes contact, you will strip the internal threads or crack the drywall face paper.
- Secure the Fixture: Drive the included wood screw through your fixture and into the anchor. Stop when the screw head is snug; the nylon threads will strip if over-torqued.
While Twist-N-Lock is marketed as self-drilling, older gypsum board (pre-1990s) or heavily painted surfaces can cause the nylon tip to snap. For these substrates, pre-drill a 3/16-inch pilot hole to guide the anchor and reduce rotational resistance.
Brand Comparison Matrix: Load and Application Data
Selecting the correct anchor requires matching the fixture's dynamic load to the anchor's pull-out and shear ratings. The table below compares the flagship models from both brands for 1/2-inch standard gypsum board.
| Product Model | Pull-Out Strength (1/2" Board) | Hole Size Required | Screw Type | Best Application |
|---|---|---|---|---|
| TOGGLER SNAPTOGGLE BB | 85 lbs | 1/2 inch | 1/4"-20 UNC Machine | TV mounts, heavy cabinets, grab bars |
| TOGGLER SNAPTOGGLE FF | 140 lbs | 1/2 inch | 1/4"-20 UNC Machine | 5/8" Type X board, commercial ceilings |
| E-Z Ancor Twist-N-Lock 50 | 50 lbs | Self-Drilling | #8 or #10 Wood Screw | Floating shelves, curtain rods |
| E-Z Ancor Stud Solver | 75 lbs (Wood) / 50 lbs (Drywall) | Self-Drilling | #8 or #10 Wood Screw | Blind mounting where stud location is unknown |
Troubleshooting Common Installation Failures
Even with premium anchors, substrate anomalies can cause installation failures. Recognizing these edge cases prevents fixture damage and wall repairs.
- The Blown-Out Backside: If your 1/2-inch drill bit catches the backside paper of the drywall and tears it, the SNAPTOGGLE channel will not have a flat surface to clamp against. Fix: Insert a small dab of construction adhesive into the hole and let it cure for 2 hours to rebuild a rigid backing surface before inserting the toggle.
- Hitting Metal Framing: When installing E-Z Ancors, hitting a 25-gauge steel stud will instantly strip the nylon cutting threads. Fix: Remove the ruined anchor, patch the hole, and switch to a self-drilling #8 sheet metal screw directly into the steel stud, bypassing the anchor entirely.
- Stripped Internal Threads on SNAPTOGGLE: If the 1/4-20 machine screw cross-threads into the metal channel, do not force it. Forcing it will push the channel away from the backside of the drywall, rendering the anchor useless. Fix: Back the screw out, realign it perfectly straight, and thread it by hand for the first three rotations before using a screwdriver.
- Crumbly or Water-Damaged Gypsum: If the gypsum core offers zero resistance to the E-Z Ancor cutting threads, the board is compromised. Plastic friction anchors will not hold. Fix: You must locate the framing and screw directly into the wood/metal, or cut out the damaged drywall section and patch it with a new piece of 5/8-inch Type X board for a denser core.