Expert Guide to Plastering Gypsum Board: Veneer and Skim Coats
Learn professional techniques for plastering gypsum board. Compare veneer plaster on blue board vs. Level 5 skim coating, including materials and costs.

Applying a plaster finish over a gypsum substrate elevates a standard interior to a premium, high-durability surface. However, the phrase "plastering gypsum board" encompasses two fundamentally different installation techniques: applying a chemical-setting veneer plaster over a specialized absorptive plaster base (blue board), and applying a Level 5 skim coat of joint compound over standard drywall. Confusing these two systems or using the wrong substrate is the primary cause of catastrophic adhesion failures in residential and commercial plastering.
This technical guide details the material science, substrate requirements, and precise execution steps required to successfully plaster gypsum board in modern construction environments.
The Substrate Imperative: Why Standard Drywall Fails Under Wet Plaster
To understand proper installation, you must understand the face paper chemistry of gypsum panels. Standard drywall (ASTM C1396 Type X or Regular) is manufactured with a face paper that is heavily sized—meaning it is chemically treated to resist moisture absorption. This prevents the water in standard joint compound from degrading the paper during the taping and mudding process.
If you apply a wet, chemical-setting veneer plaster directly to standard drywall, two things happen:
- Delayed Setting: The sized paper prevents the plaster from drawing moisture into the core. The plaster remains wet on the surface far past its intended working window, leading to a weak, crumbly cure.
- Paper Delamination: Prolonged moisture exposure eventually breaks down the adhesive bonding the face paper to the gypsum core, causing the paper to bubble and the plaster to sheer off the wall entirely.
To plaster correctly, you must use a specialized gypsum plaster base, such as USG Imperial Veneer Base or Gold Bond Kal-Kore Plaster Base. These panels feature a highly absorptive, unsized blue or gray face paper designed to rapidly and uniformly wick moisture out of the veneer plaster, triggering a proper chemical crystallization set.
Expert Insight: If you are forced to apply veneer plaster over existing standard drywall, you must alter the substrate's absorption rate. Apply a continuous, unthinned coat of a specialized bonding agent like Synko-Bond or USG Plaster Bonder. Allow it to dry completely (usually 24 hours) to create an artificial absorptive barrier before plastering.
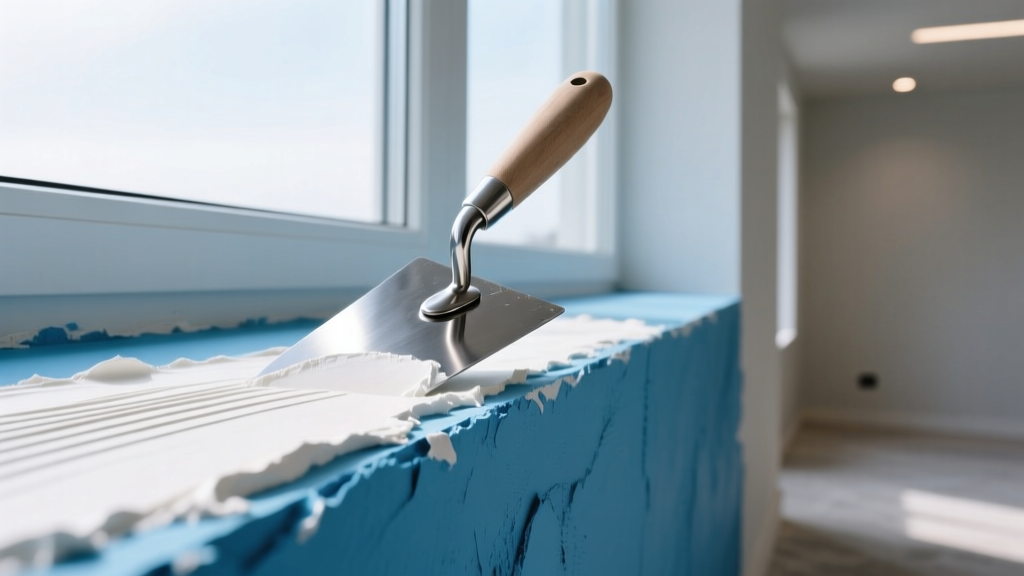
Veneer Plaster vs. Level 5 Skim Coat: Decision Matrix
Choosing between a true veneer plaster system and a Level 5 drywall skim coat depends on the project's performance requirements, budget, and desired aesthetic. Below is a direct comparison of the two methodologies.
| Feature | Veneer Plaster (e.g., USG Diamond) | Level 5 Skim Coat (e.g., Sheetrock Topping) |
|---|---|---|
| Substrate Required | Gypsum Plaster Base (Blue Board) | Standard Gypsum Board (White Board) |
| Application Thickness | 1/16" to 3/32" (Single or Double Coat) | 1/32" or less (Paper thin) |
| Curing Mechanism | Chemical crystallization (Setting) | Evaporation (Air drying) |
| Surface Hardness | Extremely high (Resists dents and abrasion) | Moderate (Similar to standard drywall mud) |
| Working Time | 90 to 120 minutes (Depends on formulation) | Unlimited until it dries in the pan |
| Primary Use Case | Hospitals, schools, high-end residential, historic restoration | Standard residential, commercial offices under flat paint |
Execution: Applying Diamond Veneer Finish Over Plaster Base
The following procedure outlines the installation of a single-coat veneer plaster system, the most common technique for residential and light commercial applications. This assumes the use of a high-hardness finish like USG Diamond Veneer Finish.
1. Substrate Preparation and Detailing
Before mixing any material, the plaster base must be prepped. Fasteners must be driven slightly below the surface without breaking the face paper. All joints on the blue board must be taped using a specific fiberglass mesh plaster tape (not standard paper drywall tape, which lacks the tensile strength for plaster movement). Apply a tight, thin coat of the veneer plaster over the mesh tape to lock it in place and let it set. This prevents the tape from telegraphing through the final finish.
2. Mixing the Plaster
Veneer plaster is highly sensitive to water ratios and mixing times. Standard Ratio: Approximately 2.5 to 2.75 gallons of clean, potable water per 50 lb bag of Diamond Veneer Finish. Always add the plaster to the water, never water to the plaster. Mix with a heavy-duty drill and a mixing paddle at a low speed (under 300 RPM) for exactly 2 to 3 minutes. Scrape the sides of the bucket, then let the mixture slake (rest) for 5 minutes. Remix for 1 minute before application. A 50 lb bag yields approximately 450 square feet at a 1/16" thickness.
3. The Double-Back Application Method
Professional plasterers use the "double-back" technique to ensure maximum adhesion and a uniform surface:
- The Scratch Coat: Using a hawk and trowel, apply a very thin, tight layer of plaster to the wall, pressing it firmly into the absorptive face paper of the blue board. Cover only a manageable area (about 50 sq ft).
- The Finish Coat: Before the scratch coat sets, immediately apply the main body of the plaster over the same area, bringing it out to the full 1/16" thickness. The wet scratch coat acts as a chemical bridge, ensuring the thicker finish coat bonds flawlessly without sagging.
4. Troweling and Burnishing
As the plaster begins its chemical set, it will transition from a wet gloss to a dull, matte appearance. This is your window for troweling. Use a flexible stainless-steel trowel held at a 15- to 30-degree angle to level the surface and fill minor voids. As the plaster stiffens further, increase the trowel angle to 45 degrees or higher and apply firm pressure to "burnish" the surface. This compresses the plaster crystals, closing the pores and creating a dense, glass-smooth finish. Sprinkling a fine mist of clean water on the wall during the final burnish (known as "water troweling") helps lubricate the steel and eliminates microscopic trowel lines.
2026 Cost Matrix: Plastering vs. Skim Coating
Understanding the financial implications is critical for project estimation. The costs below reflect national averages for professional installation in early 2026, factoring in recent material price stabilization and current prevailing wage labor rates.
| Cost Component | Veneer Plaster System (Blue Board + Diamond Finish) | Level 5 Skim Coat (Standard Board + Topping Compound) |
|---|---|---|
| Substrate Material (per sq ft) | $0.65 - $0.85 (Plaster Base) | $0.40 - $0.55 (Standard Drywall) |
| Finish Material (per sq ft) | $0.45 - $0.60 (Veneer Plaster) | $0.10 - $0.15 (Topping Mud) |
| Labor (per sq ft) | $3.50 - $5.50 (Specialized Plasterers) | $1.75 - $2.80 (Standard Drywall Tapers) |
| Total Installed Cost | $4.60 - $6.95 / sq ft | $2.25 - $3.50 / sq ft |
While veneer plastering is roughly double the cost of a Level 5 skim coat, the resulting surface offers vastly superior impact resistance, eliminating the need for commercial-grade vinyl wallcoverings in high-traffic corridors.
Troubleshooting Common Plaster Failures
Even experienced crews encounter issues when environmental variables shift. Use this diagnostic framework to identify and correct failures on the job site.
- Symptom: Map or Craze Cracking (Spiderweb pattern)
Cause: Applying the plaster too thickly in a single coat, or forcing rapid drying with space heaters and high-velocity fans. The surface shrinks faster than the underlying mass.
Fix: Maintain natural air circulation without direct heat. If the plaster is designed for 1/16", do not attempt to build it out to 1/8" in one pass. Use a two-coat system for deeper fills. - Symptom: Blisters or Bubbles Under the Surface
Cause: Applying veneer plaster over standard drywall without a bonding agent, or applying over a dusty, unprimed plaster base where the paper cannot absorb moisture uniformly.
Fix: Scrape off the blistered areas down to the substrate. Clean the substrate, apply a proper bonding agent, and patch with fresh veneer plaster. - Symptom: Soft, Chalky, or Powdery Finish
Cause: Over-watering the mix, applying in temperatures below 55°F, or troweling excessive water into the surface during the final burnish, which dilutes the cementitious binders at the surface.
Fix: The wall must be sealed with a penetrating alkali-resistant primer (such as Zinsser Gardz) before painting to bind the powdery surface, though severely soft plaster may require complete removal and reapplication.
For comprehensive technical data sheets and specific mixing ratios for regional formulations, always consult the manufacturer's current documentation, such as the USG Veneer Plaster Systems catalog. Adherence to industry standards outlined by the Gypsum Association ensures long-term durability and code compliance for all interior plaster applications.
Written by
Priya KapoorPriya Kapoor is a real estate market analyst and construction economics researcher with expertise in housing affordability, development feasibility, and infrastructure investment. She holds a Master of Regional Planning from Cornell University and previously worked as a senior analyst at CBRE's Investment Properties group, where she modeled returns for $4B in mixed-use development pipelines. Priya now runs an independent research practice advising developers, municipalities, and REITs on construction cost forecasting and market timing. She publishes the quarterly "BuildMat Market Pulse" report tracking material price indices across 12 commodity categories. Based in Austin, TX, Priya serves on the board of Habitat for Humanity Austin and is a marathon runner.
More from Priya Kapoor
View all
Construction Cost
Cost to Build a 1600 Sq Ft Home in 2026: Full Breakdown
Accurate 2026 cost to build a 1600 sq ft home—material, labor, and regional pricing breakdowns included. Plan your budget with real-time estimates.
Aug 11, 2026

Wood & Lumber
Name the Types of Wood for Pressure Treatment and Preservation
Learn how to name the types of wood best suited for pressure treatment. Compare species treatability, chemical retention levels, and 2026 preservation costs.
Aug 4, 2026

Stone & Masonry
Stone Veneer Suppliers Lindenhurst: 2026 Cost Analysis
Analyze 2026 stone veneer costs in Lindenhurst, NY. Compare local supplier pricing, delivery fees, and Suffolk County installation labor rates.
Aug 4, 2026