Drywall Anchor Screws: The Complete Removal and Repair Playbook
Master the maintenance of gypsum walls with our playbook for removing, repairing, and cleaning stripped or rusted drywall anchor screws.
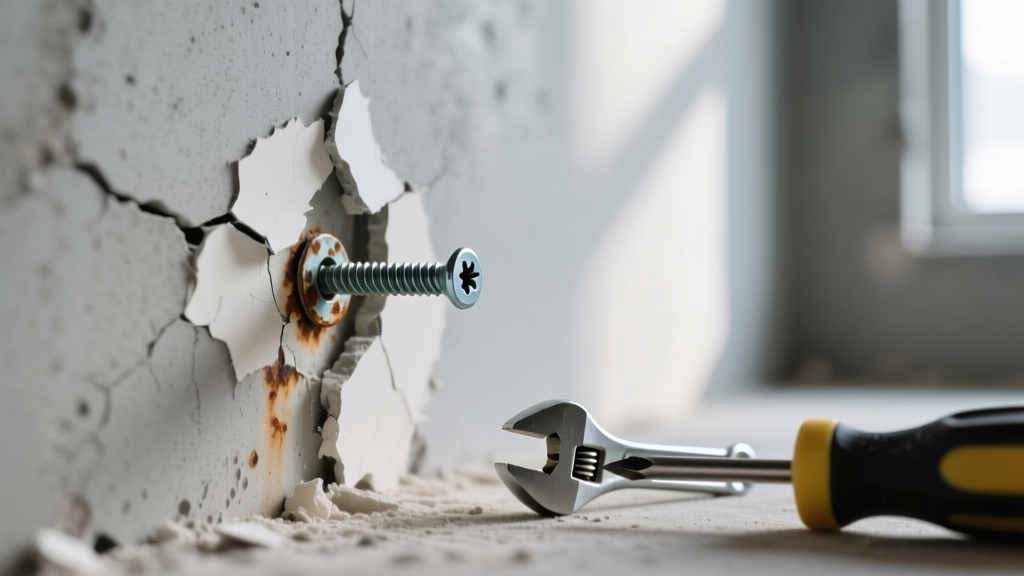
Diagnostic Matrix: Why Drywall Anchor Screws Fail
Maintaining gypsum board walls requires understanding the structural interaction between the fastener and the gypsum core. When drywall anchor screws fail, they rarely do so uniformly. The failure mode dictates the extraction and repair strategy. Misdiagnosing a spun toggle bolt as a stripped thread will result in catastrophic tearing of the paper face and gypsum core.
| Failure Mode | Primary Cause | Visual Symptom | Gypsum Damage Risk |
|---|---|---|---|
| Spun Plastic Expansion | Hole drilled oversized; anchor never achieved friction lock. | Screw head turns infinitely without backing out. | Low (if extracted correctly) |
| Seized Metal Toggle | Corrosion on threads; toggle wings jammed against backer board. | Screw refuses to turn; high torque required. | High (risk of snapping bolt) |
| Stripped Zinc Thread | Over-torquing during installation; soft 1/2-inch gypsum core. | Anchor rotates in the wall; screw pulls out with anchor. | Medium (crater enlargement) |
| Rust Bleed-Through | High humidity; lack of galvanization on cheap steel anchors. | Orange/brown staining radiating from the screw head. | None (cosmetic issue only) |
The Extraction Playbook: Removing Stubborn Anchors
Removing compromised drywall anchor screws requires specialized techniques to preserve the surrounding paper face. Ripping out an anchor blindly will create a 2-inch crater that requires extensive mesh taping and multiple coats of setting compound.
Scenario 1: The Spun Plastic Expansion Anchor
When a plastic ribbed anchor spins, the friction fit has failed. Do not simply pull the screw, as the anchor will retreat into the wall cavity or tear the front paper.
- Score the Perimeter: Use a fresh utility blade to score a 1/8-inch circle around the anchor collar. This severs the paper face connection and prevents radial tearing.
- The Wedge Technique: Insert a flathead screwdriver or a specialized nail puller under the anchor collar. Apply gentle outward leverage.
- Reverse and Pull: While maintaining outward pressure, use a drill in reverse to back the screw out. The screw threads will catch the inside of the plastic anchor, pulling the entire assembly out as a single unit.
Scenario 2: The Seized Metal Toggle Bolt (Molly/Snaptoggle)
Metal toggles, such as the Snaptoggle or traditional Molly bolts, are designed to clamp the back of the gypsum board. If the bolt seizes due to rust or cross-threading, extraction becomes complex.
The Cutoff Method: If the bolt is permanently seized, use a rotary tool (Dremel) with a fiberglass-reinforced cutoff wheel to slice the bolt head flush with the collar. Once the head is removed, use a nail set and hammer to drive the remaining collar and toggle mechanism into the wall cavity. While leaving metal in a wall cavity is not ideal, modern toggles are zinc-plated and will not rust or bleed through the patched surface.
Scenario 3: Stripped Zinc-Plated Threaded Anchors
Heavy-duty threaded anchors (e.g., E-Z Ancor) feature aggressive external threads that bite into the gypsum. When stripped, they act like a drill bit, destroying the core.
- Insert a flathead screwdriver into the anchor's drive slot.
- Turn the anchor counter-clockwise to back the entire metal anchor out of the wall.
- If the anchor is painted over and stuck, score the paint edge with a utility knife first to prevent peeling the surrounding wall finish.
Maintenance: Cleaning Rust Bleed and Stain Migration
In high-humidity environments like bathrooms or laundry rooms, uncoated or poorly galvanized drywall anchor screws will oxidize. This rust bleeds through standard latex paint and water-based primers, creating persistent orange halos.
The Chemical Neutralization Process:
- Surface Preparation: Lightly sand the rusted screw head and the surrounding 2-inch radius with 120-grit sandpaper to remove flaking paint and surface oxidation.
- Solvent Wipe: Wipe the area with denatured alcohol to remove drywall dust and oils. Do not use water, as moisture accelerates flash rusting.
- Shellac Encapsulation: Apply a spot-coat of a shellac-based primer, such as Zinsser B-I-N. Shellac is entirely impermeable to tannins and iron oxide. Water-based stain blockers (like standard Kilz) will fail against active rust bleed within 6 to 12 months.
- Topcoat: Once the shellac cures (typically 45 minutes), apply your standard architectural latex topcoat.
Gypsum Core Restoration: Patching the Extraction Crater
Once the drywall anchor screws are removed, the resulting void must be filled. The choice of compound depends entirely on the depth and width of the extraction crater. According to Gypsum Association Standards, structural integrity and seamless finishing require matching the compound's setting properties to the repair size.
| Crater Size | Recommended Compound | Setting Time | Shrinkage Factor |
|---|---|---|---|
| Under 1/2 inch (Standard screw hole) | Vinyl Spackling or Lightweight Joint Compound | Air Dry (1-2 hrs) | Low |
| 1/2 to 1.5 inches (Stripped plastic anchor) | Setting-Type Compound (e.g., USG Easy Sand 20) | 20 Minutes | Zero |
| Over 1.5 inches (Torn out toggle bolt) | Setting-Type Compound + Fiberglass Mesh Tape | 45-90 Minutes | Zero |
Step-by-Step Crater Patching
- Bevel the Edges: Use a 100-grit sanding sponge to bevel the inside edges of the crater. This creates a 'V' groove, allowing the compound to lock into the hole rather than just sitting on the surface.
- Pre-fill Deep Voids: For holes deeper than 1/2 inch, mix a small batch of 20-minute setting compound. Press it firmly into the void with a 2-inch putty knife, ensuring no air pockets remain. Strike it flush with the wall surface.
- Apply Mesh Tape (If Needed): If the paper face tore during extraction, apply a 2-inch square of self-adhesive fiberglass mesh tape over the patched hole. This bridges the gap between the new compound and the existing paper face.
- Skim Coat: Apply a thin, wide skim coat of lightweight topping compound (feathering it out 6 to 8 inches in all directions) to blend the repair into the surrounding wall texture.
Preventative Maintenance for Future Installations
The most effective maintenance playbook is preventing anchor failure in the first place. When reinstalling hardware after a repair, follow these strict protocols to protect the newly restored gypsum core:
- Match the Drill Bit to the Anchor Shaft: Never use the drill bit size recommended on the package for the collar. Measure the solid shaft of the anchor. For a 1/4-inch plastic anchor, use a 3/16-inch or 15/64-inch bit to ensure a tight friction fit in standard 1/2-inch drywall.
- Use Toggle Bolts for Dynamic Loads: If the mounted item will experience movement (e.g., a TV arm, a heavy shelf, or a grab bar), abandon expansion anchors entirely. Use strap toggles (like the Toggler Snaptoggle) which distribute the load across a 3-inch span of the backside of the gypsum board, reducing point-load stress on the core by up to 80%.
- Seal in Wet Areas: When installing anchors in moisture-resistant (green/purple) gypsum board in bathrooms, inject a small bead of 100% silicone sealant into the pilot hole before driving the anchor. This seals the exposed gypsum core from ambient humidity, preventing the internal degradation that leads to anchor pull-out.
For comprehensive guidelines on handling and repairing gypsum panel products, always refer to the Home Depot Drywall Patching Guide and manufacturer-specific technical data sheets for the exact setting compounds you are utilizing.