How to Inspect and Maintain Structural Timber Screws in Wood Frames
Master the maintenance playbook for structural timber screws. Covers tension loss from wood shrinkage, tannin stain removal, and corrosion remediation.
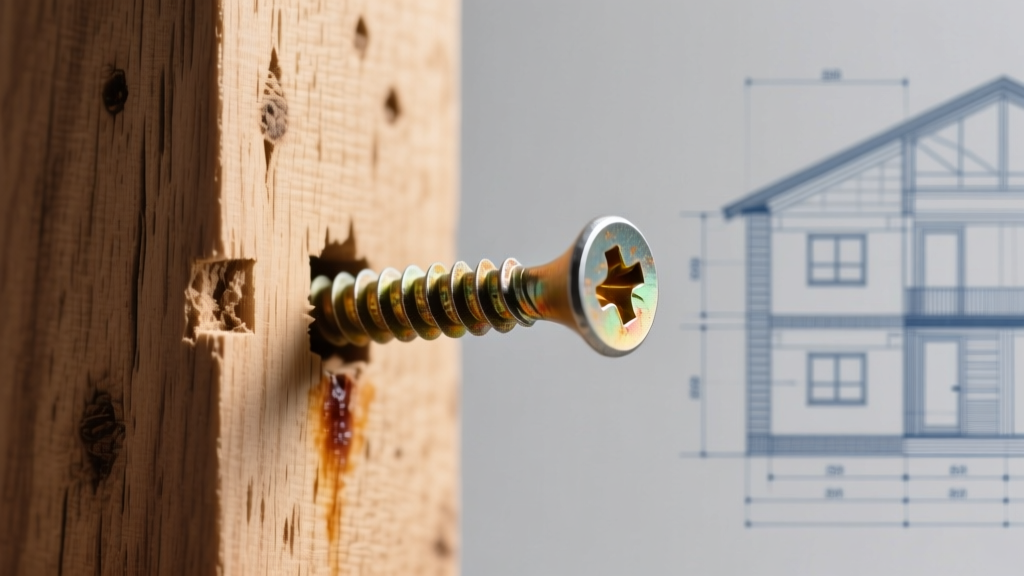
The Physics of Timber Movement and Fastener Tension
Unlike traditional timber joinery that relies on interlocking wood fibers, modern timber screws—such as the Simpson Strong-Tie SDWS or Rothoblaas WT-T series—rely entirely on clamping force and thread shear capacity. While often marketed as 'install and forget' structural fasteners, they are subject to the hygroscopic nature of wood. As heavy timber and mass timber elements (glulam, CLT, NLT) acclimate to their environment, they lose moisture and shrink.
According to the USDA Forest Products Laboratory Wood Handbook, Douglas Fir exhibits a radial shrinkage of 4.8% and tangential shrinkage of 7.6% from green to oven-dry. In a 12-inch by 12-inch green timber beam drying to an interior equilibrium moisture content (EMC) of 8%, the beam can shrink radially by nearly 3/8 of an inch. Because high-strength steel timber screws do not stretch significantly, this wood shrinkage directly translates to a loss of clamping tension. The screw head may pull away from the timber surface, or worse, the wood fibers beneath the head may crush and fail, leading to a 'bottomed out' connection that has lost its structural slip-critical friction.
Annual Inspection Protocol for Structural Connections
Routine maintenance begins with a systematic inspection to identify tension loss and localized wood failure. Conduct this inspection annually, ideally at the end of the heating season when interior wood moisture content is at its lowest and shrinkage is maximized.
1. Visual Gap and Checking Assessment
- Head Pull-Through: Look for a visible gap between the screw head (or washer) and the timber surface. A gap greater than 1/16 inch indicates significant tension loss.
- Longitudinal Checking: Timber screws installed too close to the edge or pith of the timber can induce or exacerbate longitudinal checking as the wood shrinks around the rigid steel shank. Check for splits radiating directly from the screw shaft.
- Corrosion Weeping: Inspect the wood grain immediately below the screw head for dark black or blue streaks. This indicates the protective coating on the screw has failed, and iron is reacting with wood tannins and moisture.
2. Acoustic and Tactile Testing
Use a hard plastic mallet to tap the timber surrounding the connection. A solid, sharp sound indicates tight fiber compression. A dull, hollow thud suggests the wood fibers beneath the screw head have crushed or the connection has loosened. For exposed architectural timber screws, attempt to turn the screw with the correct Torx bit (e.g., T-40 or T-50). If it rotates with less than 35 ft-lbs of resistance, the clamping force is compromised.
Cleaning Architectural Timber Screws and Removing Tannin Stains
In exposed timber framing and mass timber interiors, the aesthetic quality of the fastener and surrounding wood is paramount. When timber screws react with moisture and tannin-rich species like White Oak, Western Red Cedar, or Ipe, they produce severe black stains that bleed into the wood grain.
The Oxalic Acid Remediation Process
Standard household cleaners and bleach will not remove iron-tannin stains. You must use a chemical reduction process via oxalic acid.
- Preparation: Mix 4 ounces of pure oxalic acid crystals into one gallon of warm water. (Always add acid to water, never water to acid). Wear nitrile gloves and eye protection.
- Application: Apply the solution directly to the stained wood surrounding the timber screw using a nylon-bristle brush. Do not use steel wool or steel wire brushes, as microscopic steel particles will embed in the wood and create new rust spots.
- Dwell Time: Allow the solution to dwell for 15 to 20 minutes. The black stain will chemically reduce and fade to the wood's natural color.
- Neutralization: Oxalic acid must be neutralized to prevent damage to subsequent wood finishes. Mix 2 tablespoons of baking soda per gallon of water and wash the treated area thoroughly. Rinse with clean water and allow to dry completely.
Maintaining the Screw Head Coating
High-end architectural timber screws feature specialized coatings, such as zinc flake or epoxy-polyester hybrids. To clean the screw heads themselves without stripping this coating, use a soft brass wire brush and a mild, pH-neutral detergent. Avoid abrasive scrubbing pads, which will wear through the micro-layer of the coating and expose the carbon steel core to atmospheric humidity.
Troubleshooting Matrix: Symptoms, Causes, and Fixes
Use this decision framework to diagnose and remediate common timber screw failures in the field.
| Symptom | Root Cause | Remediation Playbook |
|---|---|---|
| Visible gap under screw head; connection feels loose. | Timber shrinkage due to seasonal moisture loss; loss of clamping force. | Install a secondary timber screw offset by at least 4x the screw diameter. Do not attempt to re-torque the original screw. |
| Black weeping stain radiating from the screw head. | Coating failure; iron reacting with wood tannins and ambient moisture. | Clean stain with oxalic acid. Coat the screw head with a cold galvanizing compound or tinted epoxy touch-up paint. |
| Longitudinal split in timber originating from the screw line. | Screws installed too close together or too close to the timber edge, restricting tangential shrinkage. | Stabilize the check with structural epoxy injection. Review connection geometry with a structural engineer; may require slotted holes in steel side plates to allow wood movement. |
| White, powdery crust accumulating on the screw head. | Zinc oxide formation (white rust) due to high humidity and lack of airflow, or reaction with ACQ-treated wood. | Brush off with a nylon brush. Ensure the fastener rating matches the wood preservative (e.g., ASTM A153 Class D for ACQ). Apply a clear penetrating oil to seal the head. |
Remediation: Why You Cannot Re-Torque Timber Screws
A common mistake among maintenance crews is attempting to 'tighten' a loose timber screw by driving it further into the wood. This is a critical error. Timber screws are self-tapping; they cut their own female threads into the wood fibers during initial installation. If the wood has shrunk and the connection is loose, turning the screw further will simply strip the existing wood threads, destroying the withdrawal capacity of the fastener entirely.
Instead, the American Wood Council (AWC) design principles dictate that remediation requires adding new fasteners. When adding a replacement timber screw, maintain a minimum end distance of 7 times the screw diameter and an edge distance of 1.5 times the diameter to prevent splitting the already stressed timber member.
Corrosion Protection in High-Risk Environments
Maintenance playbooks must account for the chemical environment surrounding the timber. If your structure utilizes pressure-treated timber for sill plates or exterior post bases, the preservative chemicals dictate the fastener maintenance schedule.
- ACQ and MCQ Preservatives: Alkaline Copper Quaternary and Micronized Copper Quaternary treatments are highly corrosive to standard zinc coatings. If standard timber screws were inadvertently used in ACQ timber, they must be inspected bi-annually for red rust. Plan for complete replacement with hot-dip galvanized (HDG) or stainless steel (Type 304 or 316) structural screws.
- Fire Retardant Treated (FRT) Wood: FRT chemicals can become acidic in high humidity. Inspect FRT connections annually for pitting on the screw heads. Apply a secondary barrier coating, such as a heavy-duty polyurethane sealant, over the screw heads to isolate them from the treated wood fibers.
Seasonal Maintenance Schedule Summary
To systematize your maintenance playbook, align your inspections with seasonal moisture shifts:
- Spring (Post-Thaw): Inspect exterior and semi-exposed timber connections for new corrosion weeping caused by winter condensation and freeze-thaw cycles. Clean tannin stains before UV exposure sets them permanently.
- Late Fall (Pre-Heating Season): Inspect interior mass timber and glulam connections. As the building prepares for dry winter heating, anticipate wood shrinkage. Check for acoustic hollowness around primary beam-to-column timber screw clusters and mark any connections that will require secondary fastener installation once maximum winter shrinkage is reached.